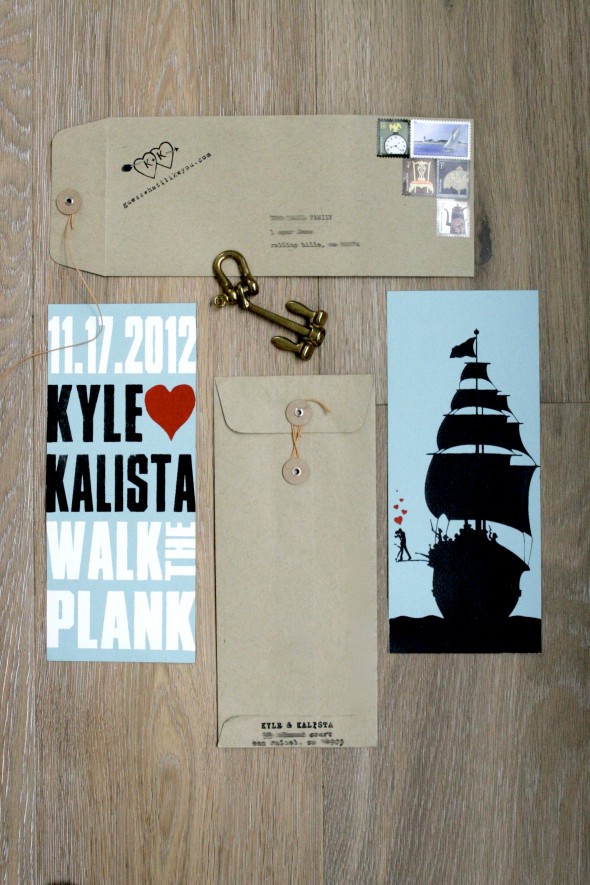
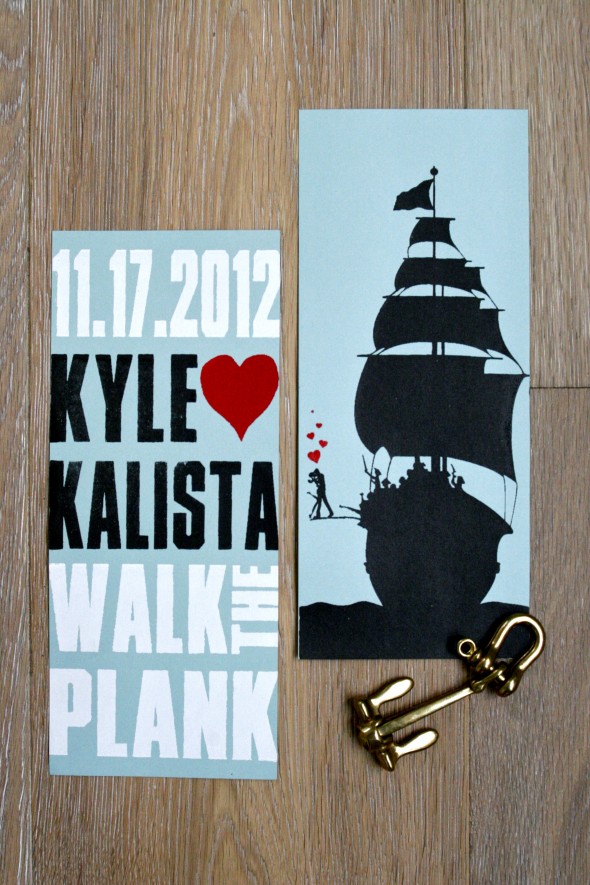
Our Screen Printed Save the Dates
I told you a few weeks back about my obsession with white ink. Today is the tale of my hard-to-learn lesson that it isn't the easiest thing to accomplish. That being said, it has been accomplished, and I am thrilled to share the final product with you: our Save the Dates! At this point I think everyone who was sent one has received it, so I hope I'm not blowing the surprise for anyone. To save a little money (and a little of our sanity) we pretty much only sent Save the Dates to people who would have to travel in to town for the wedding.
There are several elements to these DIY Save the Dates, and I'm going to share what I learned with you, in the hopes that it might save some of you some time, or maybe even inspire you [to not do what we did! Kidding. It was actually a lot of fun, and we learned a great new skill that I'm certain we'll use for other DIY crafts for the wedding.].
The first step was designing the image in Photoshop and Illustrator, which was a long process simply because no design is ever complete as far as I'm concerned. At one point several months ago, after a few shared beers and having seen some stencil art by Cindy Ferguson that I liked, we came up with the idea to incorporate our sailing theme and make light of a traditionally romantic and joyous occasion. And because we were a few beers deep, why not incorporate pirates? Who doesn't love pirates after all?!
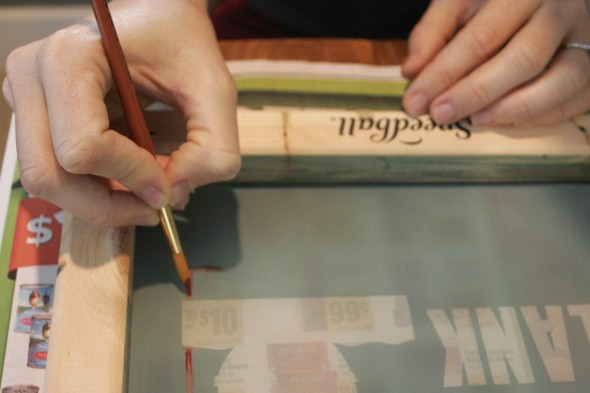
Next, we had to figure out how to screen print in order to get that white ink. We went to the local art shop and bought a Speedball kit and off we went. We had to make several trips back to the store for more supplies, and watched the tutorial DVD about a hundred times. Because my design had a lot of fine lines, we had to do the photo emulsion process. This meant buying a 100 pack of transparency paper so we could print our design onto one clear sheet (anyone want 99 sheets of transparency paper?) then burn the image onto the screen. Screen filler paint fills in the holes, and there you go!
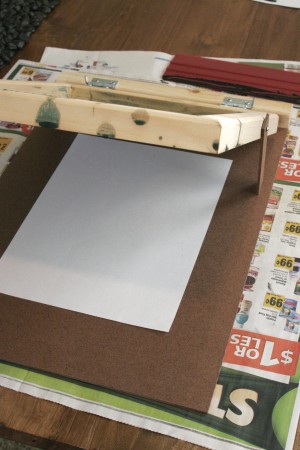
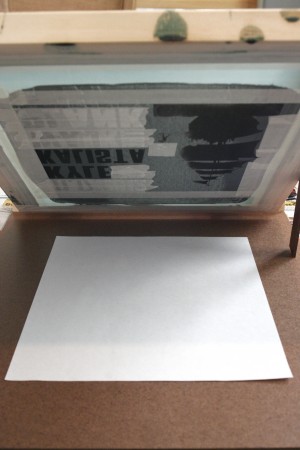
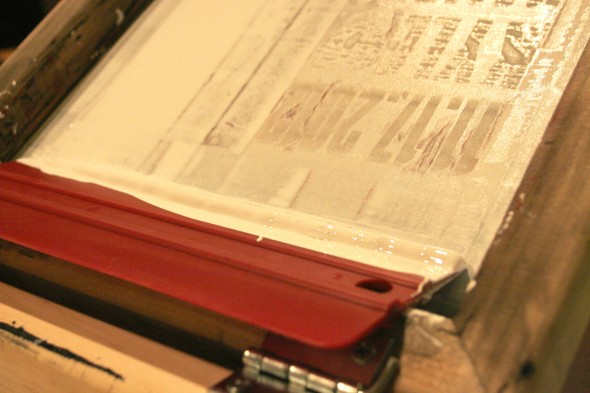
Then you set up your practice run, tape off the areas you don't want printed in that specific color, and go for that first terrifying paint smear.
And just to note, to newby screen printers out there, the ink dries quickly! Do not leave it on the screen for more than a minute or so (like we did after the above photo was taken), or you'll end up frantically trying to scrub the dried paint out of the screen and ruining the image along the way. We learned a little to late that an old toothbrush works wonders.
We, again very smartly, did not think ahead of time about the fact that we had 3 colors and were printing double sided so that meant we had to do 5 separate days of printing (and drying). This also meant that each time we did a run on the screen, the image got progressively worse. By the last run, I think I had pretty much just painted the image onto the screen by hand.
Anyways, here's the final product!! We spent about 3 months coming up with the design, another month sorting out how to do it, and 2 weeks of actually screen printing it!
We bought those great recycled paper string & button envelopes and note cards from Paper Source. We used several current smaller currency stamps to give it that awesome vintage feel (without all the time and effort it takes to source actual vintage stamps). Kyle used our 1920 Underwood typewriter to type up all of the addresses. We bought our return address stamp and website stamp from this great Etsy seller (I highly recommend the self-inking variety!).
The best part may be that these cost us less than $100 total... and several nights and weekends. If you add in the screen printing supplies, which we will be re-using, that's another $150. DIY-ing our Save the Dates definitely paid off! But then again, I have no idea how much someone would have charged us to make these.
So there you have it! What do you think? We're so glad to have spent the time on these, and made them exactly what we wanted them to be. But all I can think is that we did these early on, when we had the time. The closer and closer we get to the wedding, the less and less time we're going to have for projects like this! Oh well... who needs sleep after all?
