Take a Seat! {Creative Escort Card Displays}

The last "big" thing on my list (invitations) will be in the mail next week, so I'm officially ready to begin crafting! And I have to say, I'm quite excited! This weekend, Dan and I took a trip to Urban Ore (a fantastic salvage shop in Berkeley selling anything you could possibly image; it is great for crafty inspiration) to start getting some inspiration for our escort card displays. I know I want them to hang in some way and was on the hunt for interesting windows, shutters, frames or other items that could make a fantastic display.

We didn't get anything on this trip, but it definitely got the wheels turning. I'm loving some of these ideas. We could go vintage, classic, modern, rustic and anywhere in between!
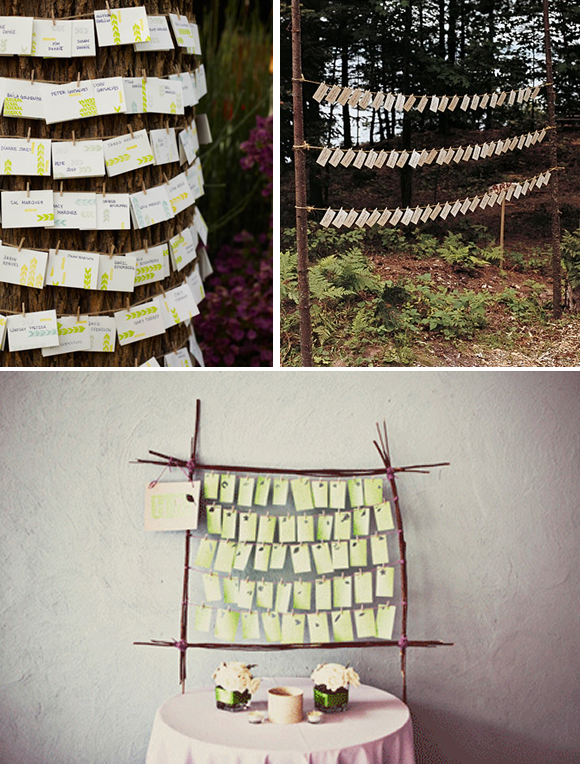
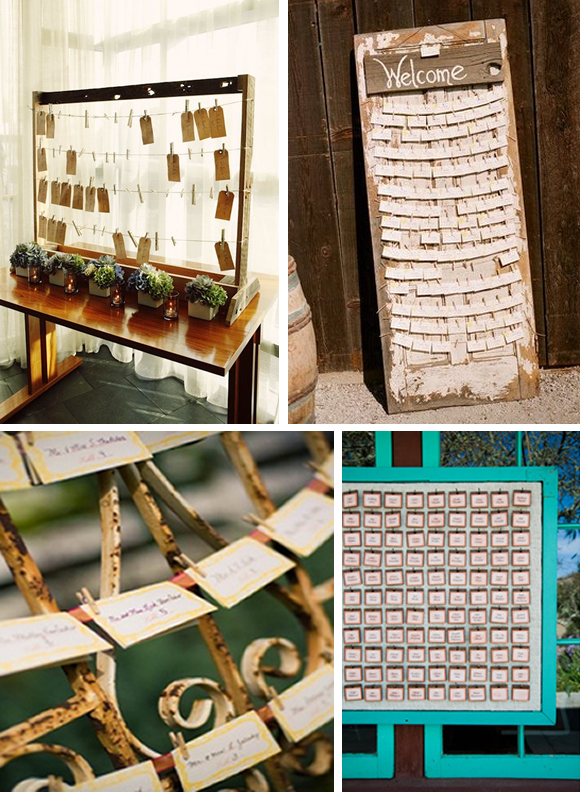
Source: Tree, Wooden Posts, Twig Frame, Wooden Frame, Door, Gate, Modern Frame

One idea that we're leaning towards is displaying the escort cards on a cork board. But we don't want just basic cork. I love the idea of painting the board in an interesting pattern, covering it in fabric (or this AWESOME coffee sack!) or even having it in a fun shape! And this board made of wine corks could be a great touch for our wine country wedding. These would each be so cute with some colorful escort cards.
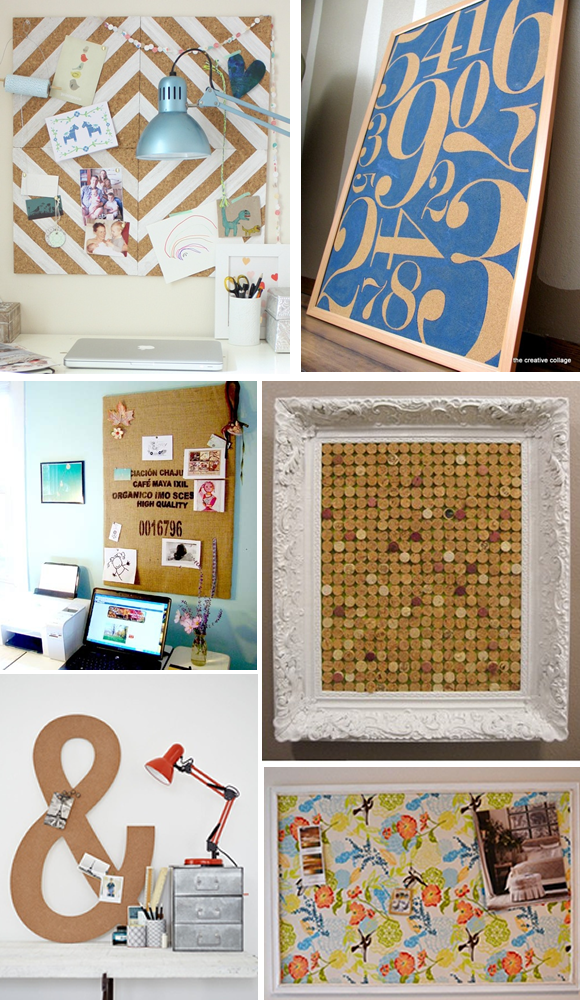
Sources: Striped, Numbers, Coffee Sack, Wine Corks, Ampersand, Fabric

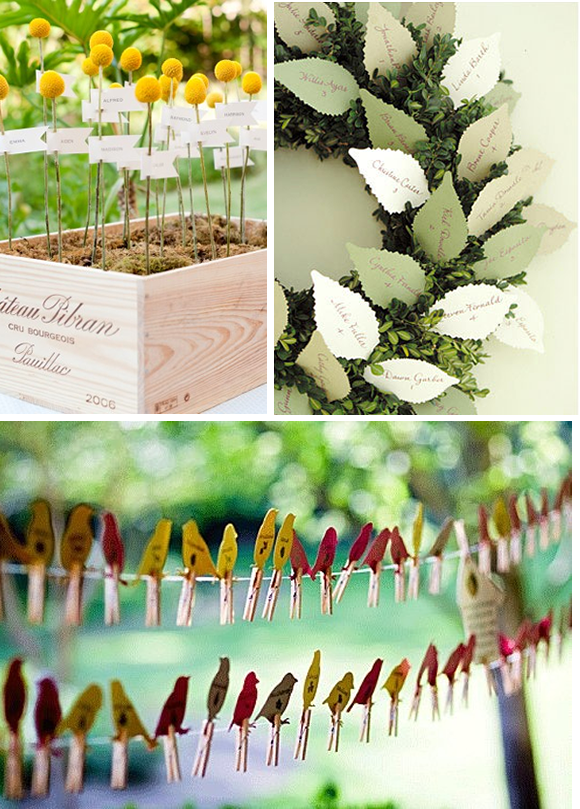
You savvy brides out there have probably seen escort card displays with shutters, windows and doors a dozen times before. And while I think they are totally charming and great ideas, I came across some more unique ideas in my sourcing for this week's post that might spark your creativity. How fun are these?!

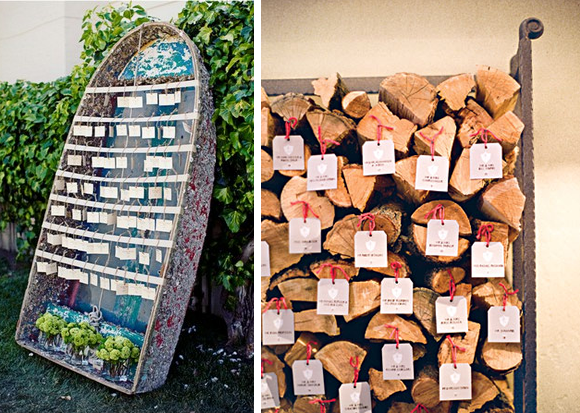
This one is so gorgeous! These colored plastic gems would also be so cute for an engagement party or shower decor.
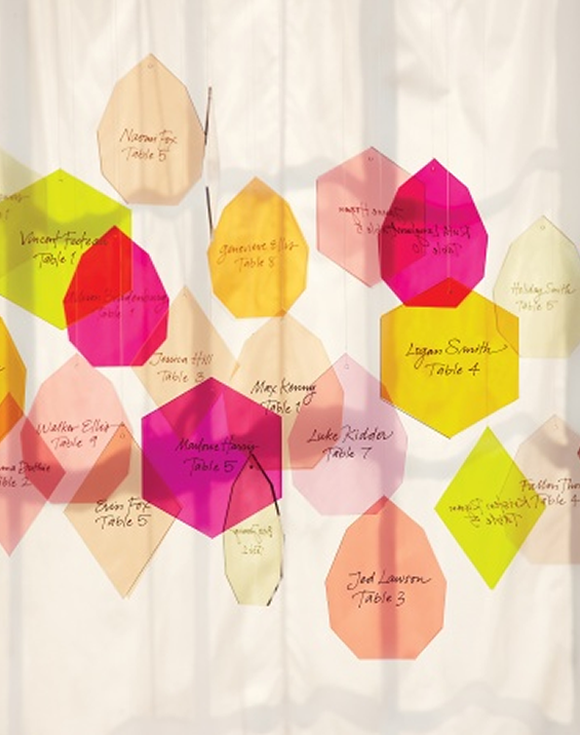
Source: Boat, Firewood, Billy Balls, Wreath, Birds, Jewels

Once we decide what to do and get crafting, I'll share our DIY work here! Do you have any unique escort card display ideas?
J'Adore {Honeymoon Planning and French Inspiration}

I don't know about you guys, but whenever wedding to-dos have me stressed, I just daydream about our honeymoon. Don't get me wrong; I'm beyond excited for the wedding day. But the fact that we have a fabulous vacation following it is icing on the cake. Or, should I say, la cerise sur le gâteau...because we're headed to France! (PS. I have no idea of that's correct French. I just looked it up on google!) Sure, romance in France may be a bit cliche, but we don't care one bit! We are very excited for a relaxing and romantic honeymoon.

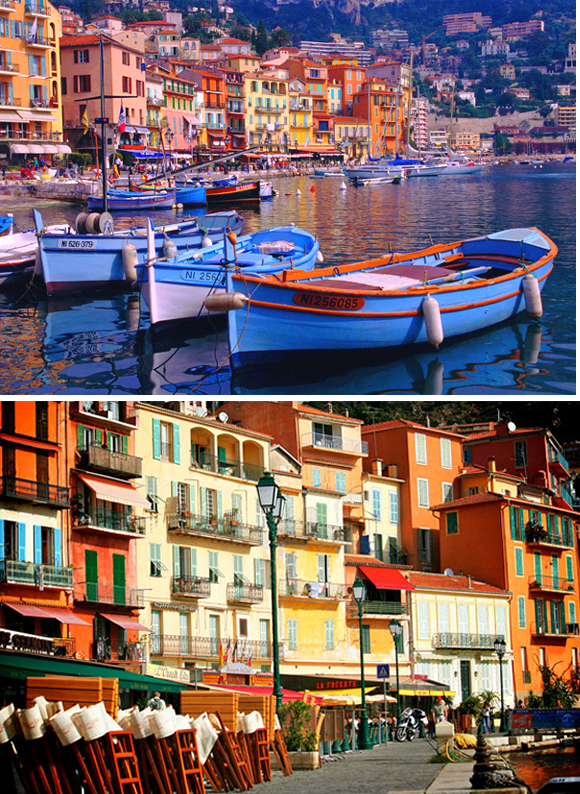
We figure we'll be exhausted from the planning, wedding and travel, so we're starting on the beach. We're staying in a small fishing village near Nice called Villefranche Sur Mer. This part of the trip will be filled with coffee and pastries on the balcony, wondering through the village, big bowls of mussels and time on the beach!

Sources: 1, 2

From there, we head north to the Loire Valley. This area is a bit south of France and full chateaus, vineyards and amazing food. So we'll ride bikes through the vines, drink wine and eat!

Sources: 1, 2, 3

Hopefully we'll be fairly rested after some beach and winery time as we'll be finishing our French adventure in Paris. Dan's never been before, and I went with a college group, but never really got to appreciate Paris. So, we're going to keep our touristy time to a minimum and try to really soak up the culture. I'm looking forward to wondering little streets, stopping for a cappuccino, finding a flea market or antique shop and eating. Yes, eating will be a theme :)

Sources: 1, 2, 3

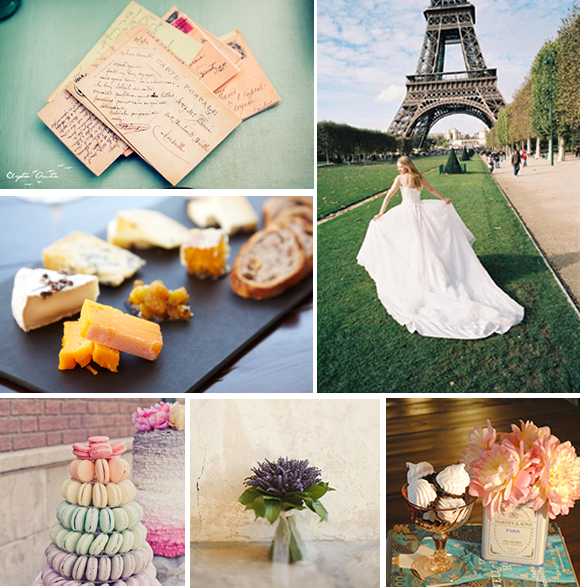
Looking at photos of France gets me so excited about the trip! It also makes me think about how AMAZING a French-inspired wedding could be. My french wedding would be inspired by the countryside, with lavender, balloons, pastels and charming vintage details.

Sources: 1, 2, 3, 4, 5, 6, 7, 8, 9, 10, 11

What would your French-inspired wedding look like?

It's All in the Details {Wedding Invitations}

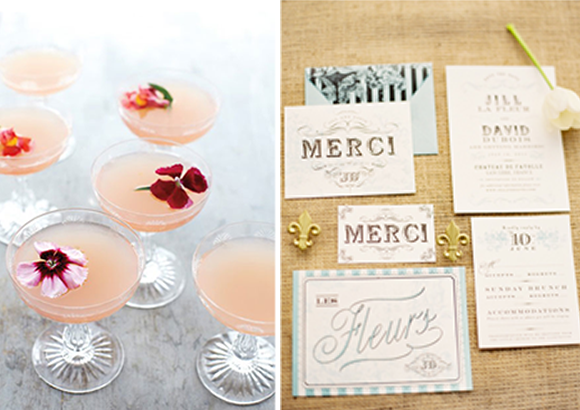
I've been talking about invitation and wedding papers a lot. I hope you aren't bored of the topic! Designing the invitations has been an incredibly fun project for me and I've loved selecting every single detail. Of course, there's more to the invitation suite than just the invitation itself. Last week, Dan and I took a trip to Paper Source to polish some final details on the invitations before we get them ready to be sent off. Here are some tips and reminders from our experience; please share your own tips too!

Sources: Map, Stripes

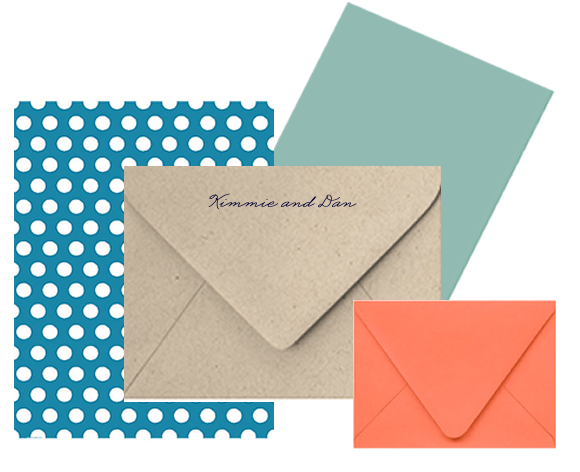
First, we had to select the envelopes. Do you go colorful and attention grabbing? Neutral and classic? There are a ton of choices from so many different resources, so remember that this is the initial impression of the invitation and will set the tone.

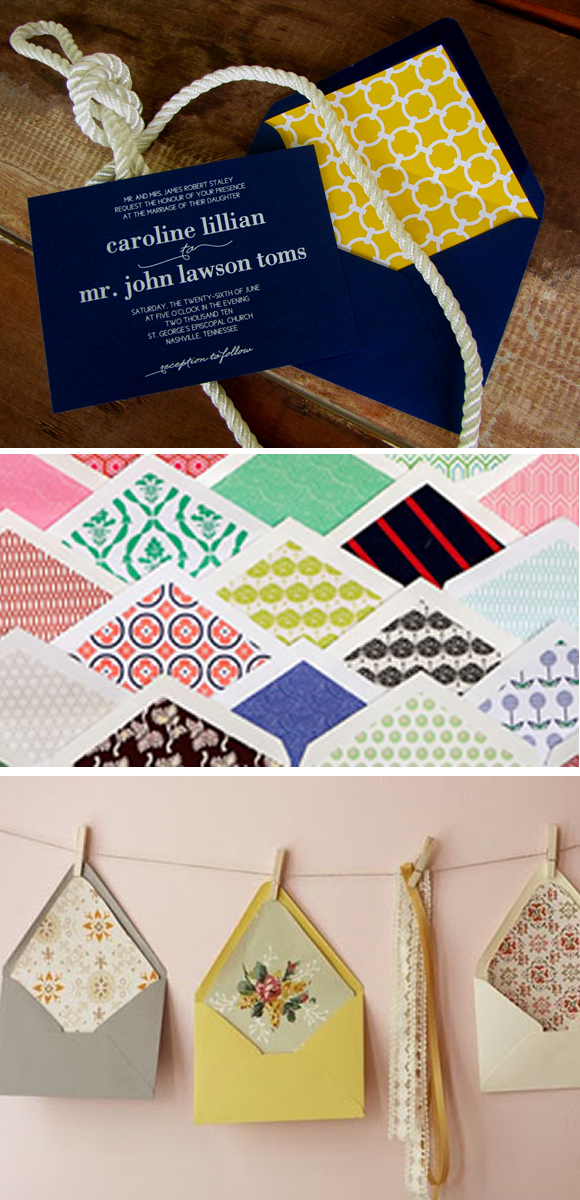
You also have to decide if you want to line your envelopes. I love the look of lined envelopes, plus it is quite traditional to have your envelopes lined. However, there are plenty of non-traditional ways to make a statement with your lining, from maps to wrapping paper to photos.

Sources: Nautical, Graphic, Vintage Floral

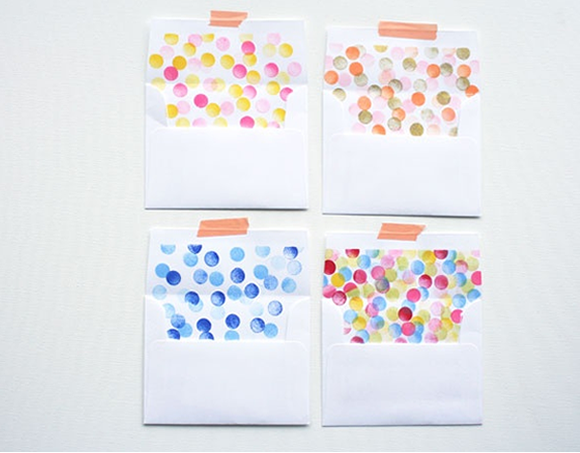
If you can't find a pattern that fits your look or aren't crafty with paper, how about these adorable stamped envelopes?! With this, you get the look of liners without all the cutting and pasting. A quick tip: If you do decide to line your envelopes yourself, Paper Source sells templates to make the process nice and easy.

Source: Oh Happy Day

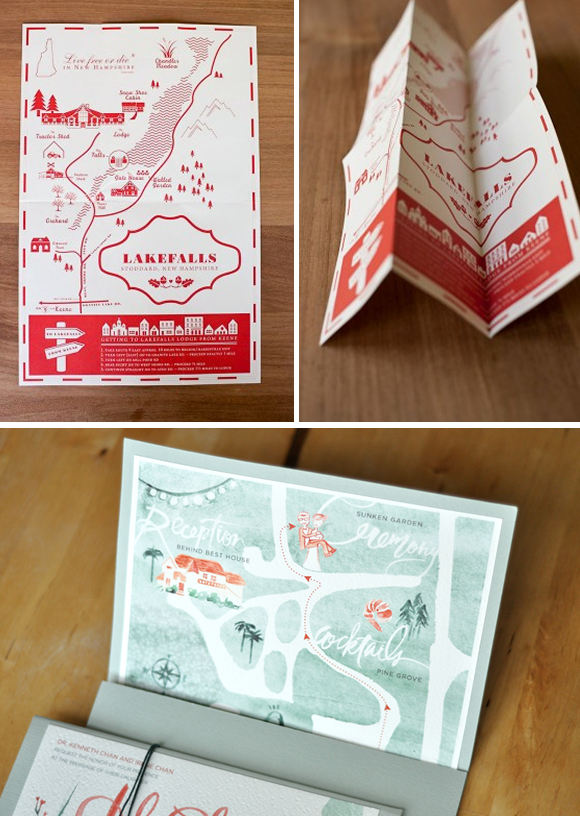
In addition to your invitation and response card, you'll likely need to include some additional information like directions, hotels, registry, etc. I love these cute illustrated maps. I ended up opting for written directions, but we'll be printing them on some cute colored paper to match the overall scheme.

Sources: 1, 2

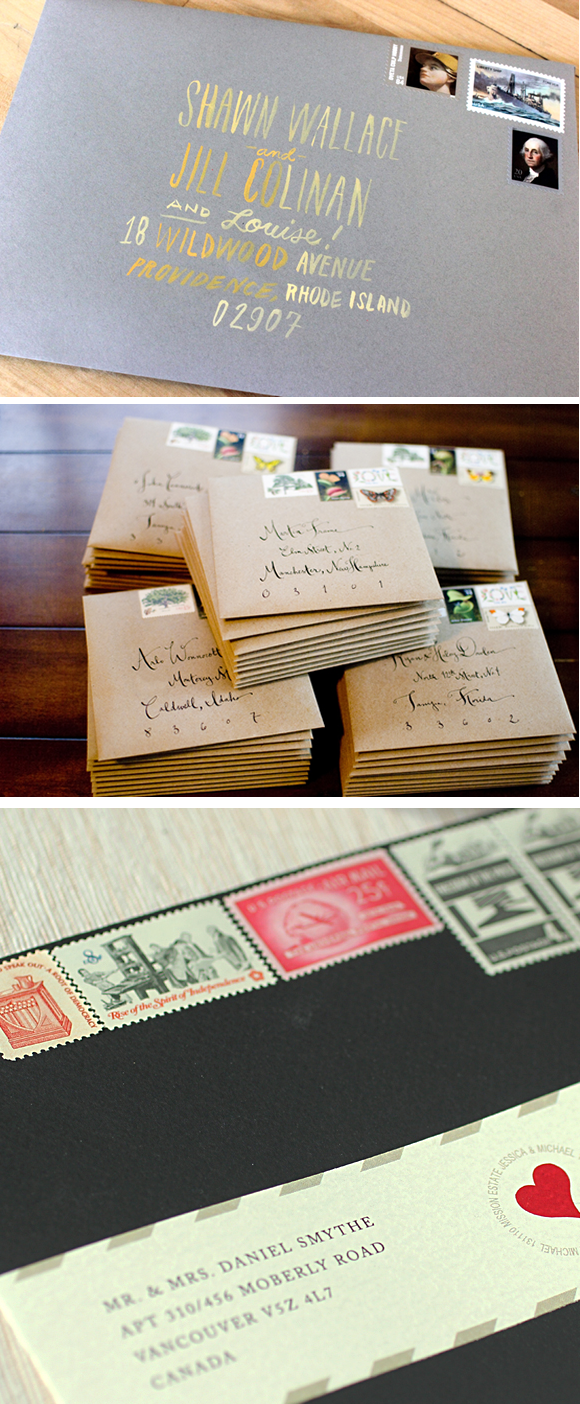
We've also be brainstorming the best way to address the envelopes. Calligraphy is always fantastic but not always doable because of cost. I think this label is super cute and a great way to further incorporate your invitation look. The hand-lettering in a fun color is a great idea too! Lucky for us, I have a very generous future mother-in-law with some calligraphy skills and a summer off :)

Sources: Grey and Yellow, Kraft Paper, Black with Stamp

People also have tons of fun with the stamps for their invitations, using some gorgeous vintage stamps. I still haven't picked out stamps yet, but do love this option. Another great tip: You can take your invitations to the post office and ask them to hand-stamp the letters instead of running them through their machines and you'll get that classic post office stamp.

Don't forget your return address! I love the idea of a stamp because you'll be able to use it for all your thank you notes too. And there are so many cute options! We bought the top one from Etsy and it turned out great.

Souce: 1, 2, 3, 4

Here's a tiny sneak peak of what we ended up with after our Paper Source trip. I can't wait to see them all come together!

Source: Paper Source

Any tips or tricks for putting the final touches on invitations?
Getting Crafty {Ideas & Resources}

It is SO hard to believe but I'm just over three months away from the big day. So crazy! That means pretty much all the big things are checked off the list and I get to enjoy being crafty and creative! Before I dive in to the projects, I've been doing my research on supplies. Who has the designs and colors I'm looking for, what are the prices like, etc. I thought I'd share some of my findings with all of you!

I started with cutetape. They have some cute stuff (hence the name :) ), though not a massive selection and seem to be out of stock of a lot of things. I ordered a few bags, some twine and washi tape and everything was great in person. It was a good start to my collection.

Before picking exactly what I want to get in bulk, I went to my favorite site--Etsy. Etsy may be known for handmade and vintage, but they also have a whole section of "supplies". Here you can find pretty much any craft supply you could want and some really fantastic prices!

On my crafty shopping list, I have craft bags, washi tape and ribbon.

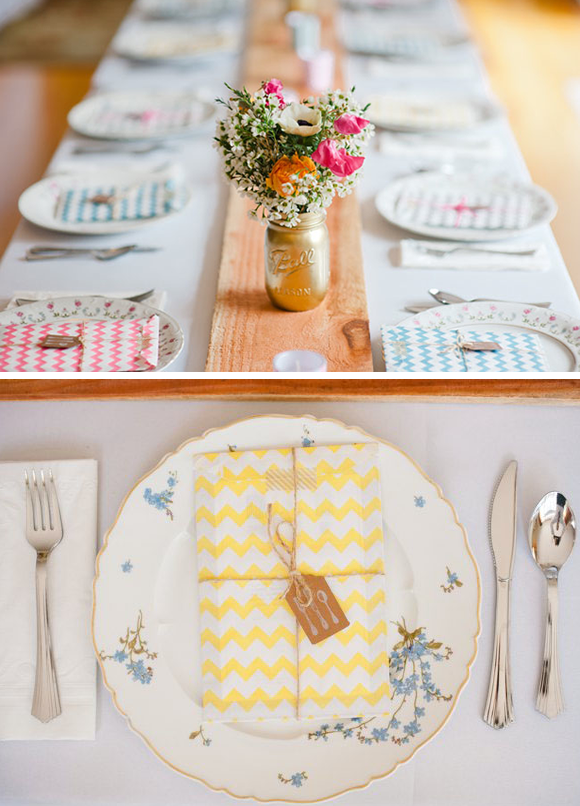
I'm going to have favors on the place settings, similar to Allison's sister's wedding. I love the multi-colored chevron, but I'm leaning more towards the mix and match patterns of the white-printed kraft paper.

Sources: Chevron Wedding, Chevron Bags, Kraft Bags

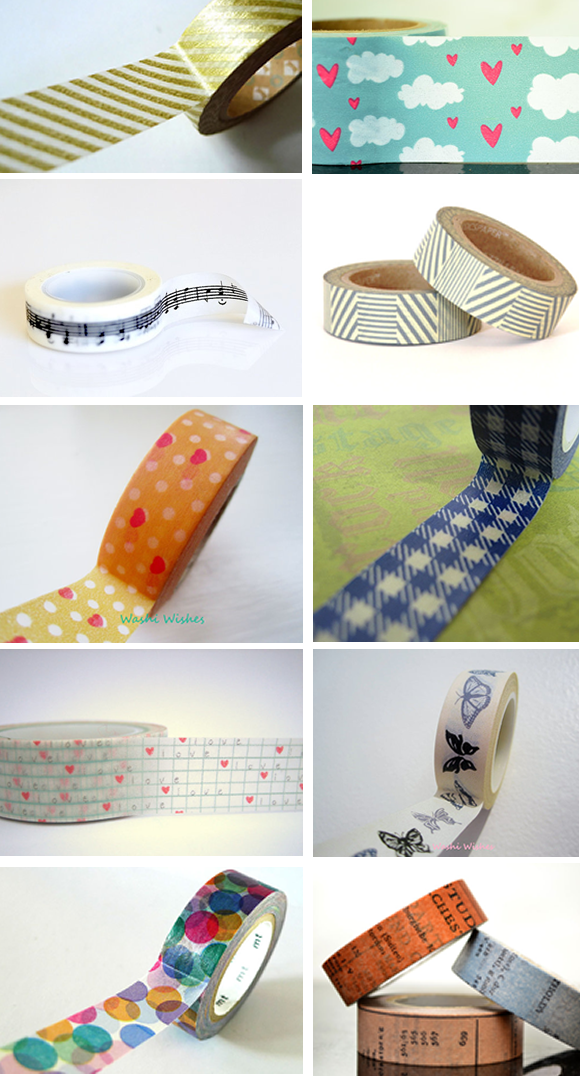
I've shared my love of washi tape with you before, but I don't think I really understood how much you could do with washi tape. Etsy seriously have every pattern of washi tape under the sun! Stripes and polka dots are classics, but how about hearts, music notes, newsprint, gingham, or butterflies. You could make a whole wedding look around one of these rolls and put them on anything from your invitations to your escort cards. So simple yet so stylish!

Souces: Gold, Clouds, Music, Stripes, Orange Dots, Gingham, Grid, Butterfly, Confetti, Newsprint

I also discovered today that Target sells washi tape! Great for when you need some quickly and don't have time for the Etsy order (they called it printed paper tape).

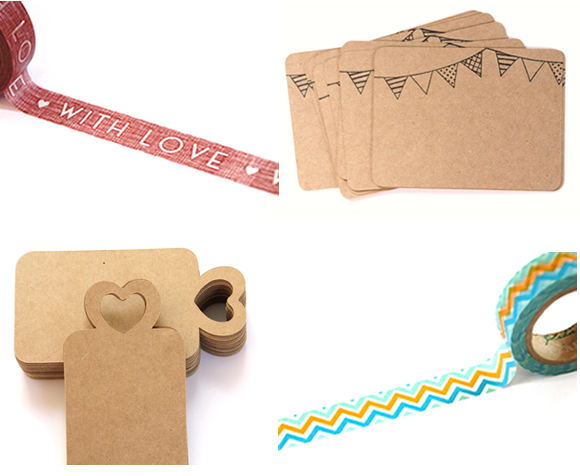
In all my searching, my favorite Etsy seller of craft supplies has got to be Bahana Splits. Her bags and tape are very cute, plus she has some really fun tags and stamps. You could do so much with these!

Sources: With Love, Bunting Card, Heart Tag, Chevron Tape

Do you have a favorite resource for craft supplies? You can never have enough so please share!
DIY Letterpressing

Most of you out there have probably at one point or another during your wedding planning process (or life?) drooled over some beautiful letterpress. The printing technique is quite luxurious, with that hand-pressed feel, intricate designs and often hefty price tag. It takes some large machinery and a skilled printer to execute this gorgeous printing technique.

Source: 1, 2, 3

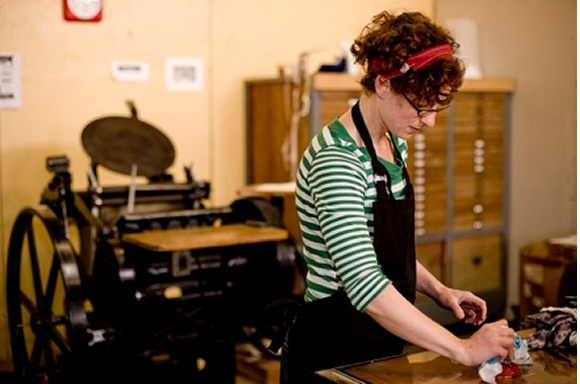
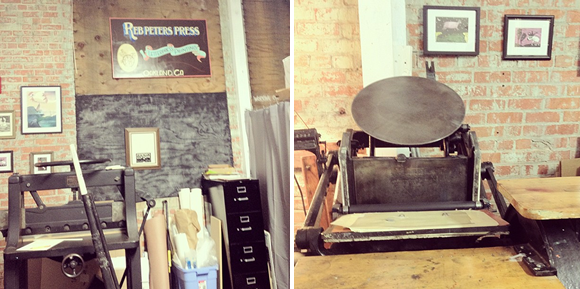
Once I had decided to design my own invitations, I started looking around for how to print them. I started where I often do--Yelp--and was so lucky to find Reb Peters Press, located not far from us in Oakland. In addition to creating her own beautiful art and letterpress printing, she offers letterpress workshops. That's right--DIY letterpress! In her workshops, she guides you through the entire letterpress printing process, you do most of the work yourself, and you leave with a stack of hand-printed wedding invitations! It only took reading through a few Yelp reviews and I was sold.

Reb Peters Press

I sent her my design a few weeks ago, she made a few suggestions and it was off to be turned in to a printing plate. We arrived Friday morning and were off to the presses!

The cutting machine and printing press in her studio (personal photos)

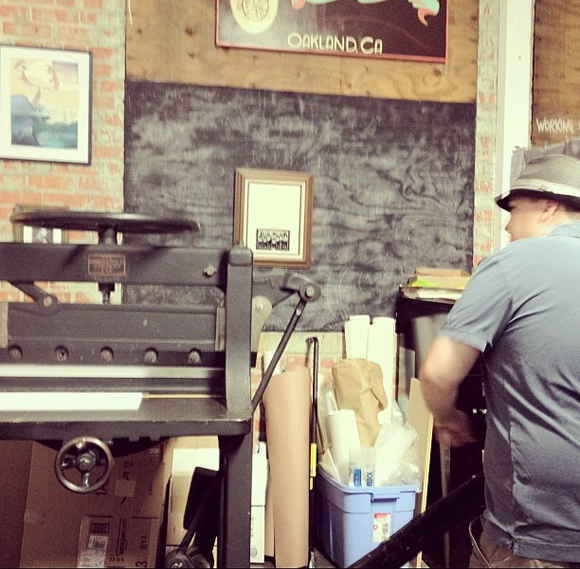
First, we trimmed down the paper to size. She has a GIANT 100 year old paper cutter. Dan loved throwing the lever that brought down the large blade. Very manly. :)

Dan cutting paper (personal photo)

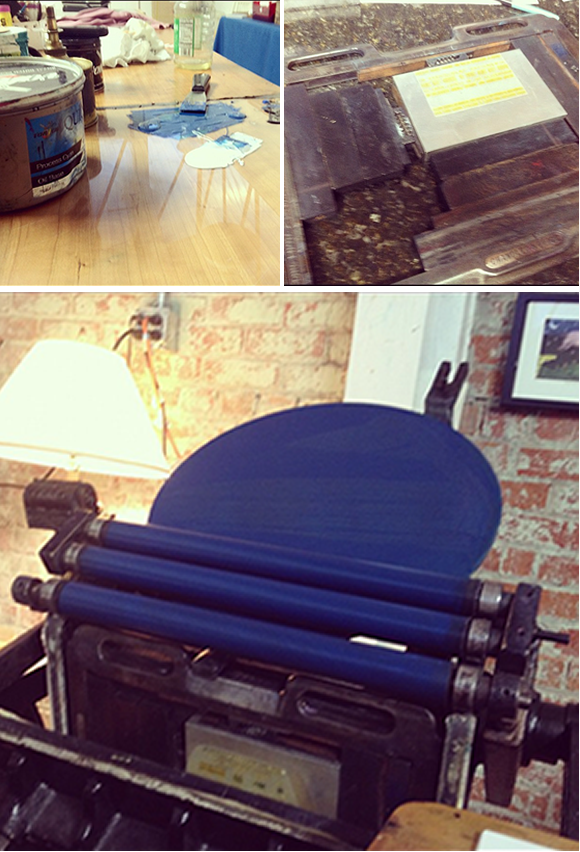
Then we prepped the press. This involves mixing the ink to the perfect shade, inking the press, setting up the plate on the press and doing a few test runs.

Mixing Ink, The printing plate, Inking the press (personal photo)

It didn't take too long until we were printing! We were feeding the press by hand, and pulling the lever to print. It was definitely a little nerve-racking, but it wasn't long before we were in the rhythm.

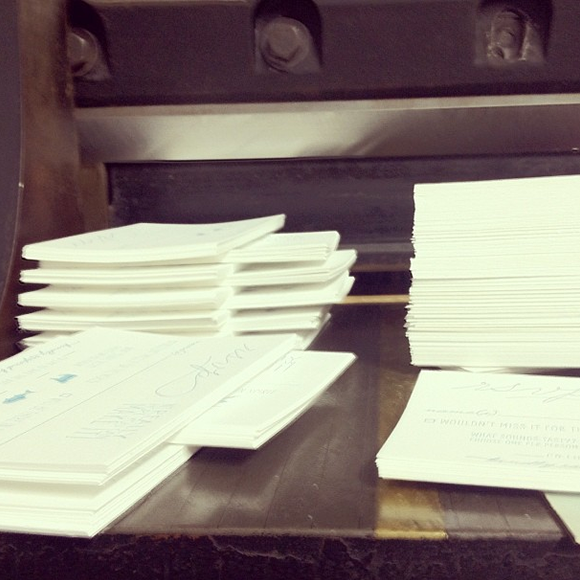
300+ pieces of paper fed in to the printer later (we did both RSVP cards and invitations, and you have to run the invitations through twice for two different colors) and we had a stack of invitations designed, cut and printed by us. We learned a ton and had a lot of fun. One thing checked off our to-dos plus it was a very fun date!

Stacks of printed paper! (personal photo)

I highly recommend  this for printing your invitations, saves the dates, thank you cards or anything else! If you don't have the design chops to make your own, Rebecca can help you out (or, I'd LOVE to help you design your invitation--add a comment and I'll reach out to you personally). It was a super economical and fun way to get some really gorgeous and personal wedding invitations.

Photos of the final invites to be posted once they are sent out!

How did you print your invitations?

The Traditional Guest Book

I am all for bucking tradition when it comes to weddings--it's your day and you can do whatever you want! And I love some of the alternative guest book ideas that you see while pursuing Pinterest and the blogs. We considered quite a few of these ideas--the thumb print balloons are very cute, vintage post cards could be really fun or it could be fantastic to have a piece of art signed by your friends and family to hang on your wall post-wedding. However, I've decided to stick with tradition for the wedding guest book. There is just something about being able to take the book out over the years, hold it in your hands and flip through the notes and well wishes. Plus, this could become a wonderful wedding scrapbook where we keep cards, toasts or any other favorite memories.

That said, this does not mean I need to have a white satin book with lines for each name. We can still have a little bit of fun.

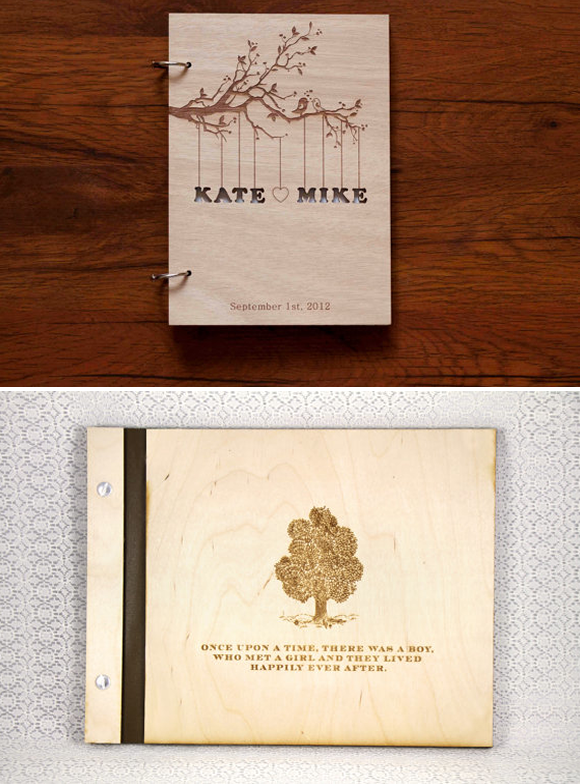
There are so many GORGEOUS books with personalization options. We could go rustic...

Source: Kate and Mike, Once Upon a Time

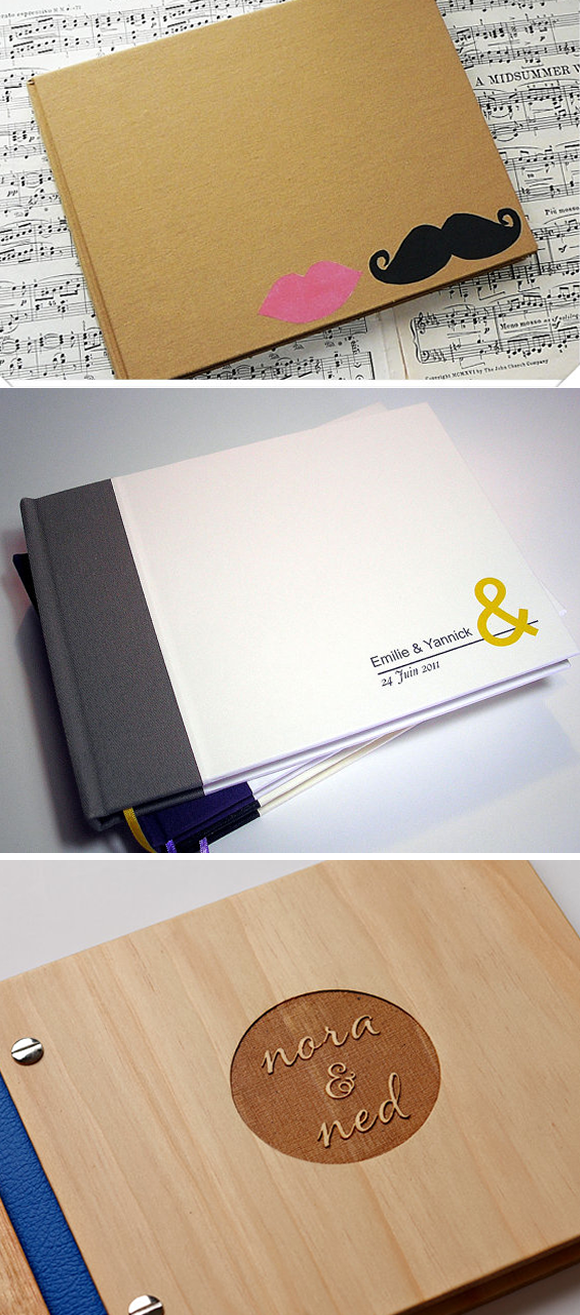
...modern...

Source: Lips & Mustache, Ampersand, Nora and Ned

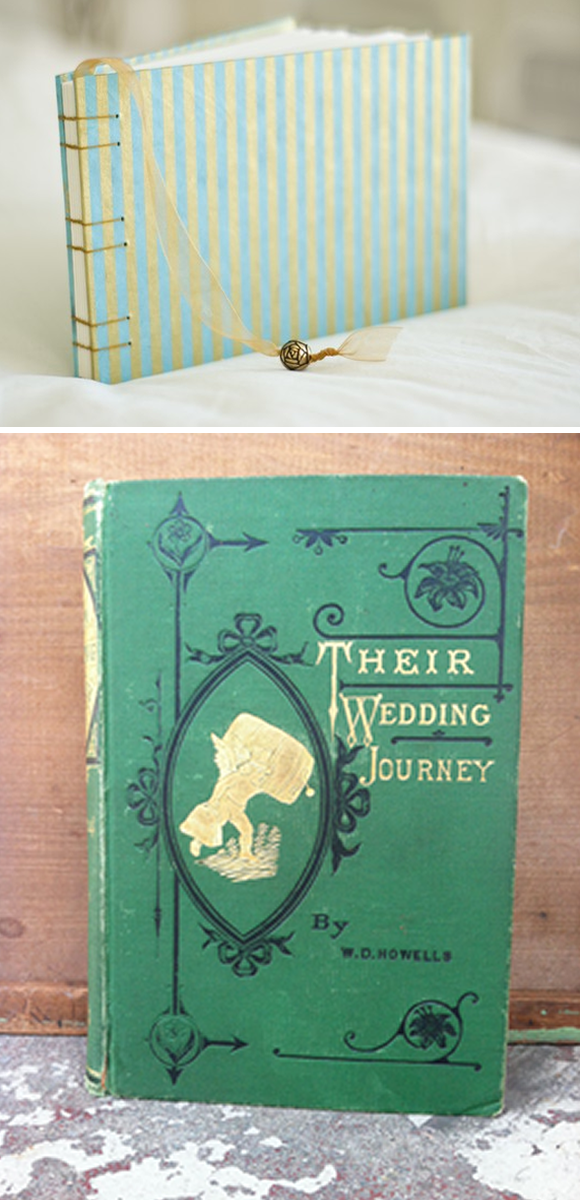
...classic and romantic...

Source: Striped, Wedding Journey

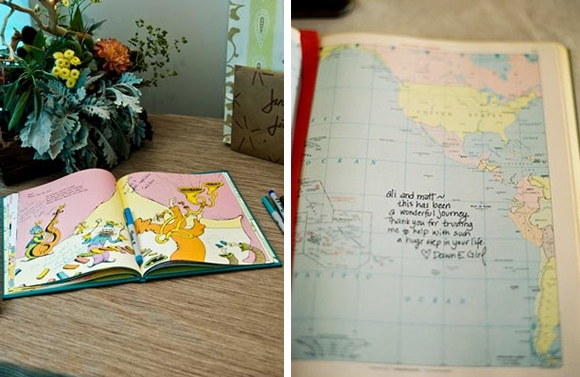
...or a bit more unique. How cute is the idea of using a favorite children's book or atlas of places you've traveled together?

Sources: Kids Book, Atlas

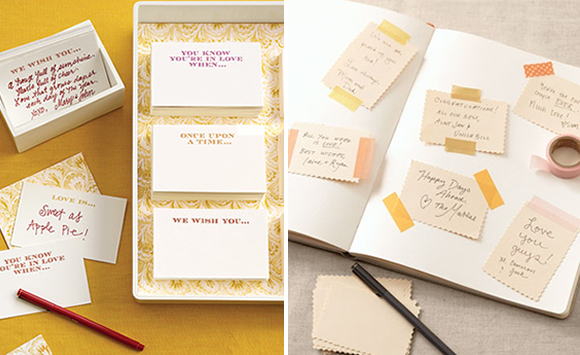
I still want to incorporate some fun and unique ideas into the book as well. I love these "conversation starters". We also plan to leave colored pens, stickers and stamps to let our guests have a little bit of fun with their notes.

Source: Conversation Starters, Taped Notes

Are you going traditional or non-traditional for you guest book (or perhaps somewhere in between?). Share your ideas!

Girls Just Want to Have Fun {Bachelorette Photo Shoot}

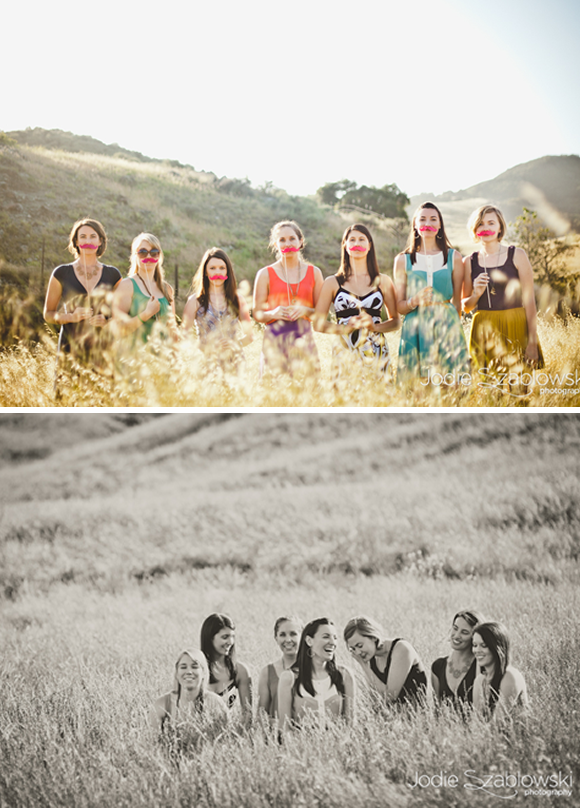
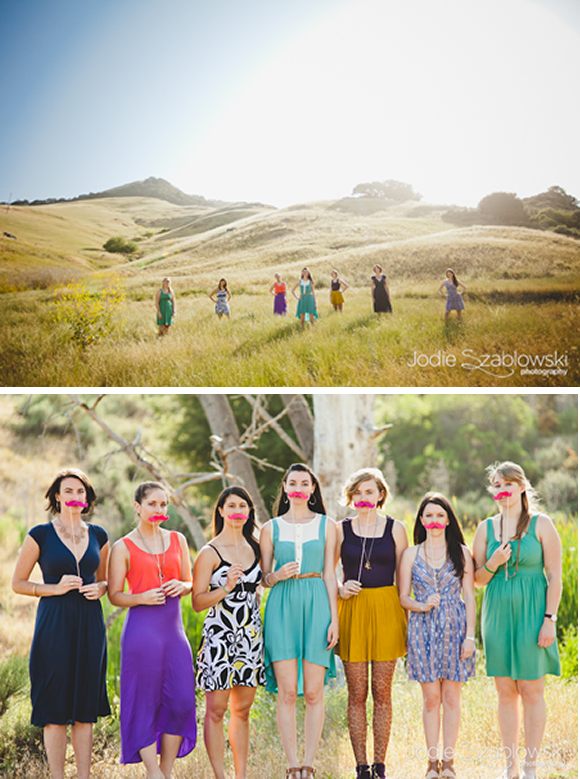
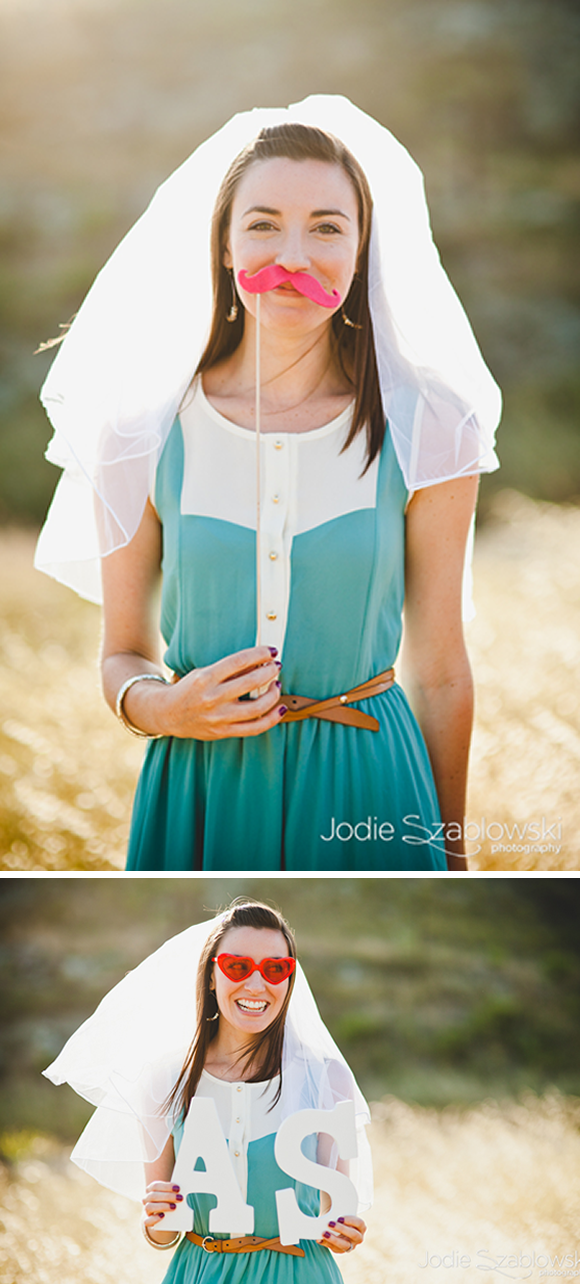
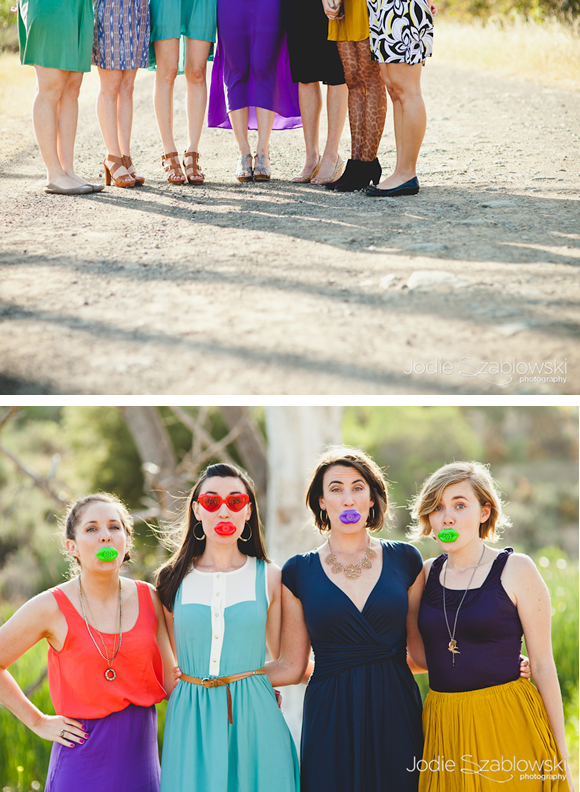
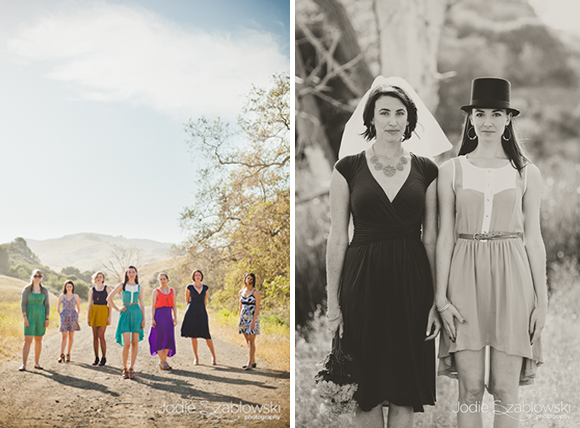
This past weekend, I headed down the coast to central California to celebrate my friend and bridesmaid's bachelorette weekend. (Remember her adorable Save the Date?!) In addition to sun, wine, and LOTS of food, we did a bachelorette photo shoot! She did this as an alternative to engagement photos (she and her fiancé had already taken some professional photos prior to their engagement), so it was still a great way to get to know her photographer before the wedding, while having some fun with her girls. We had a ton of fun with the shoot! We got dressed up in colorful dresses and brought fun and silly props. I have to say, this is a fabulous activity for a bachelorette party with some great keepsakes for the bride!

Check out the beautiful results from photographer Jodie Szablowski.

And here's the beautiful bride.

Source: Jodie Szablowski Photography

Bridesmaid Dresses {An Update & A Dilemma}

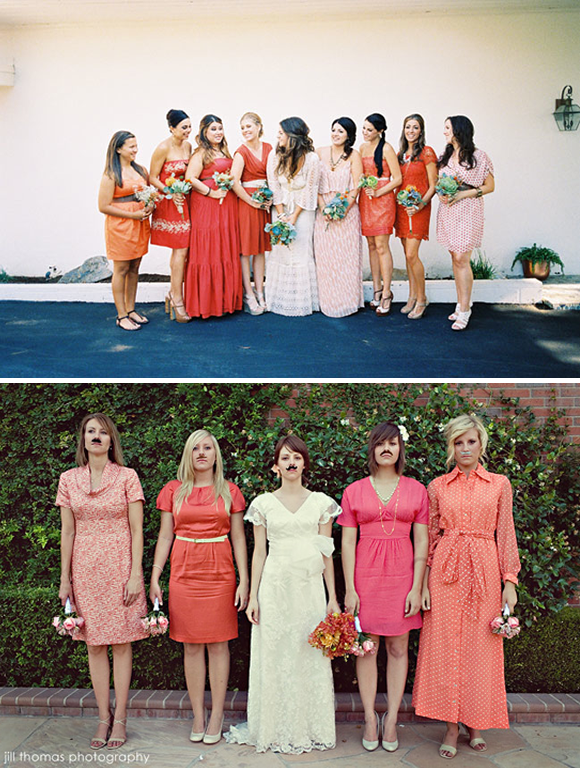
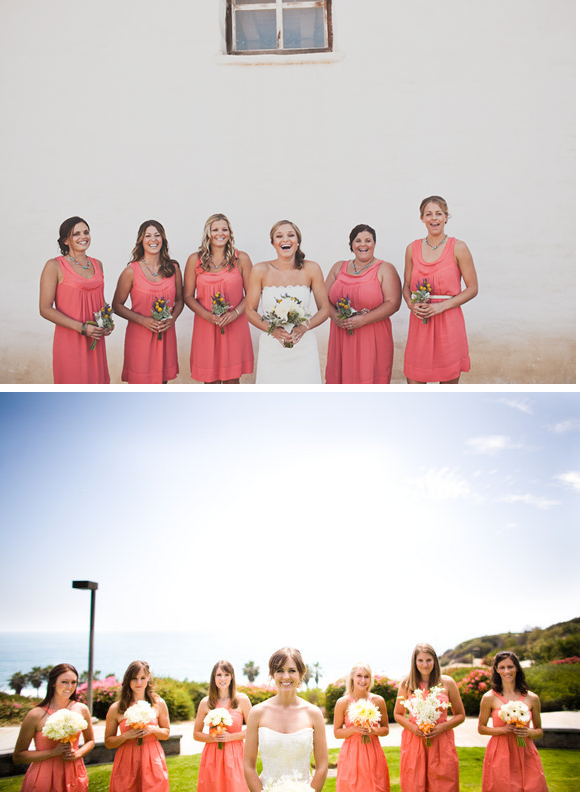
Earlier this year, I asked you all for advice on bridesmaids dresses--I couldn't decide between mismatched coral, grey or a matching patterned dress. Well, I thought I had decided but my dress dilemma continues these many months later. I clearly need everyone's help! Here's the latest: I decided on mismatched coral dresses. The color is a big trend this year so I thought it wouldn't be too hard to put together the perfect pallet for my four bridesmaids. Unfortunately, that proved to be easier said than done! We've purchased a variety of dresses from a variety of sources and I'm still having a hard time seeing it come together.

Source: 1, 2, 3, 4

Why is this proving to be so difficult? First of all, coral is a tough color! It easily goes orange, pink or red and changes in different light and when compared to similar colors. Two beautiful dresses start to look not quite right next to each other. And it is a particularly difficult color to get a good sense of online with different screen colors.

Secondly, I'm a little too loving when it comes to this color pallet. I love them all, from almost pink to very orange, and can never decide which I like best!

Lastly, I seem to have an aversion to "bridesmaids dresses." I want something with a little pizzazz and style and I can't seem to find what I'm looking for in a bridesmaid dress.

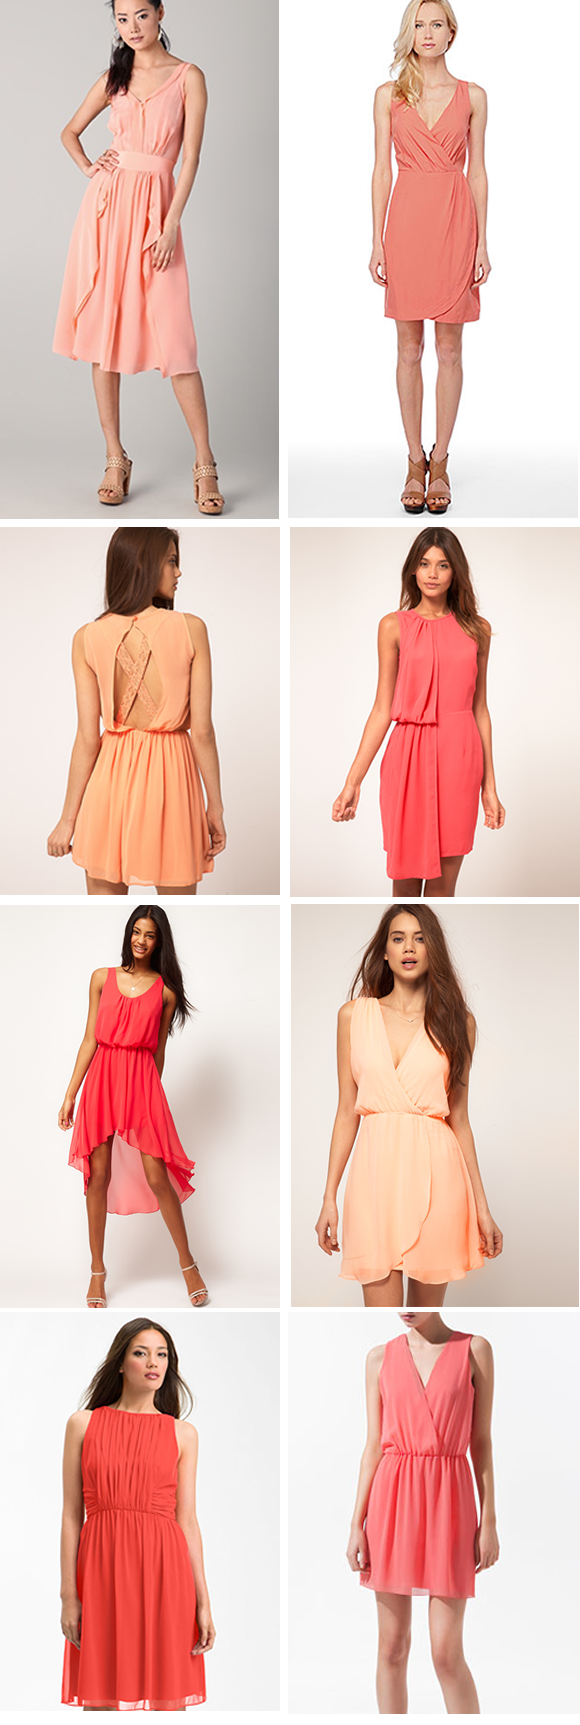
Here are some dresses we've purchased, considered or may be ordered in the near future. Don't get me wrong--they are all gorgeous! It's just a matter of putting them together...

Source: Neiman Marcas, BB Dakota, Asos, Asos, Asos, Asos, Nordstrom, Zara

So I stand here with a handful of dresses and not sure where to go next! I'd love your advice or ideas. Should I keep trying to put together mismatched dresses or should I pick one dress for everyone? What's your favorite--coral, peach or orange? I'd love to hear your success stories!

First Comes the Dress, Then Comes the Accessories

My dress has arrived (yay!!!!!) and scheduling my first fitting is towards to the top of my to-do list. And while I can't wait to see how it looks fitted just right, knowing the dress is here also gets my fantasizing about (and shopping for) accessories! The dress is gorgeous on its own, but one of the things I loved about it as that it is simple enough to accessorize and really make it my own.

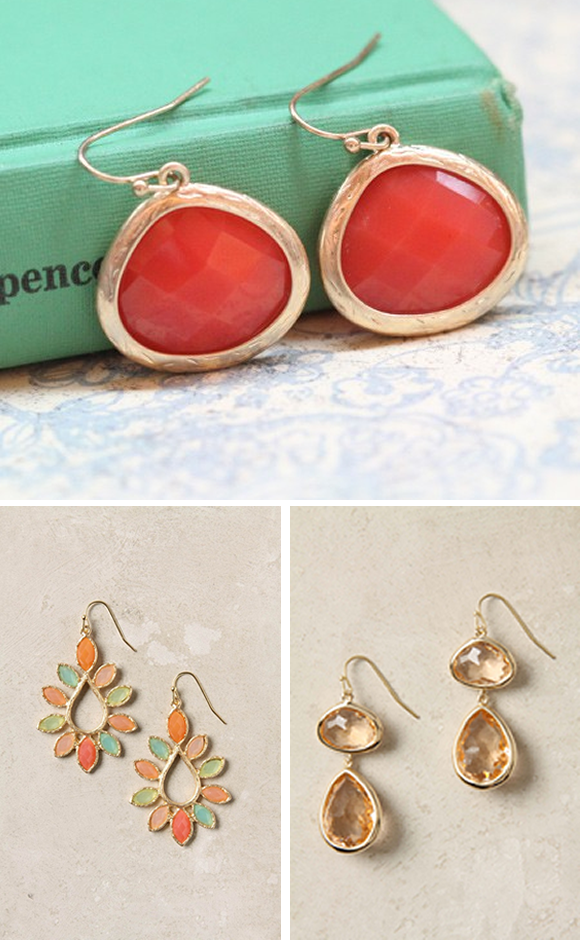
First, I need some lovely jewelry. I'm thinking simple earrings, a bare neck and stacked bracelets.

Source: Coral, Multicolored, Rose

Source: Diamonds, Peals, Mixed

For the bracelets, this is certainly a fun trend to take advantage of in my bridal look. To make it a bit more special, I'm going to mix my own bracelets with borrowed bracelets from the important women in my life. I love this for my something borrowed and I think it will look really chic.

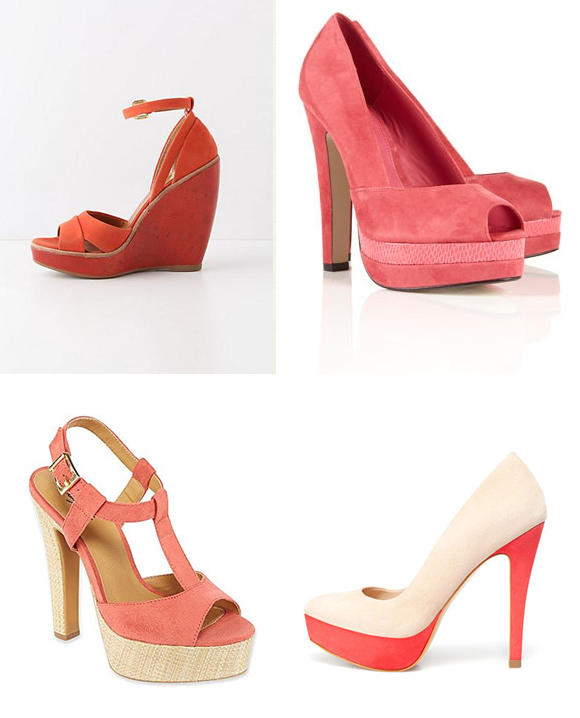
What would a bridal look be without some fab-u-lous shoes. I'm going bold here. There's nothing like some fantastic shoes to make a girl feel really special.

Source: Wedge, Heels, Espadrilles, Platforms

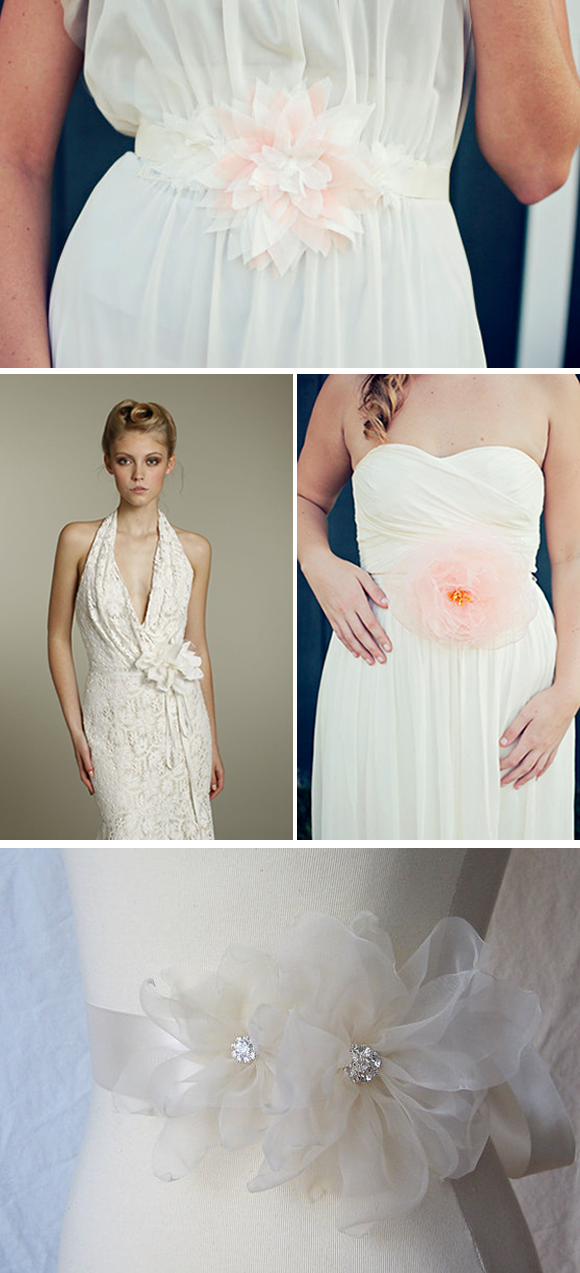
Lastly, my dress needs a sash. I want organza flowers in ivory...but these peach flowers really caught my eye as well! What do you think of a little color on the sash?

Source: Peach, Lace, Pink, Ivory

Any favorites? Any good places to shop for bridal accessories? I would love to hear your thoughts!

{DIY Tutorial} Kinda-Calligraphy

I've been talking a lot lately about calligraphy, invitations and wedding papers, so today I'm sharing a little DIY tutorial for what I like to call "kinda-calligraphy." This is basically a way to get the look of calligraphy without being a professional and even without all the fancy calligraphy tools. While this certainly does not replace what a real artist can do, it could be a great budget-conscious option. It's also a good way to do hand-lettered signs because you could do this on just about anything, from a rustic piece of wood to a vintage window or mirror! This little trick took a little practice for me to make it look just right, but it is super easy to do. It's not a science by any means so just have a little fun with it and see what you like!

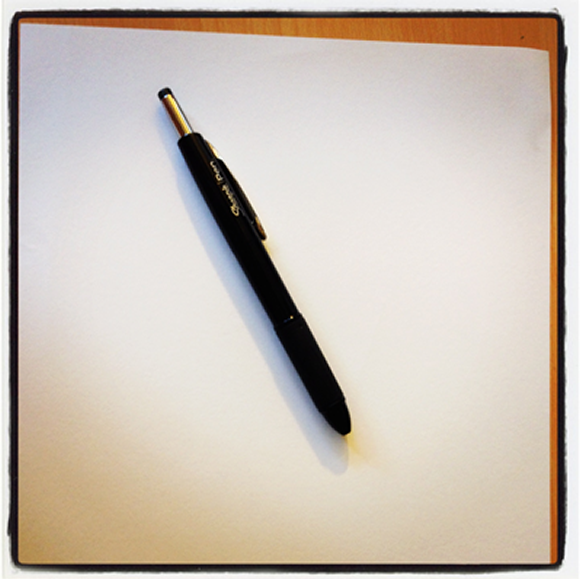
What you need: *Pen (I recommend something with a thin tip but that is a bit inky--I really like the Sharpie ball point pens, but whatever you have will work great as long as it isn't too thick) *Paper *Someone with nice cursive handwriting :)

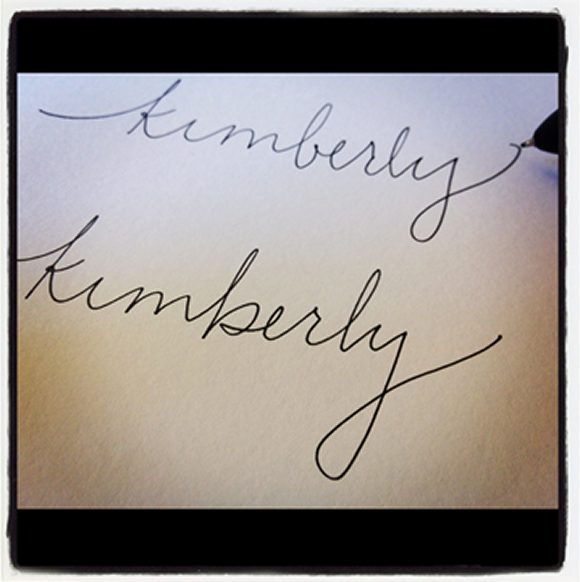
First, write in cursive whatever you want to have in the faux calligraphy (I picked my name because I played around with this quite a bit when I was designing the invitations.) Write it a few times. Try a few different styles. Get creative. Add some flourishes. You want to have some options for which to turn in to calligraphy.

TIP: Don't hesitate to look at photos of calligraphy online. For example, I really didn't like the way my lower case 'b' looked so I found some photos and borrowed their style. You can get good ideas for shapes, swooshes, etc. from just a Pinterest or Google Image search (or my post from a few weeks ago with some fun calligraphy inspiration).

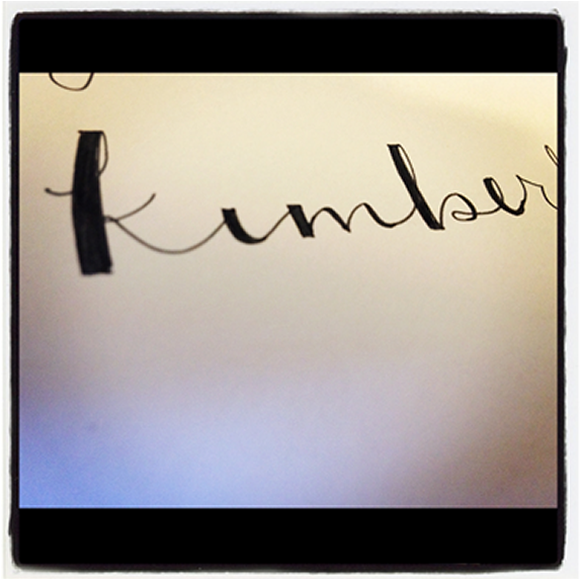
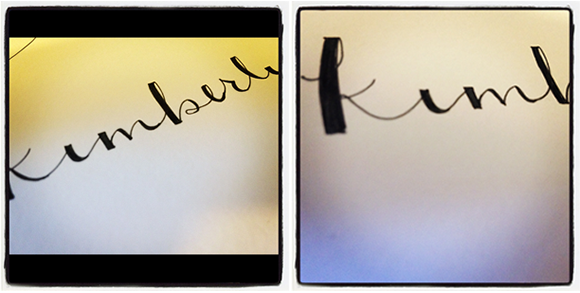
From your writing, pick your favorite--one where you like the shape and the spacing of the letters as well as any ornaments you've added. Now, you will essentially be building out the lines where you pen drew downward. This is how you mimic the look of using an actual calligraphy pen, which often has a wide tip and is drawn by angling the pen. I've just outlined them here you so you kind of see what I'm talking about.

Again, if you are ever unsure what to fill in, check out some photos online. Play around with it and see what looks right to your eye. This definitely does not have to be perfect, but it gives a nice feeling of calligraphy. I found that the flat top on the thick line gave a nice look as well.

Once you've filled in all the letters, you have your kinda-calligraphy word complete! At this point, you're all done if you're using it for a hand-lettered sign or address.

If you want to use your new masterpiece on something that will be printed such as an invitation or program, you should now scan the image so you have a file of it on your computer. From here, I brought the image in to Adobe Illustrator and basically traced the word so I had a digital vector file (or have a graphic design savvy friend help). To be honest, I'm no Adobe pro so there's probably a much better way to do this. Please share if you have any tips!

Full disclosure: I am not a calligraphy expert by any means, and just making this up as I go! Has anyone tried something like this before? Feel free to share any tips, tricks or other ways to use this!