Watercolor Wonderment

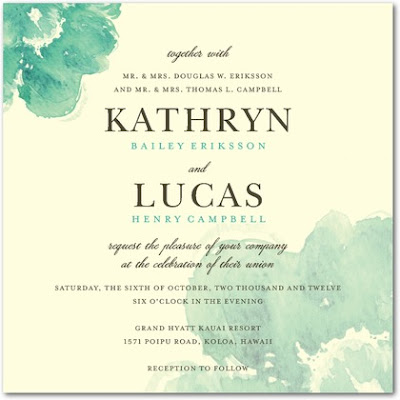
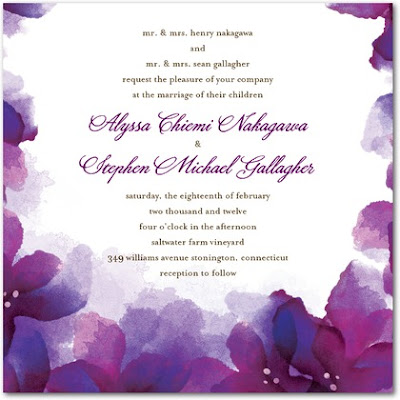
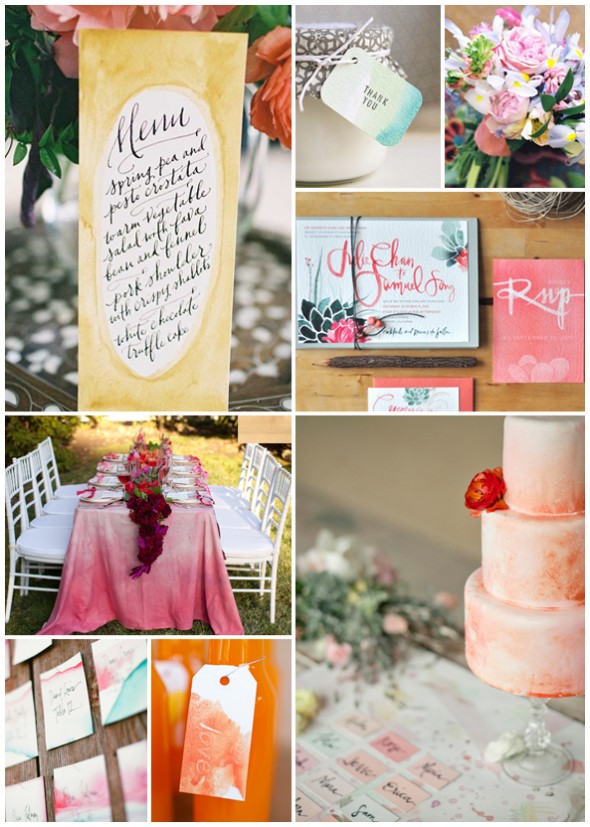
Tomorrow will be the 3 month mark for our wedding day. EEK!! Time to start thinking about our invitations. We want to somehow relate them to our fly-by-the-seat-of-our-pants Save the Dates, except without all the pirates... I'm really in love with the idea of incorporating watercolor, because that brings in a little of the water element of the Save the Dates, and, well, it's just darn pretty. Watercolor stationary is popping up more and more, and I just think it's so romantic.

love & lobster

Plus the watercoloring adds that handmade element that we loved (and loathed) about our Save the Dates.

source: jtru designs; invites by wedding paper divas (left and right)

Here's even a cute little DIY for that beautiful white font look I love!

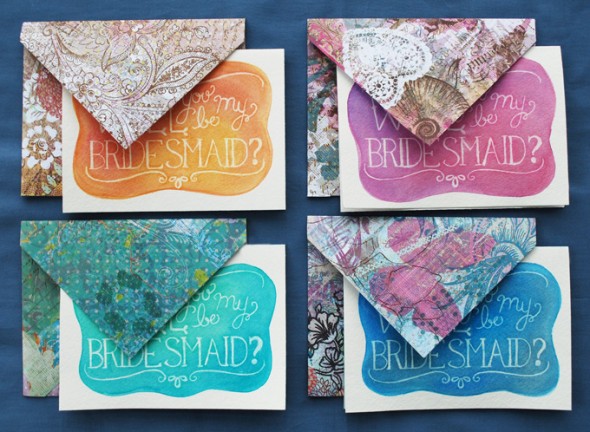
Check out the step-by-step for these gorgeous "Will You Be My Bridesmaid?" cards over at Glamour & Grace. Just stunning! I wish I had been that creative for my girls.

What do you think of the new watercolor trend? Yay or nay?

Get with the Program

We have officially six weeks to go until the wedding...holy moley! We've been knocking things off the to-do list left and right and next on my list is designing the wedding programs. I'm not sure I realized there were so many adorable options for programs! First I need to decide on a design direction.

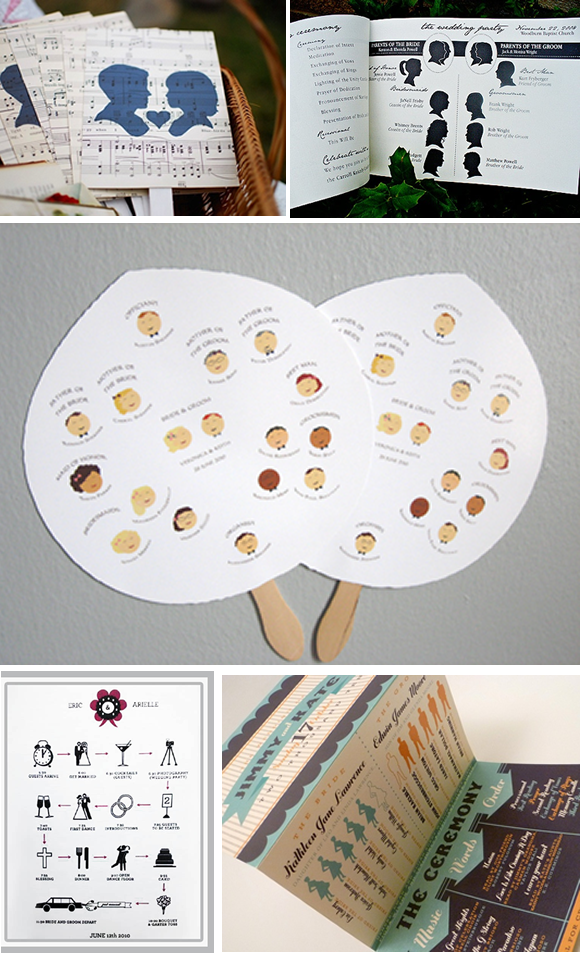
I love the cute graphics on these programs. Silhouettes are really easy to do with some basic Photoshop skills, and I love the idea of some of the clip-art graphics. Sheet music is another sweet way to make them feel special (maybe with your first dance song?).

1, 2, 3, 4, 5

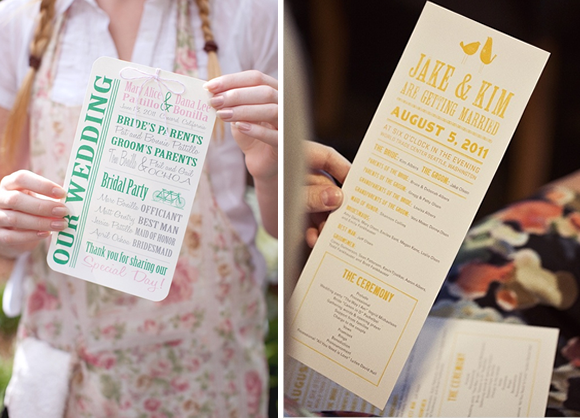
I also love the look of these simple, type-based programs. Pretty, and to the point.

1, 2

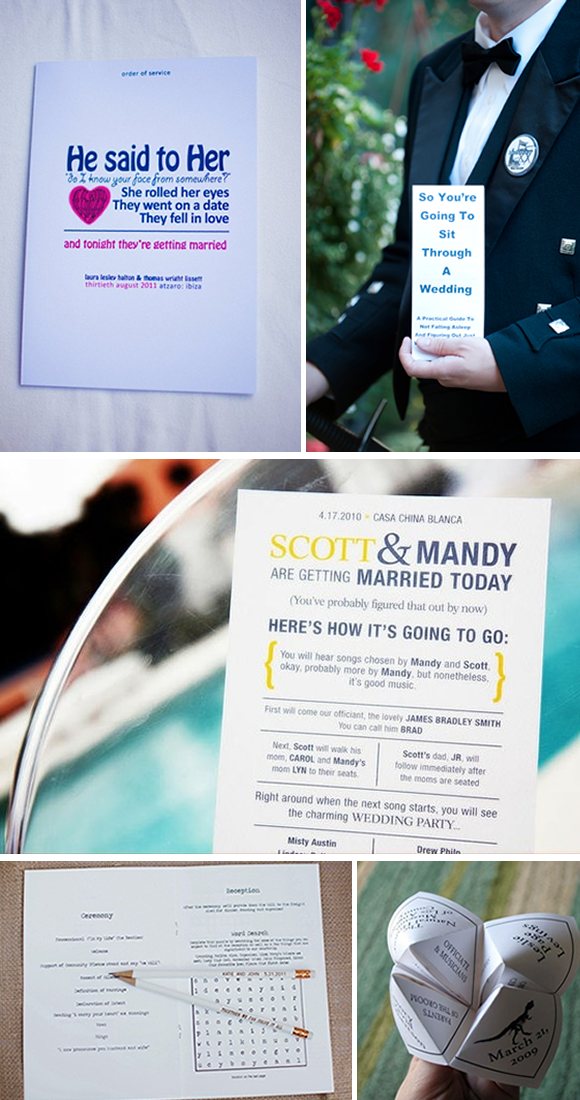
For those of you who've been following me for a while now, you know that I love anything with a little personality or humor infused. I love the tongue-in-cheek wording of these programs. And, yes, this is the second cootie-catcher I've posted here. Dan and I did meet in middle school, after all :)

1, 2, 3, 4, 5

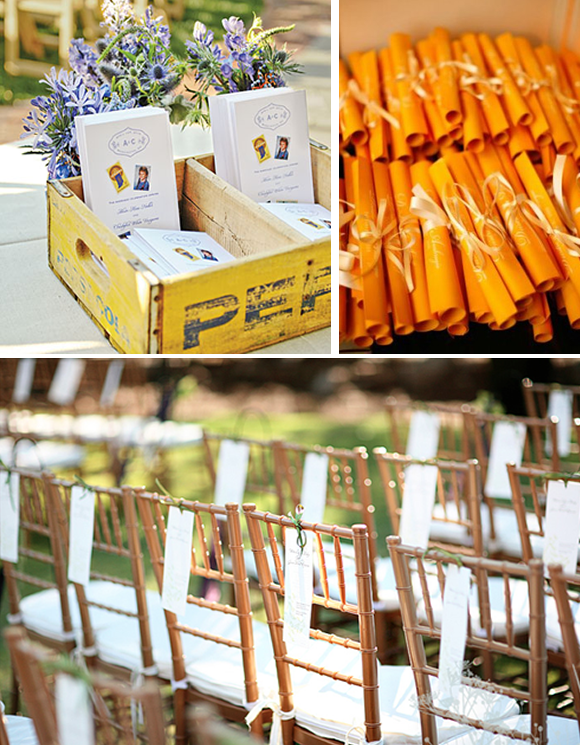
I also need to decide how we are going to display and distribute the programs. The rolled programs are quite romantic, the rustic box is really charming and the backs of chairs feels nice and practical. Decisions, decisions!

1, 2, 3

So, what do you think? What's your favorite?

Playing Catch-Up & The Other White Dress

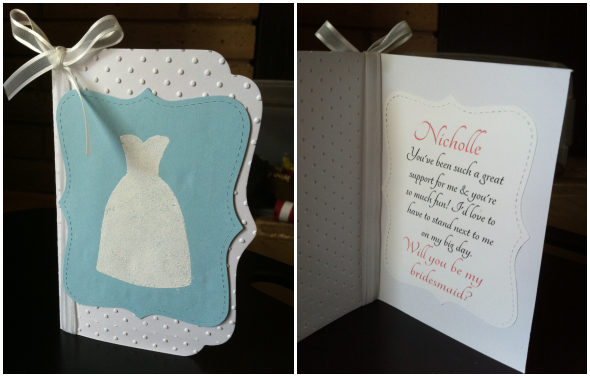
Unfortunately wedding planning has taken a back burner lately to make time for other personal matters which means my to-do list is pretty much the same.  However, now that our wedding party has been made official, I can finally share my final product for my "Will you be my?" cards.

These cards were so much fun to make and once I decided exactly what I wanted them to look like, very quick to put together. I make cards as a hobby so these were made with a lot of tools I use normally (die cuts, embossing tool, etc.). I think my favorite part is the embossed dress on the front.

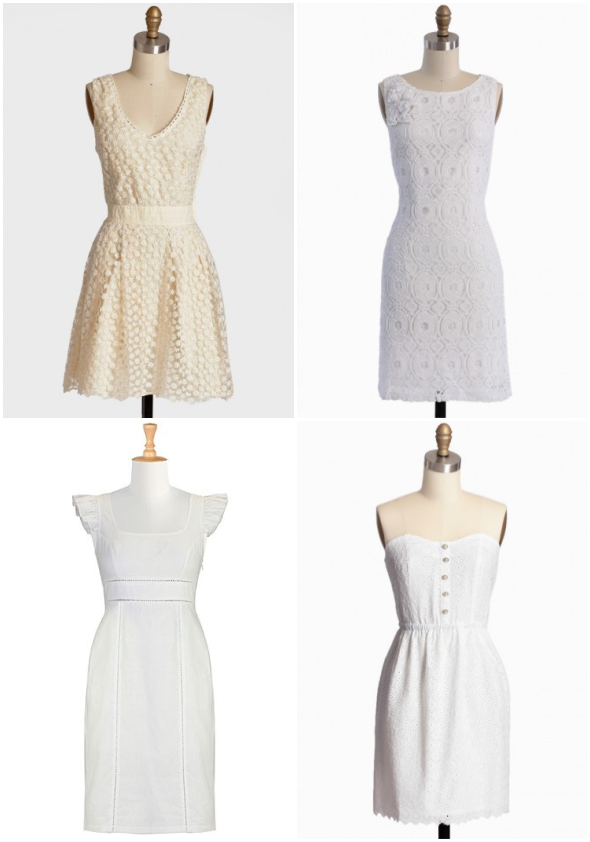
Speaking of dresses I've been trying to build of my stash of pretty frocks. When doing a bit of online shopping recently, I realized that I've become drawn to all things white! Luckily, I will have lots of events coming up that will require just that! Here's what I'm finding dreamy and oh-so perfect.

Source: Ruche, Ruche, eShakti, Ruche

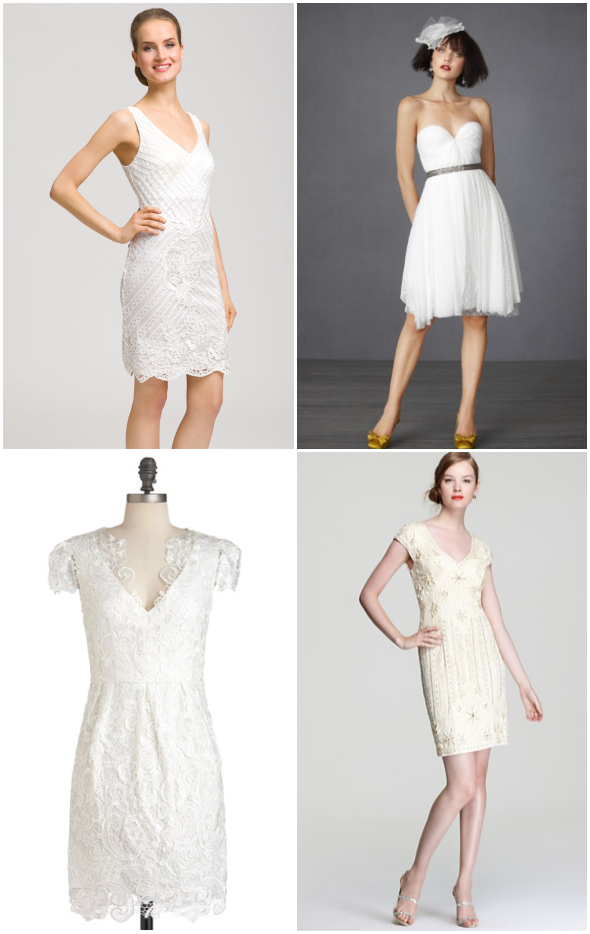
 If something a bit fancier is your style, you'll love these dresses  as much as I do.

Source: Nordstrom, BHLDN, Modcloth, Bloomingdale's

The top options are casual enough to not be stuffy but versatile enough to be dressy with the right accessories. The bottom options are very chic and most would do well as receptions dresses. You can easily tie in other elements for your upcoming wedding like vintage jewelry or a pop of color from your pallet. I won't be having a reception dress but I love some of these options as inspiration for my bridal shower and rehearsal dinner dresses. 

How do you feel about white before the wedding?


Connect with me elsewhere! Twitter | Pinterest | Blog

Invitation Revealed!

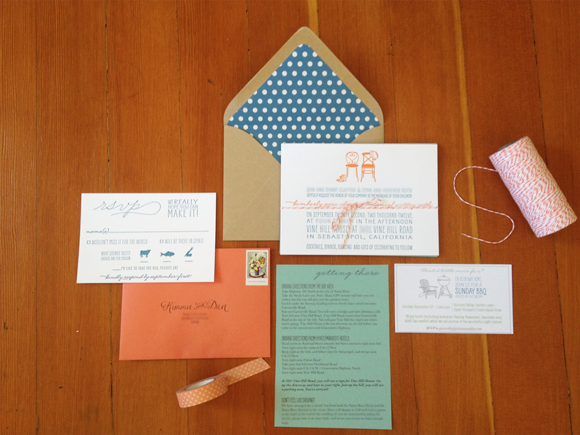
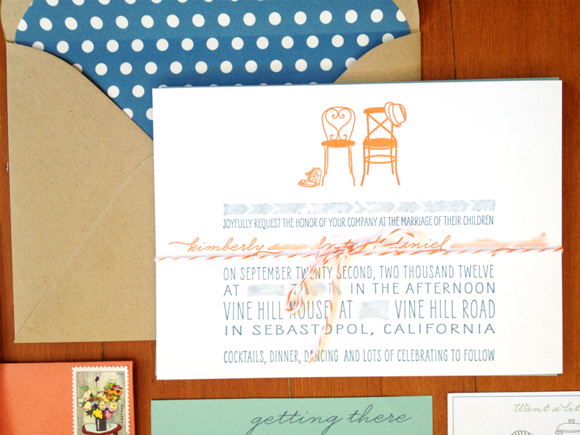
I've talked a lot about invitations here on E&I. I'm a girl who LOVES paper goods, graphic design and pretty stationary, so the invitation process was really fun for me. That means that I'm particularly excited about this week's post--I finally get to reveal our final invitation to you all! I decided a while back that I wanted to design my own invitations. It was a bit daunting but I knew that's how I was going to get the perfect invitation. And I was excited for the challenge.

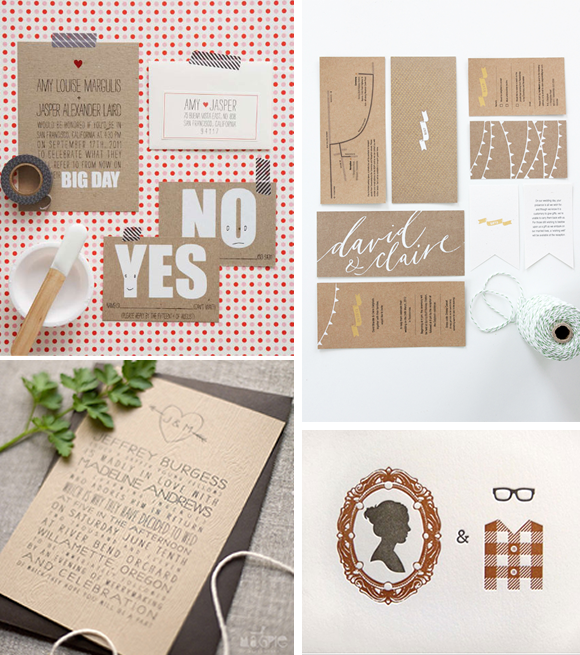
I set off to find some inspiration. Here's a reminder of some of my favorite ideas.

Source: 1, 2, 3, 4

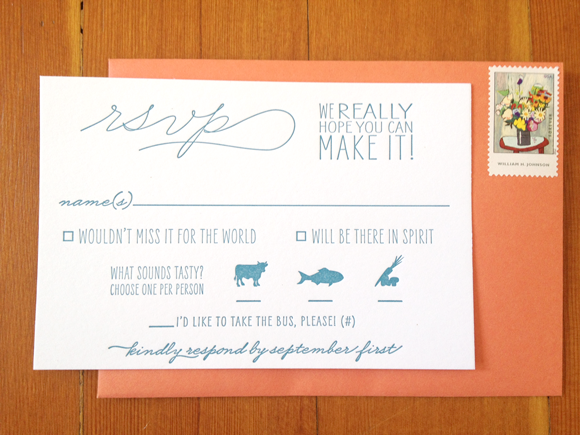
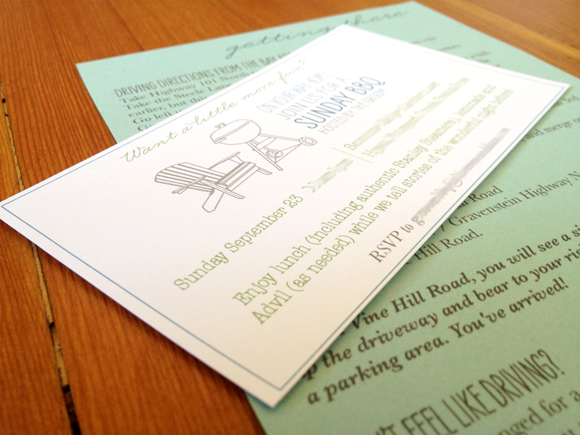
And then I began designing. I wanted something personal, that let our guests know what kind of wedding this is going to be as well as the kind of people that Dan and I are. After lots of iterations and ideas (and stress), I developed a design that I love and that I'm really proud of.

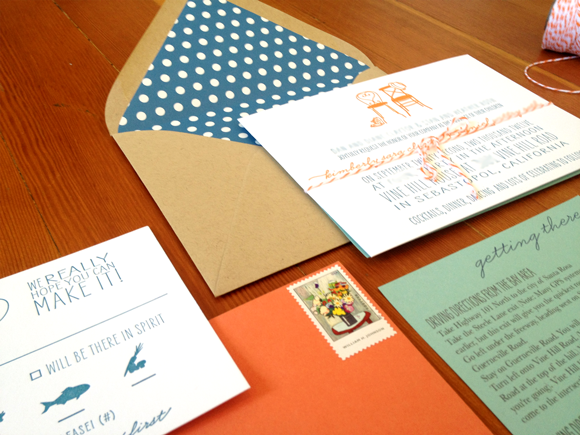
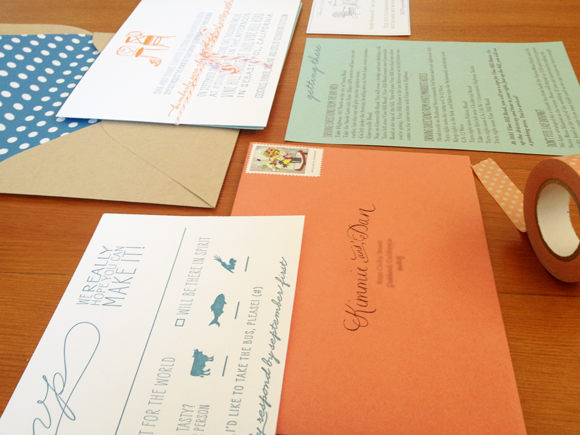
Again, I really wanted this to be personal. So the hat on the chair is actually a trace of one of Dan's hats. The the left chair style is the same chair that Dan used in the proposal at the Palace of Fine Arts. The font was a font that I searched high and low for, one that looks a bit like my handwriting (on a good day). My dress even provided some inspiration (though I can't say more than that!).

Designed by me, Photos by me (sorry about the blurred text!)

What is even more special about these invitations for us is that we designed them from scratch, and also printed them! Remember this from a few weeks back? We also had help from our wonderful friends and family (yes, cutting out each piece of envelope lining!)

So, what do you think? I hope you love them as much as I do! A quick shameless self promotion: If you like what you see here, message me! I'm starting my own graphic design venture and would LOVE to help you with your custom wedding invitation.

making your mark {the guest book}

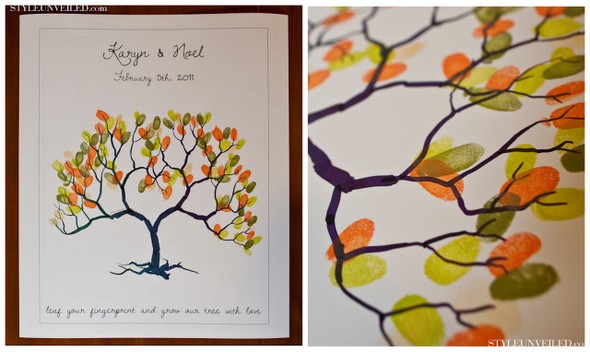
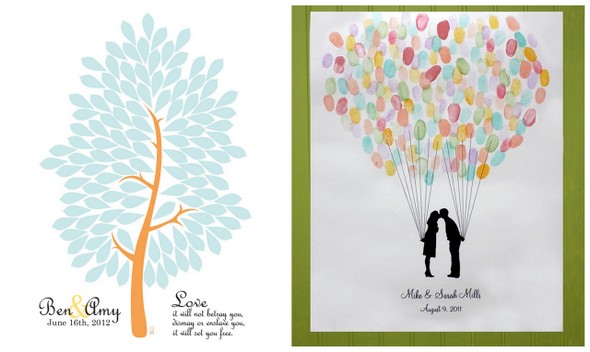
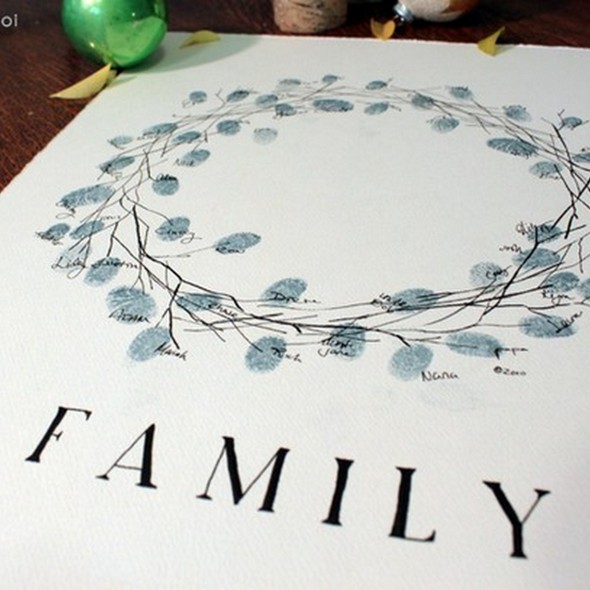
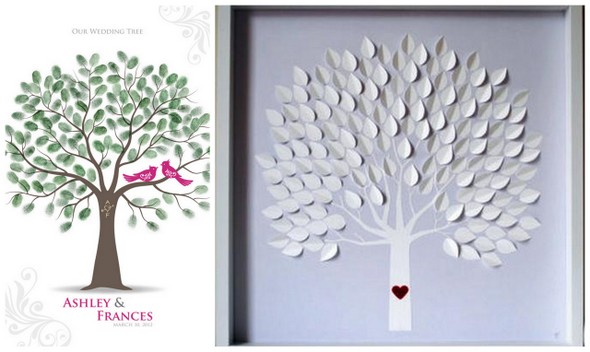
In just over 3 months our BIG day will finally be here! I was just thinking yesterday how amazing it's been to write for E&I every week. Blogging has definitely helped me stay on track with planning this monumental event and has kept me calm too. Like I've said recently, the big things on my list are taken care of.  Now I've moved on to the details....like, the guest book. I have to admit, when it comes to the "gust book," I'm not really keen on tradition... i.e. Having an actually bound book that says "Guests" where people just sign their names- BORING! I'd like to do something more creative; something we will actually look at and admire in years to come. I got the idea today to blog about thumbprint family tree "guest books" because I recently saw a gorgeous one at the new home of our friends, Michael and Megan Conway. The family tree had every guest's thumbprint in the colors of their wedding, and the print was framed for them to hang in their homes as a memento. What an adorable idea!

Well, here's some inspiration:

 Source: Left & Right

There are so many great DIY ideas out there for creative guest books. Do you have any suggestions or perhaps any tips on how to take on this project?

Crafters Unite {Throw a Crafting Party}

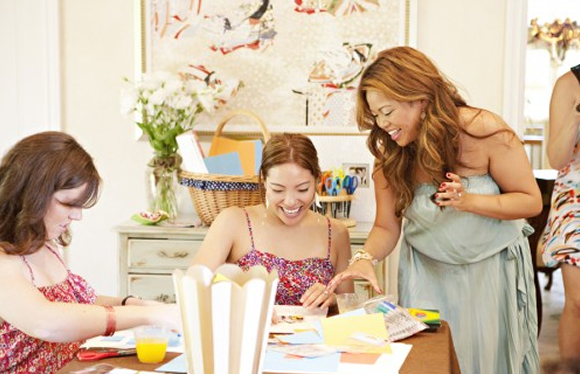
We've had a long engagement and one of my philosophies the whole time has been to enjoy each and every wedding task. So when it came time to assemble our invitations, we thought we'd make it a party. I'm sure this won't be the last project-filled party we have; it is a great way to get wedding to-do's done while spending time with you favorite people, letting them get to know each other...and maybe drinking a cocktail or two :) Here are my tips on throwing a fun, yet still productive, crafting or project party.
Source

First of all, I recommend not making this a "required" event. Your friends are doing a lot for you as it is, so be grateful for whatever time you can get from them and then tackle the remainder with your honey. That said, don't be afraid to bribe them with food and drinks. ;)
Source

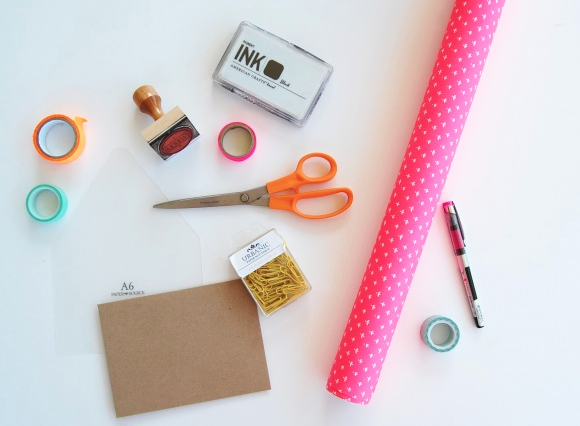
When selecting a location, pick a place where you can spread out. If you don't have a big kitchen table, just move your furniture out of the way and throw some pillows on the floor!

If there is anything that you want don't really specifically or that takes some extra concentration, consider doing that on your own before hand. I had to stamp our return address on each envelope, which takes some concentration to keep everything aligned. I took care of that the night before so I didn't have to stress at party time.

Don't forget the food! Get fun (and clean!) snacks. You don't want hungry girlfriends, nor greasy, fingerprinted invitations. We had cheese and crackers and bowls of candy, but I also love the idea of air-popped popcorn or little tea sandwiches.
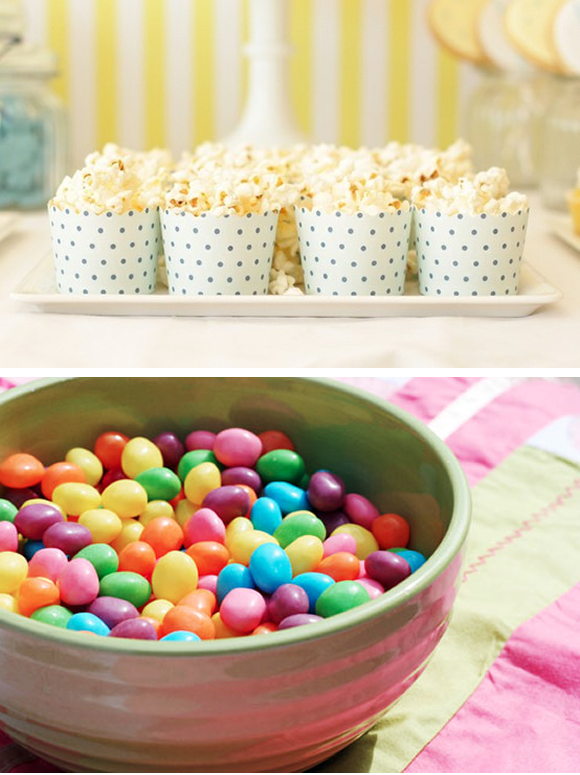
Popcorn, Candy

Provide drinks! Again, drinks with caps are fantastic, or at least have an area where drinks can be set down so that they won't spill on your hard work. Cocktails are always a great idea too. Consider saving the harder stuff as a celebration for finishing (though I admittedly didn't quite follow my own advice here...)
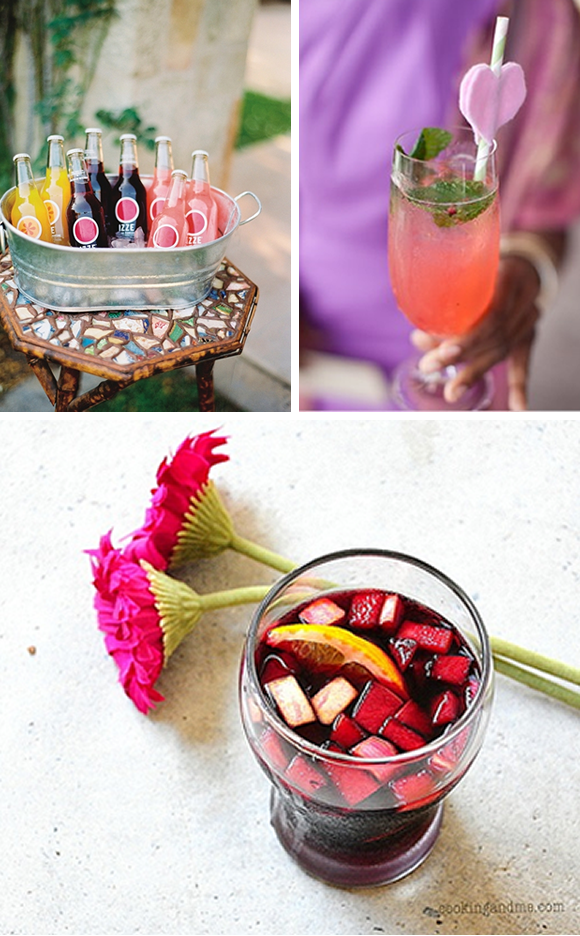
IzzeChampagne, Sangria

Also make sure you have plenty of supplies. You may need to ask your friends to bring a pair of scissors if you don't have enough. It's also smart to have some miscellaneous items like tape, string and ribbons on hand in case someone gets a stroke of inspiration in the moment (I like to stop in the sale section of Paper Source whenever I drop in just in case something catches my eye). Items like post-its, sharpies and baskets are great to have on hand to keep yourself organized. And trash cans or bags near by will also help save you some cleaning once all the cutting and pasting is done.

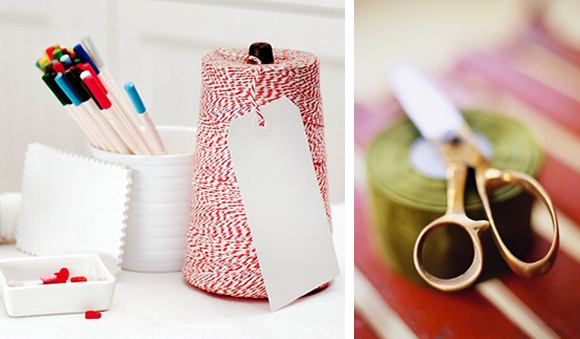
Sources: 1, 2, 3, 4, 5

Finally, don't forget to say thank you. Sorry, don't mean to be a mom here, but don't let your friends forget how grateful you are for their help.

And, of course, have fun! Put fun music on (we went with Michael Jackson and Whitney Houston Pandora :) ). Tell girly stories and have a good time!

Share your ideas for an awesome crafting party!

Garden Chic DIY Projects

This is it! Just 9 days until the wedding. Now that we are in the single digits, it is time to begin obsessively checking the weather, stocking up on last minute honeymoon items, and tying up odds and ends. I am lucky enough to be off during the day now that the school year is over and I have been spending my days crafting and staying fit for the big day. A typical day this week looks like this: wake up at 7am, go for a run, shower and work on a wedding related activity until lunch. After lunch it's working on timelines, corresponding with vendors, arranging seating charts and back to crafting until late afternoon when it's time to hit the gym to relieve some stress. My current DIY projects include programs, table numbers and escort cards.

Last week was mostly consumed with attempting to make these gorgeous programs:

Source

How gorgeous are they?! I actually came really close to creating this same feel, although my mom and I ran into a few minor issues with the sewing machine. Fortunately, my grandma is in town for the wedding and got  it straightened out!

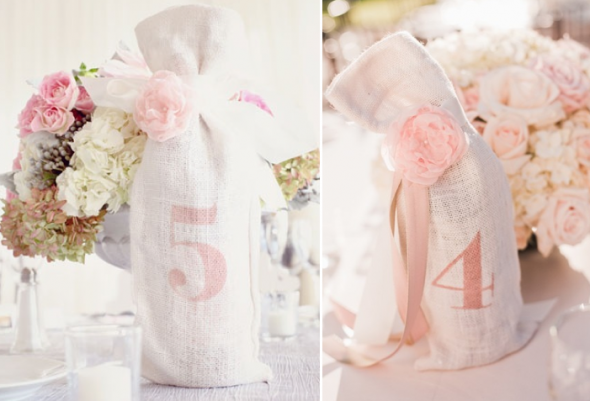
...and it's a good thing because we definitely needed the sewing machine for this next DIY project - the table numbers! I talked a lot about table numbers awhile back. I don't know why they are so important to me, but I definitely feel that they are one of those areas that if done right, make a huge lasting impression. Just before writing this post, I was stenciling table numbers! They came out really cute, but I don't want to share until after the big day.

This was my inspiration:

one, two

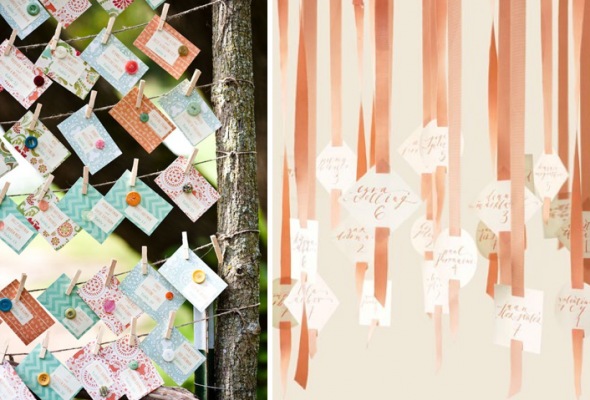
Something else I have been contemplating for some time now are the escort cards. I had a tough time getting started on this one, probably because I was inundated with so much inspiration. This was another one that had to be just perfect and I have to say I am pleased with the result! Again, you'll have to wait until after the wedding but I will tell you I didn't not stray much from my original inspiration.

one, two

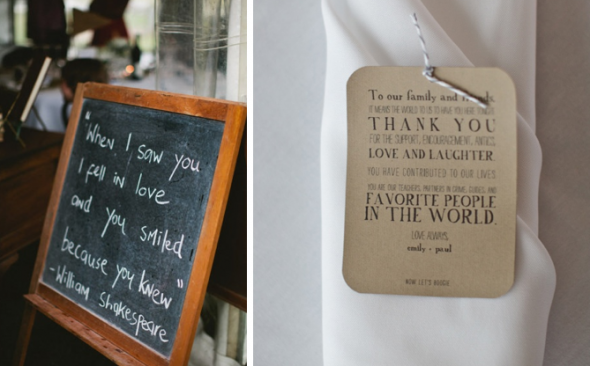
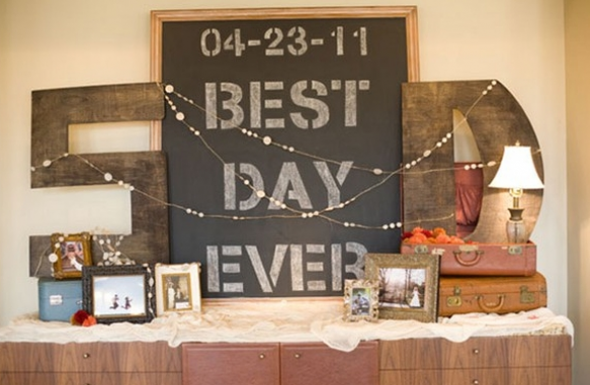
Finally, I am working on some less necessary, but super fun projects: a thank you note to our guests and some adorable signs and banners.

one, two, three

So, there you have it. I definitely have my hands full and will be busy these next couple of days. But hopefully it will all be worth it and after 17 months of being engaged, we will finally be ready to say "I do."

See you next week with my final post as a single lady!

Unique DIY To Do's

 With 100 days until the big day, it's time to start completing some fun an creative DIYs.  Here are a few of the unique items that I am hoping to make to include in our big day.

Source: 1, 2

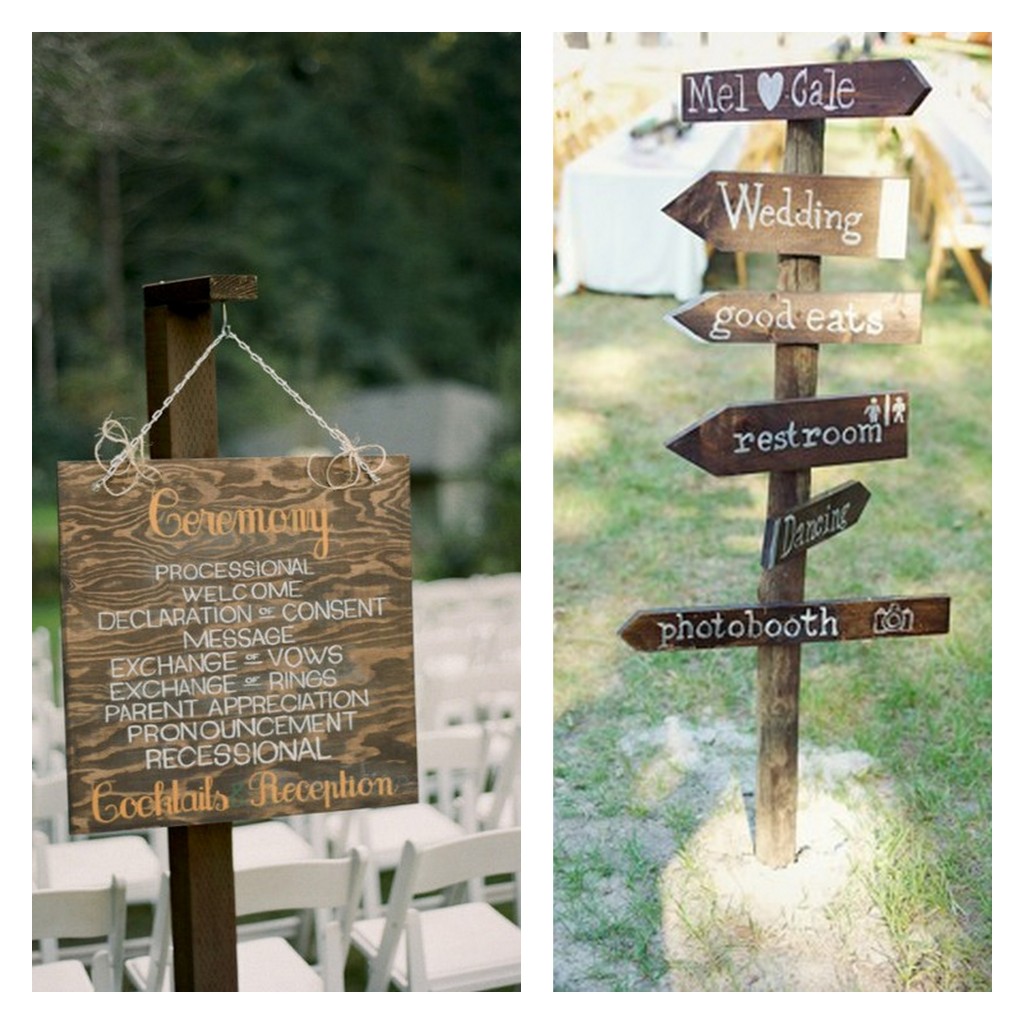
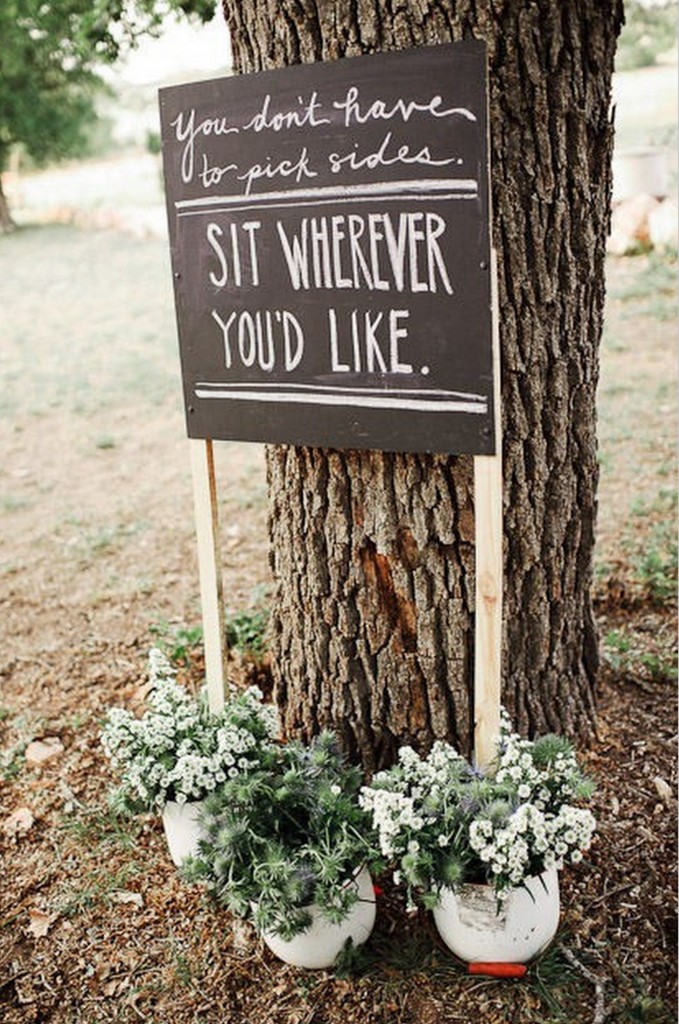
Wedding Signage: I love the look of personalized signage. And lucky for me I have a handy fiance and a access to some old weathered wood. I can't wait to see the final product and I will be sure to share the final results.

Source: 1
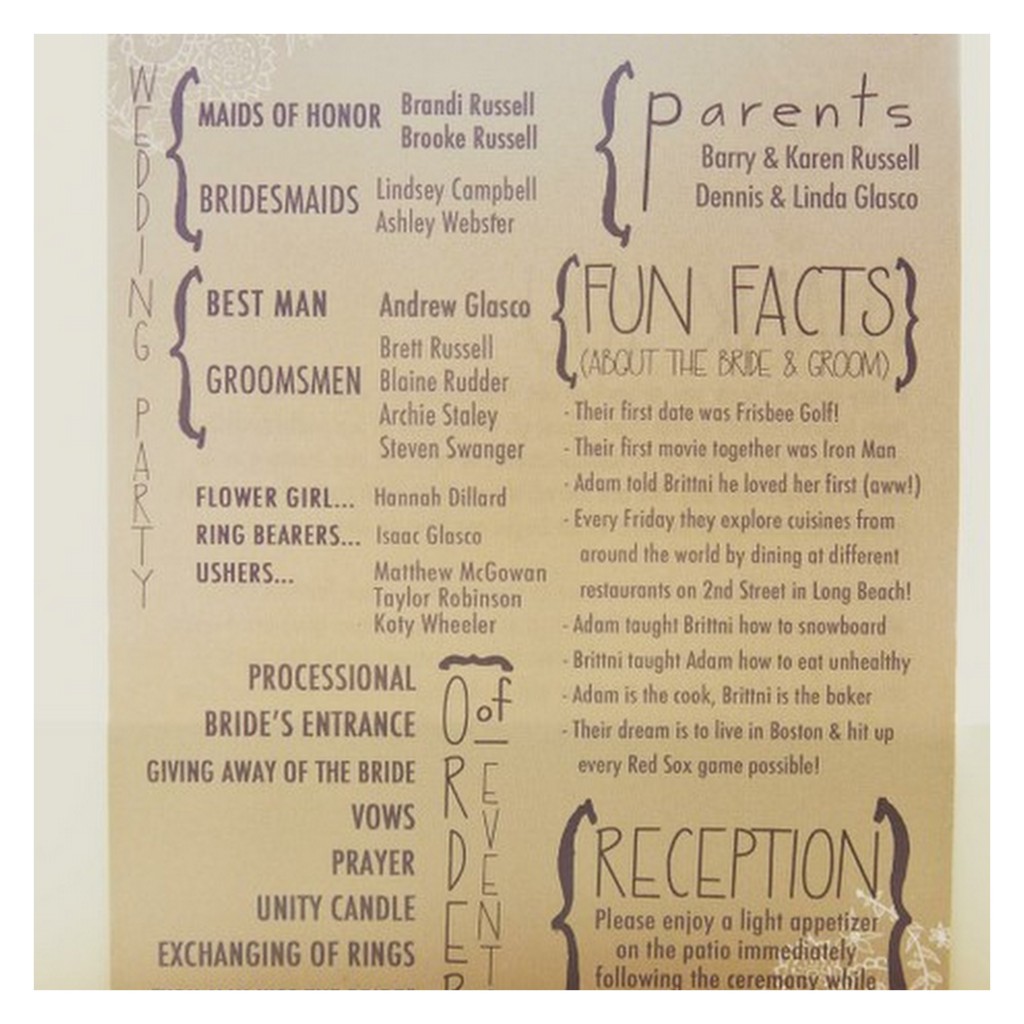
Unique Bridal Party Intro: I love the idea of creating a cute program with an intro to the bridal party. I am thinking of incorporating their photo on the print material and maybe some fun facts about each.


Source: 1 
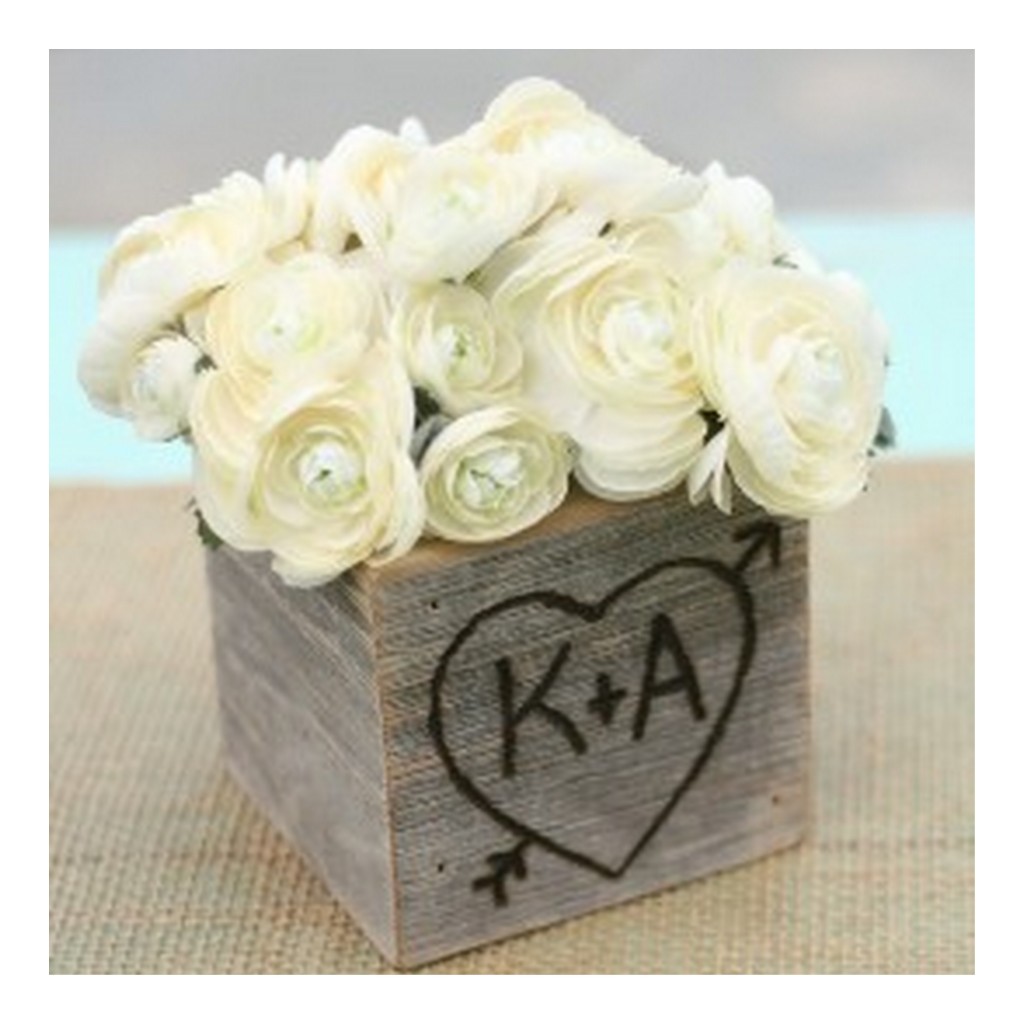
Along with making signage out of old wood, I am also dying to make these wonderful boxes.

Source: 1

I even purchased a wood burner to add our initials and wedding date to the boxes as well.

Here are a few other items that I am hoping to make or purchase before the big day.

Source: 1, 2, 3, 4

I will be sure to post tutorials for all the items that I make. So what fun DIY items are you making for your wedding?

Heather

For more bridal inspirations and happenings check me out over on my blog.

unique & crafty gifts {bridesmaids}

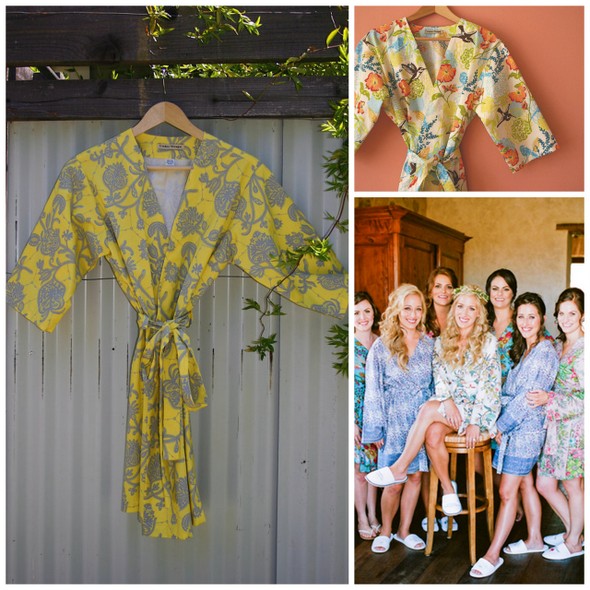
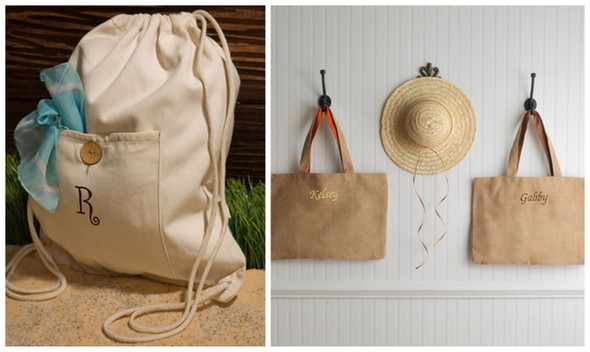
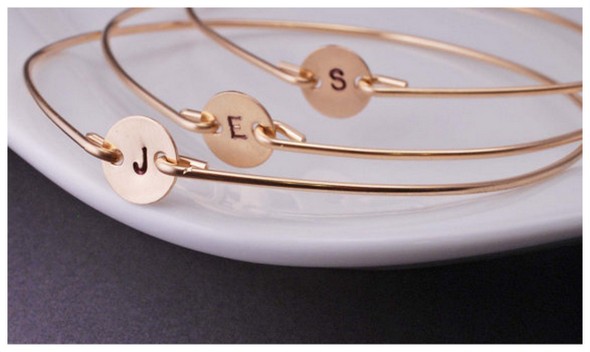
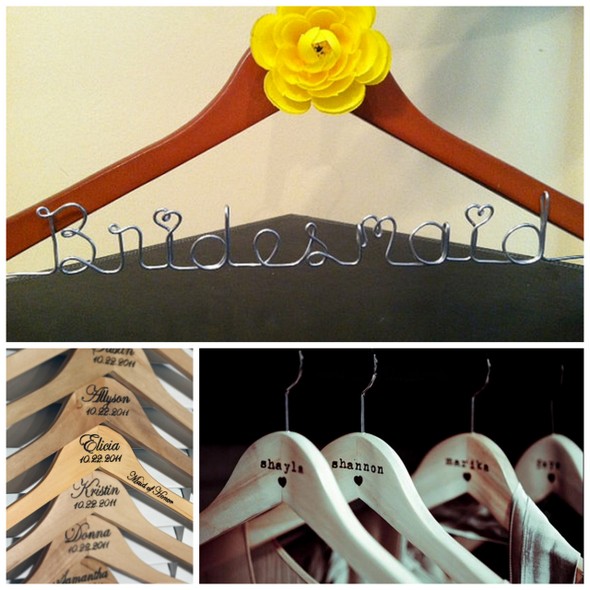
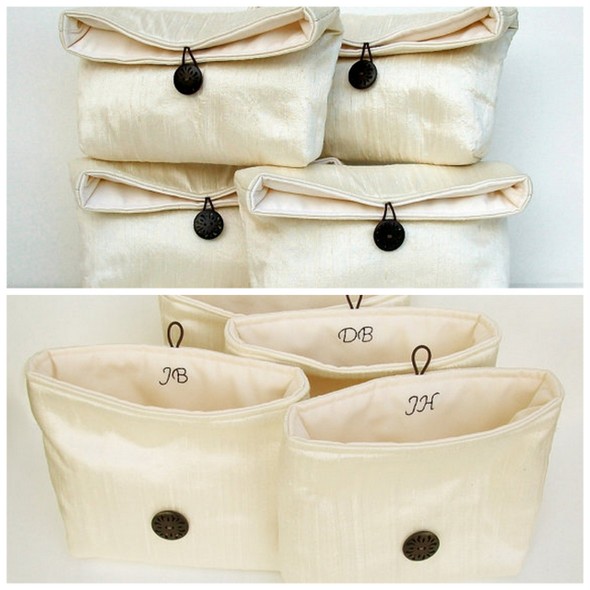
Having just participated in my best friend's wedding, I am very present to how I would like to thank my bridesmaids for being in my wedding. Shana (the fabulous Maui bride from last week's post) gave us the most darling gifts. We all got monogrammed totes- mine has my future initials on it :) within the totes were goodies like a magazine, a beautiful necklace, and a fun kimono robe to get ready in- which made for great photos of all of us together. Here are some items that inspired me online, which I'll likely end up gifting to my lovely ladies.

Source: one, two, three (from left to right)

Source: Etsy.com

Source: top, bottom

Source: left, right

Source: Etsy.com

Source: one, two, three (left to right)

And for those of you ladies who are looking for a cute and easy DIY tutorial on making personalized bridesmaid hangers, CLICK HERE!

A little update on my planning: next week I'm going out with my wedding planner, Linda, to look at linens and flowers!!!! Stay tuned for a fun report on that soon :) HAPPY 4TH OF JULY!!!!! xo, Taya

Stamp of Approval

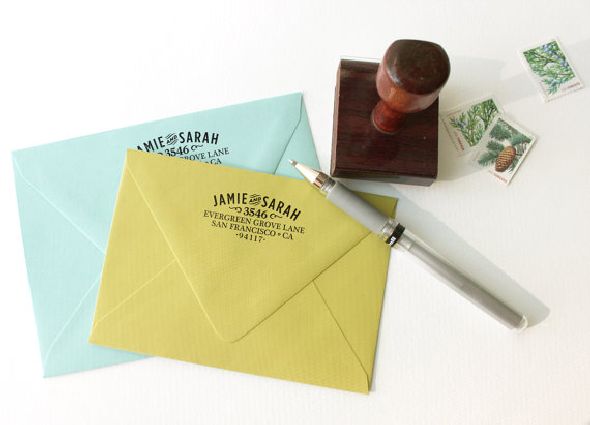
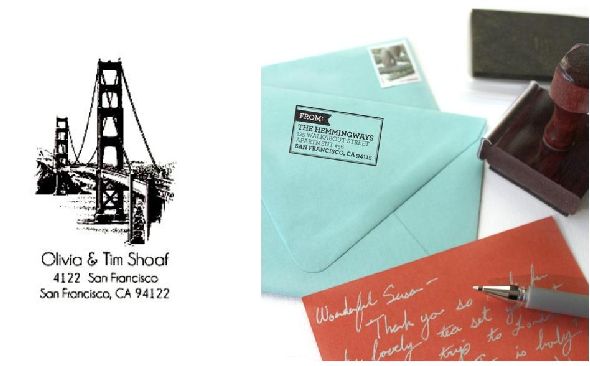
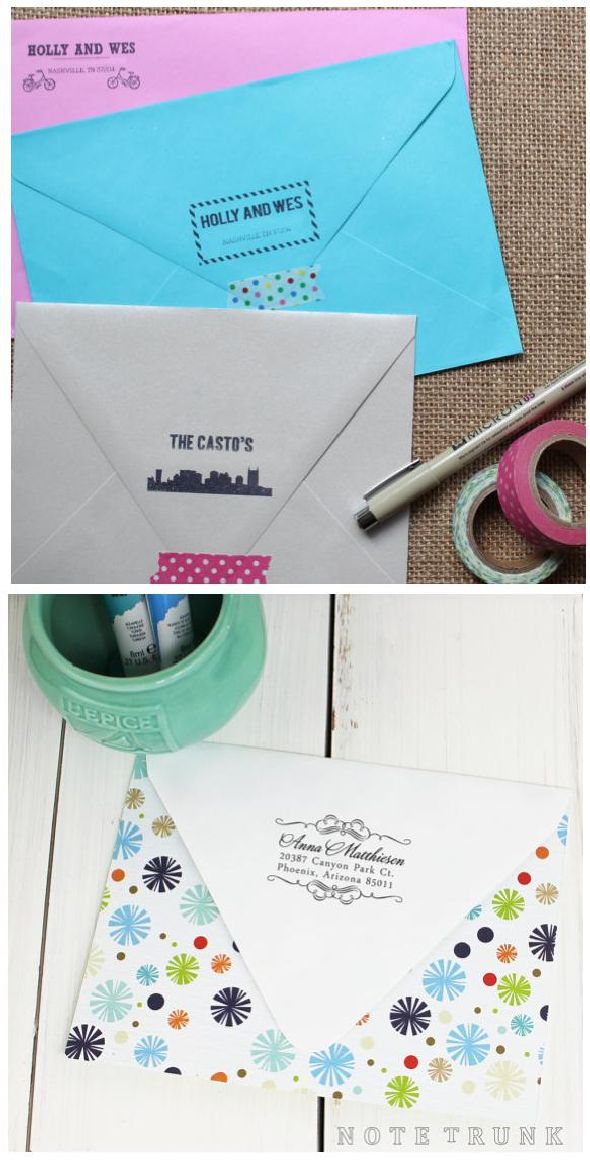
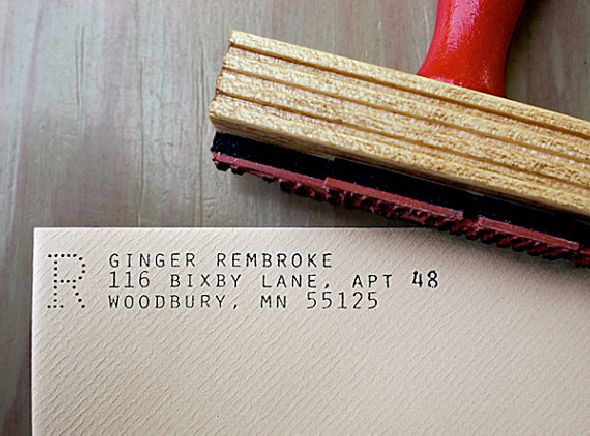
My current wedding project is invitations. After the amount of research, work and stress that has gone into them, I will NEVER look at a wedding invitation the same way again! I promise to reveal more about the invites in a future post, but thought I would share one thing I did to keep the costs of our invitations down. Our invitation vendor offers envelope printing for both guest addresses and return addresses, but they can only do the return address in letterpress and it’s not cheap! So to keep the cost down a bit, I ordered a stamp with our name and address and plan to hand stamp all of our envelopes with our return address. For about $30 (much cheaper than the cost of letterpressing the return address), I was able to get two different size stamps from TheStampMaker.com. And the best part is that I will be able to use them even after our wedding (I only used our first names, so when I change my last name, I can still use it!).

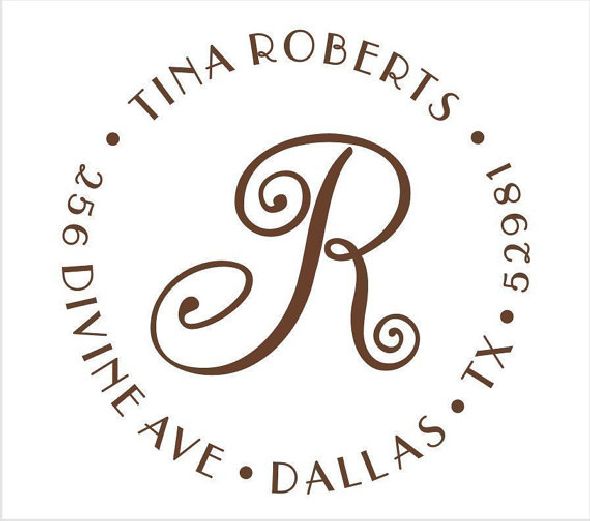
If you would rather not make your own stamp (maybe rely on the talents of those a little more creative!), Etsy is your friend! There are so many great stamp options to choose from. Here are a few I had my eye on.

Did you hand stamp your invites? What did you do to keep the cost of your invitations down?

Credits: 1, 2, 3, 4, 5, 6, 7