Bride Advice & Sneak Peak

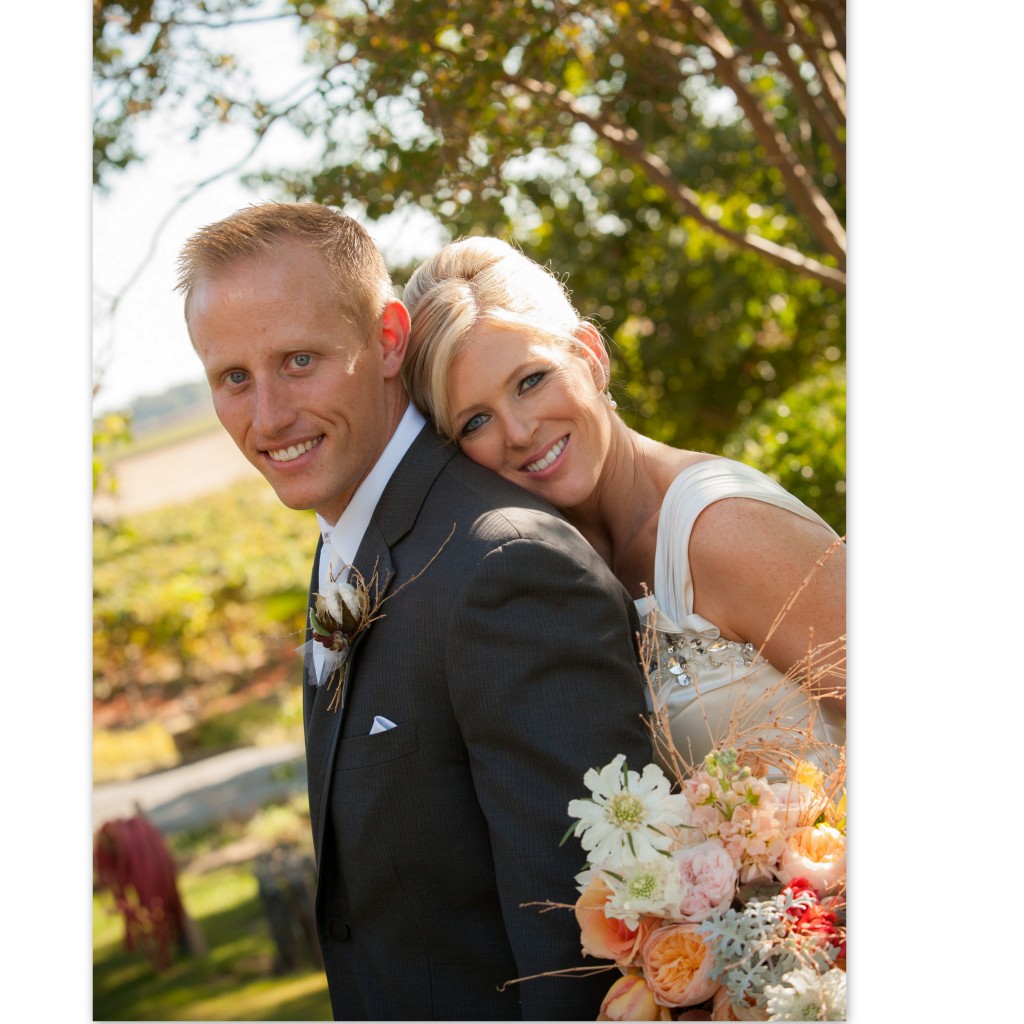
I can't believe that my final post here on E&I is here. We had an amazing wedding day with our family and friends and feel so blessed. After going through this process and experiencing the day of, here are a few tips to keep in mind as a soon to be bride.

  • Everyone will tell you make sure to enjoy your day. But how do you do that? My groom and I made sure to take a walk around our venue just the two of us to check out all the fun that everyone is having. It makes all of the planning feel worth while.
  • As the bride everyone is going to be looking at you. This also goes for anything that might happen throughout the day. Your guests, family and friends will be looking to you to gauge their reaction. So with that said keep a smile and be light hearted. Your guests will only make a big deal out of something if you do.
  • Be sure to designate someone take all of your gifts, left over food and desserts home with them. For us we had everyone over to enjoy the left overs, rehash the night and opens our gifts.

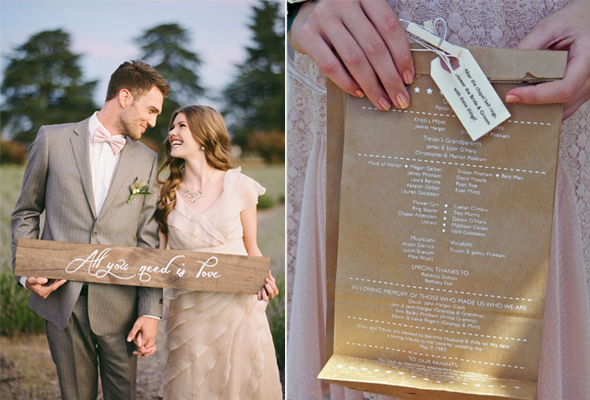
And here is a sneak peak for you to enjoy. I will be back to share all of the fabulous photos that Cinzo Photography captured at during our day.

Heather

It's Here......

Well it is offically here, wedding week! We have already run into a few hiccups but what I have learn thus far is to keep you cool and utilize your resources. I am so excited to see all of the final pieces come together. I will be sure to share all of my final details and the finished products!

Finishing Touches {Signage & Printing Galore!}

Hi Guys! Holy cow do I feel behind on just about everything in life right now. It feels like the last couple of weeks have flown by and between a full time job that takes me out of town and finishing all the wedding details, this girl is on over load. I find myself sitting back and going where did the last year go?  We are two and a half weeks out and the pressure is on to finish those last little details.

Source

Source

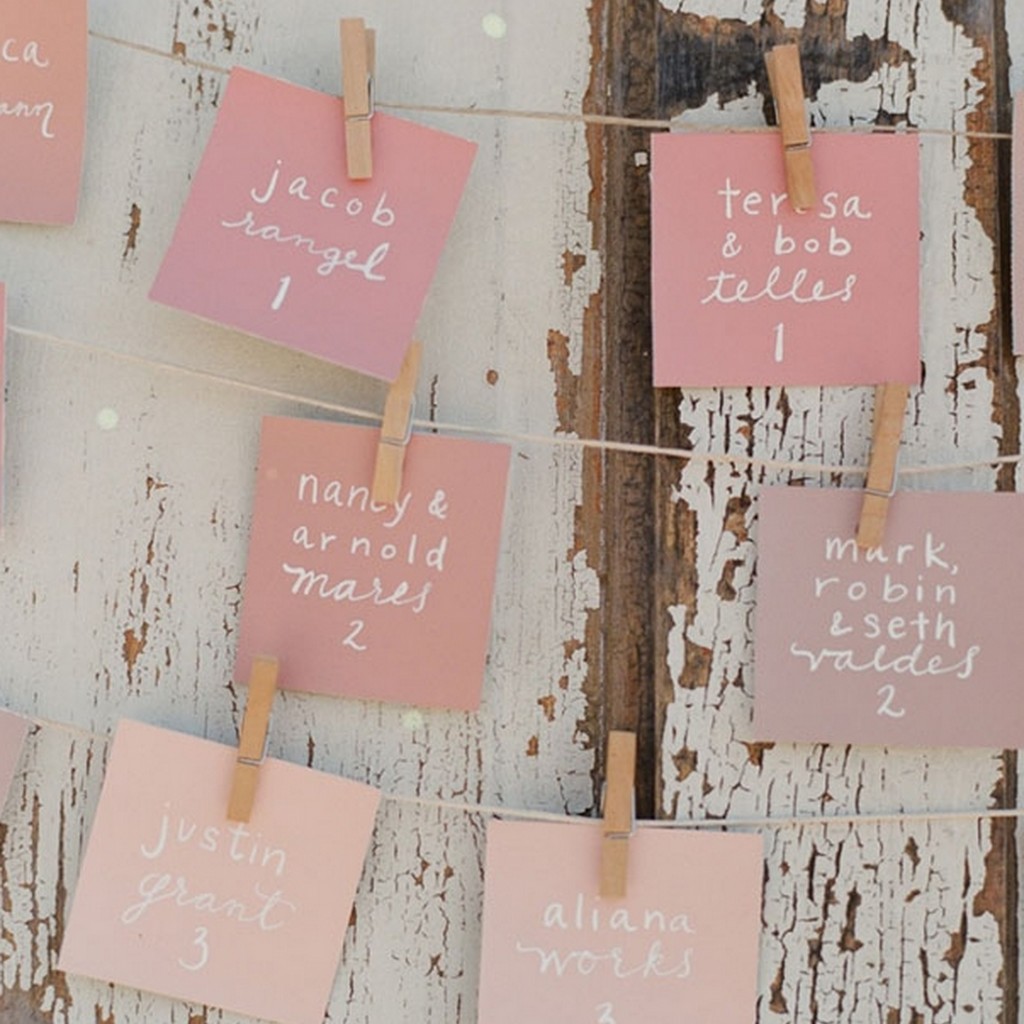
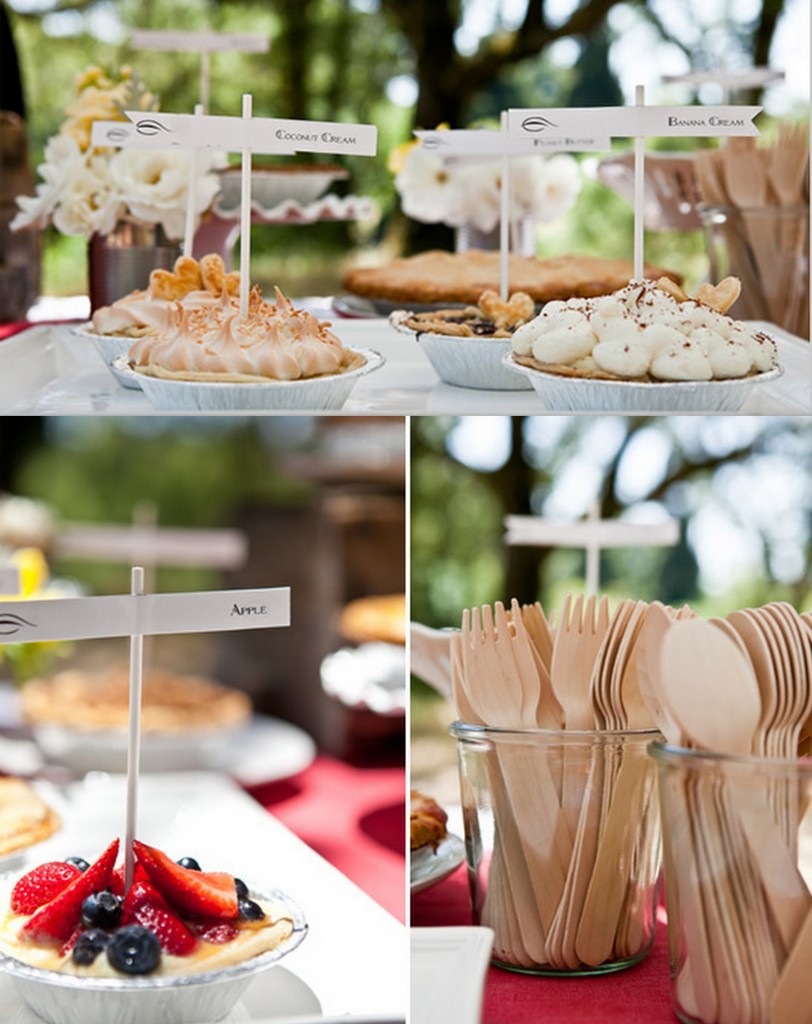
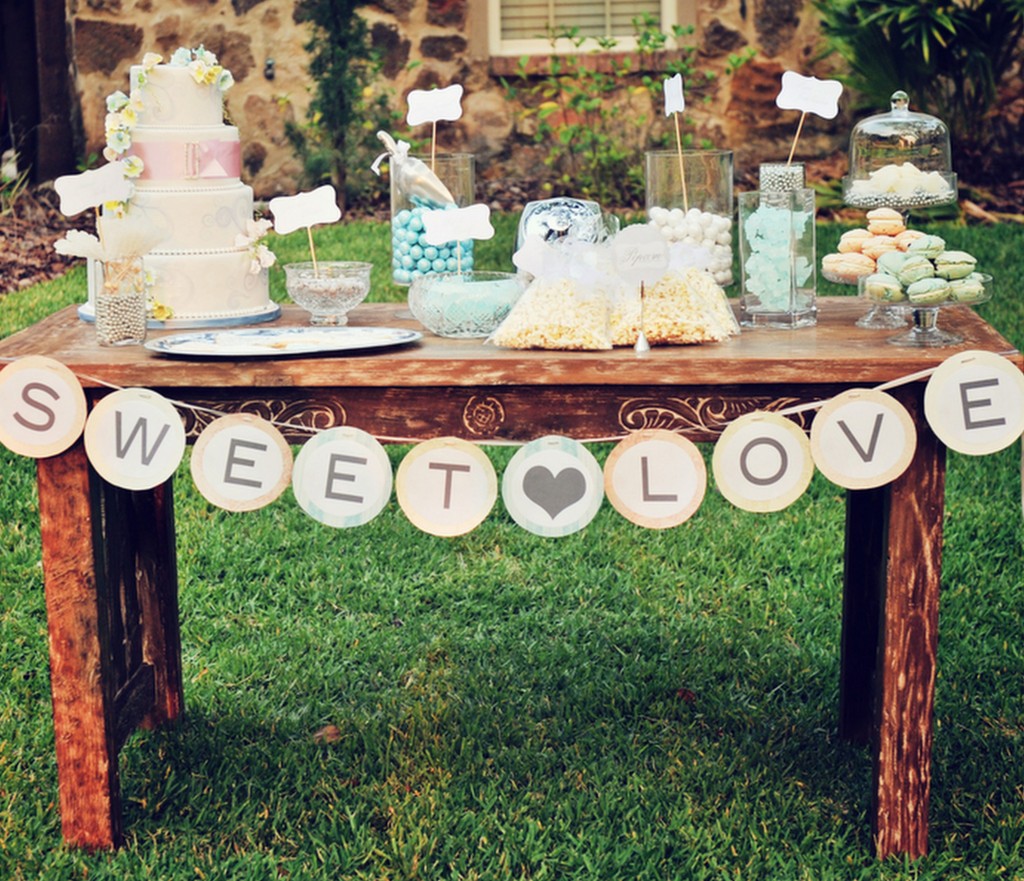
I am busy designing and printing all the little details like programs, escort cards and signage. I am also working on a banner for above our dessert table that hopefully I will have a little tutorial for  you guys on next weeks post. I am so excited about the dessert table. I am currently making fun little flags to go with each type of pie and signage that shows guests his and her favorites when it comes to the deserts. Here's some of my inspitation that  I am channeling when designing ours..

 Source 1 Source 2

Tomorrow I am off to beautiful San Diego for my Bachelorette weekend with my girls. Let the festivities begin!

Heather

DIY Rustic Cupcake Stand

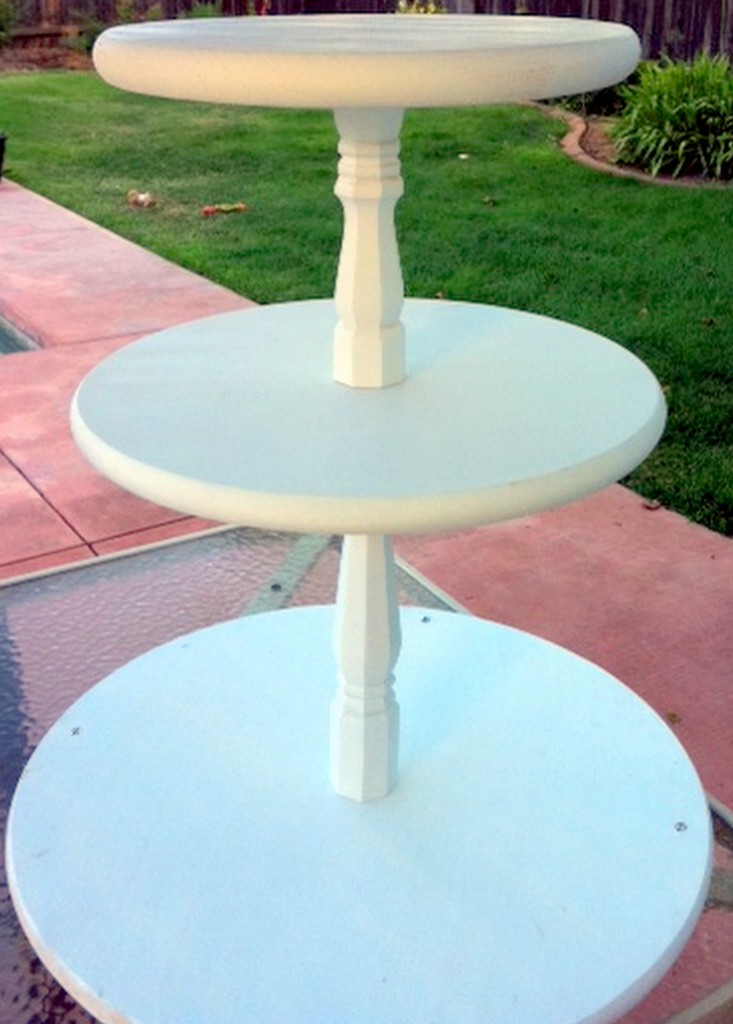
My Mr. and I decided that instead of spending $100-$150 dollars on a cupcake stand for our wedding that we he was going to build one. We are going to have a totally awesome dessert buffet for our wedding including cupcakes and mini pies so this stand will be the perfect accessory to our table. Here are the details.

Project Difficulty: Medium

Estimated Time: 4 hours (including paint)

Estimated Cost: $60

The first step in this DIY project is to pick a design and stand height that you like. A good place to start is Etsy, where (depending on size), you can easily spend upwards of $200. I decided to go with a 3-tier design which I can add small rustic boxes or mason jars to give the cupcakes varying height. My first stop was the local hardware store for materials. For each tier I chose precut 24", 16" and 8" wood round table tops. The hardware store also carries stair baulsters that are milled in precut lengths and styles.

 The shopping list included: (1) 24" table top (1) 17" table top (1) 14" table top (1) 9" stair baulster (1) 14" stair baulster (1) can of white primer (1) can of satin white paint (1) container of gorilla wood glue

 The next step was to get home and have the Mr. work with me on putting my plan together! The tools you will need are:

(1) Drill; drill bits (1) Square (or anything with a straight 90 degree corner) (1) Pencil

Each baulster comes with one end with a "bolt" coming out of the bottom for a screw-in installation. The other end is flat and needs to be glued to the bottom side of the tabletop. However, before we can drill the tabletop for the baulster, we need to locate the exact center of the circle. I don't know about some of you, but I don't remember my geometry homework! Luckily, the Mr. knew and explains it like this:
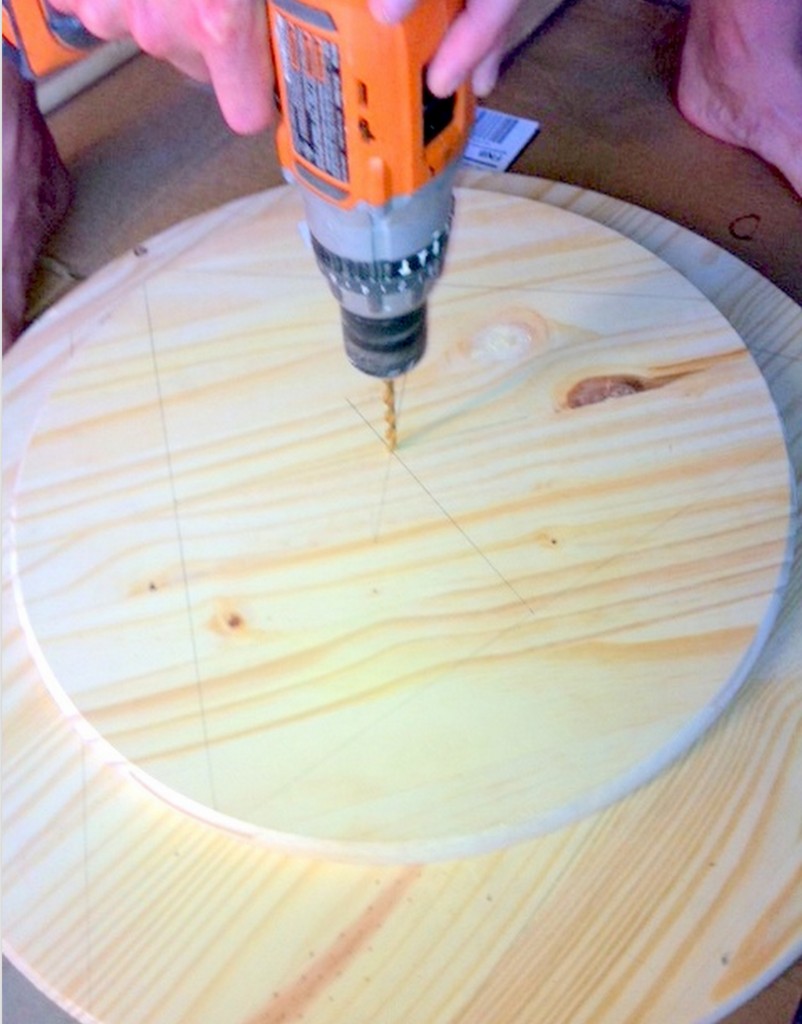
To find the center, you first need to draw 3 "chords" on the outside of the circle the same length (pick an easy number, like 12 inches). Once you draw all 3 lines, divide them in half and mark the center of the chord. From the center, use your square or 90 degree angle and draw a line across the tier. Do this for each chord and the exact center is the intersection of all three lines. He is so smart!

 When you have the centers laid out, its to drill a hole slightly smaller than the "bolt" coming out of the bottom of the baulster. Drill this hole only HALFWAY into to the tabletop, and make sure it is drilled straight. Once this hole is drilled, drill a much smaller hole through the larger hole to mark the center of the citcle on the other side.
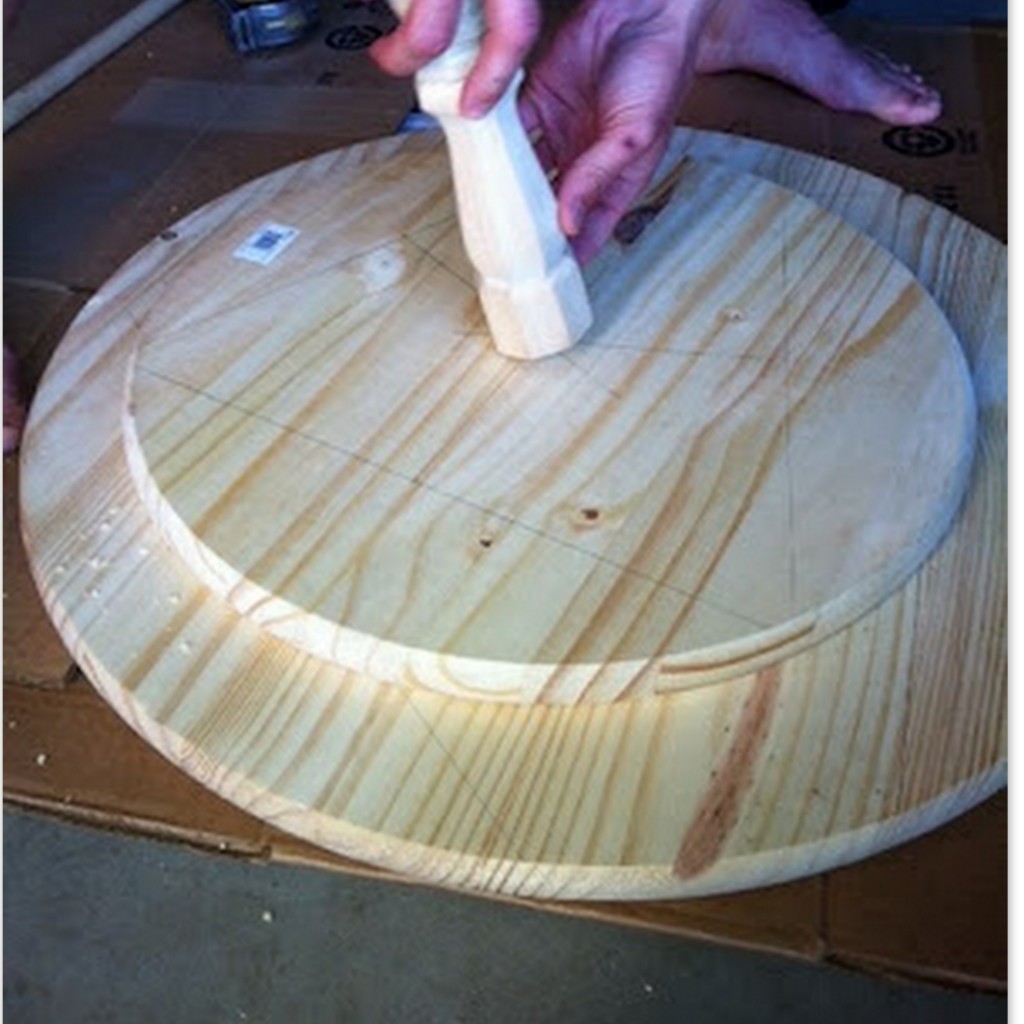
 

 Now that the holes are drilled, we now want to glue the baulster to the bottom side of the table top. To be exact, find the center (process above) of each baulster and measure the distance from the center to the edge of the baulster. Measure this distance on the tabletop and mark the edges of the baulster. This is an important step, or else the tiers will look staggered from each other. Now, apply the gorilla glue to the baulster, press firmy agianst the table top, and hold together for about a minute. Repeat this process for the other baulster, and let dry overnight.
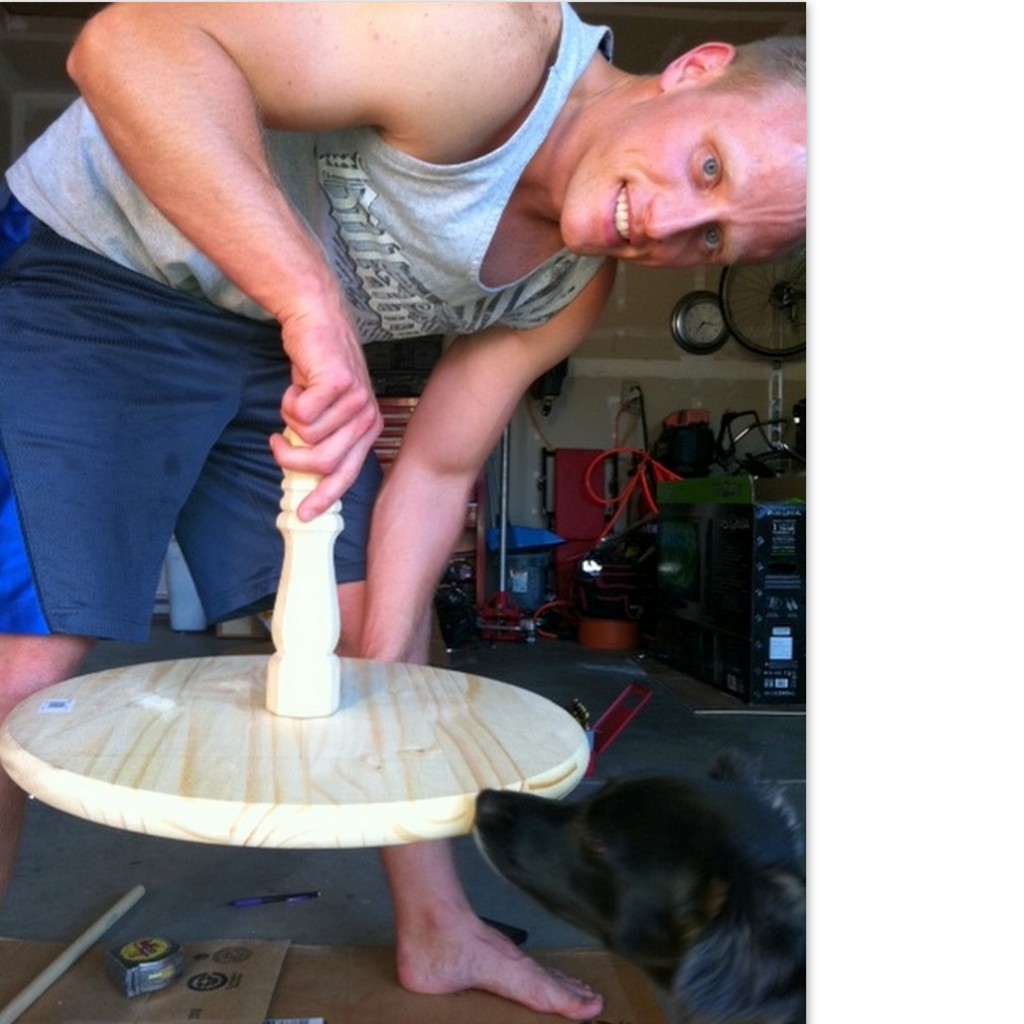
 

The next day is paint day!

At this point, you should have three pieces that have been glued together and resemble this (largest round not shown):
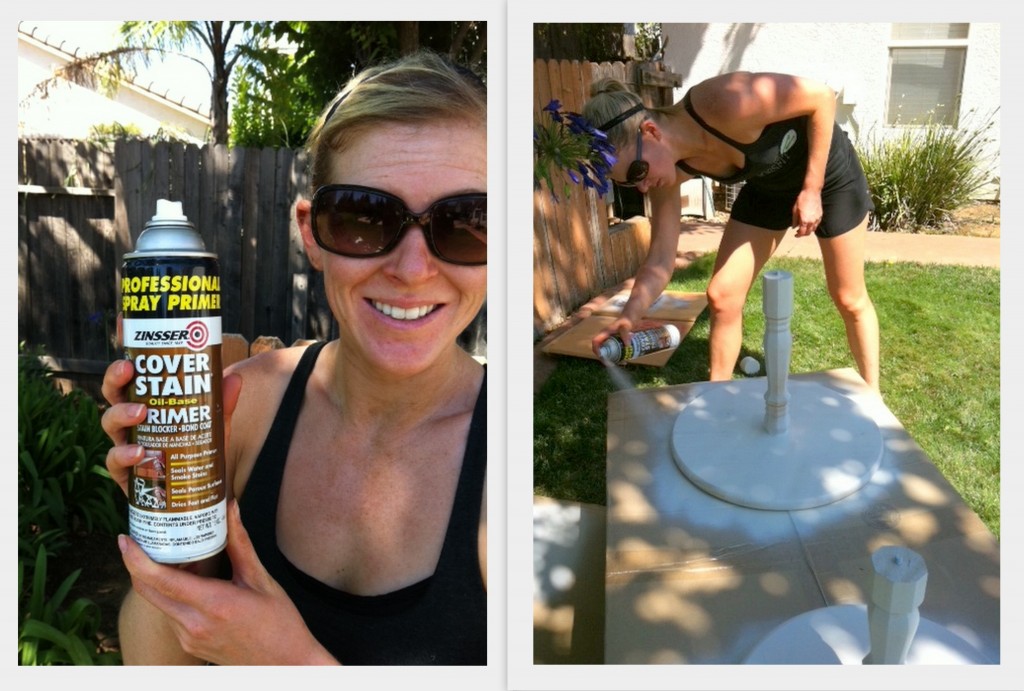
 

Apply your primer first, and be sure to cover all parts of the bare wood. Once the primer has dried, paint two coats of white paint to really cover it well and hide any paint streaks. Once your paint is complete, you should be able to take the three pieces and assemble them by screwing them together (since you have already drilled your hole). Voila, your finished product should resemble something like this! 
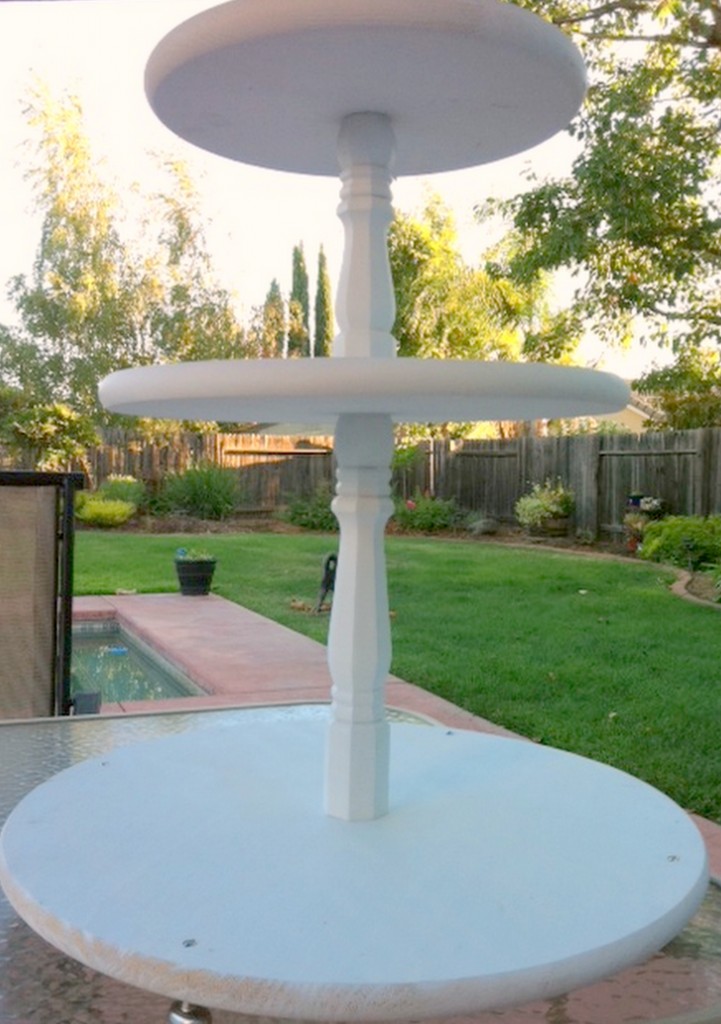
 

We used cabinet hardware to make feet for the bottom of our cupcake stand. We just chose something with a flat surface that would sit level on a table. The best part about rustic decor is that perfection is not necessary. I think I might sand the sides down a little to give it a little more of a rustic look.

So what do you think??

Find more about what I am up to here.

Heather

It's in the Mail....

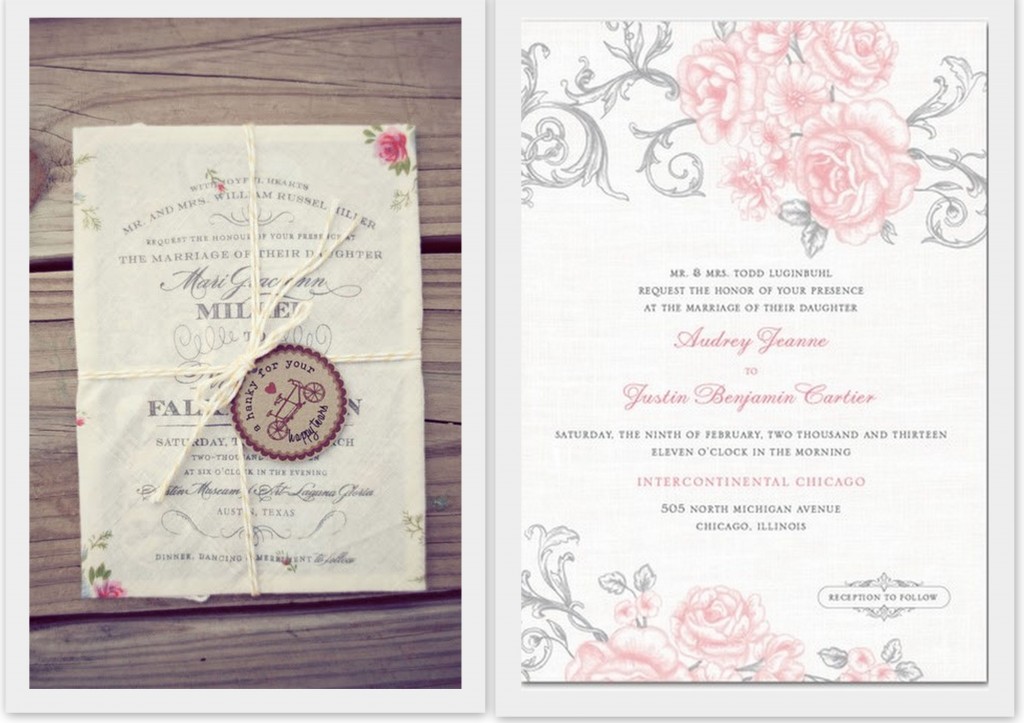
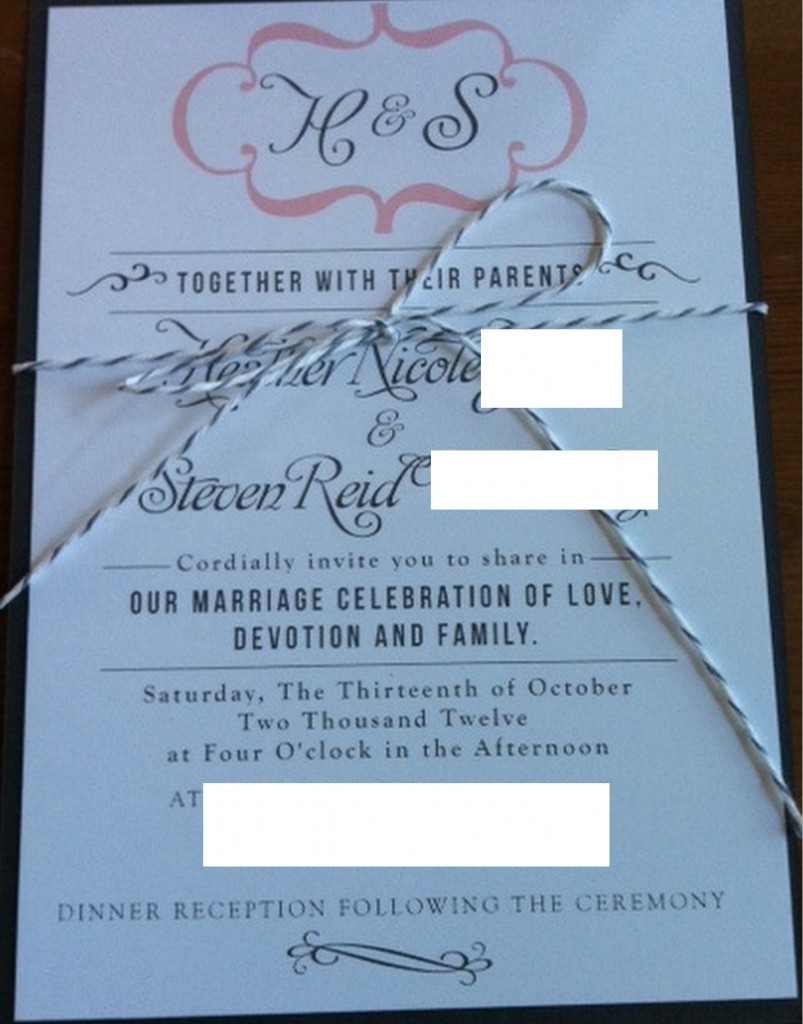
Invites that is!! I am so happy to say that I finally accomplished getting all of our invites in the mail. Boy did I under estimate how time consuming this project was going to be. Invites have probably been the hardest thing for me to get inspired about. Their are so many options out there and it started to get overwhelming trying to pick a style, the wording, and the packaging. I really wanted our invites to be a reflection of us; a little creative, charming and all around unique. These were some of my inspirations when choosing our final design.


Source: 1 & 2

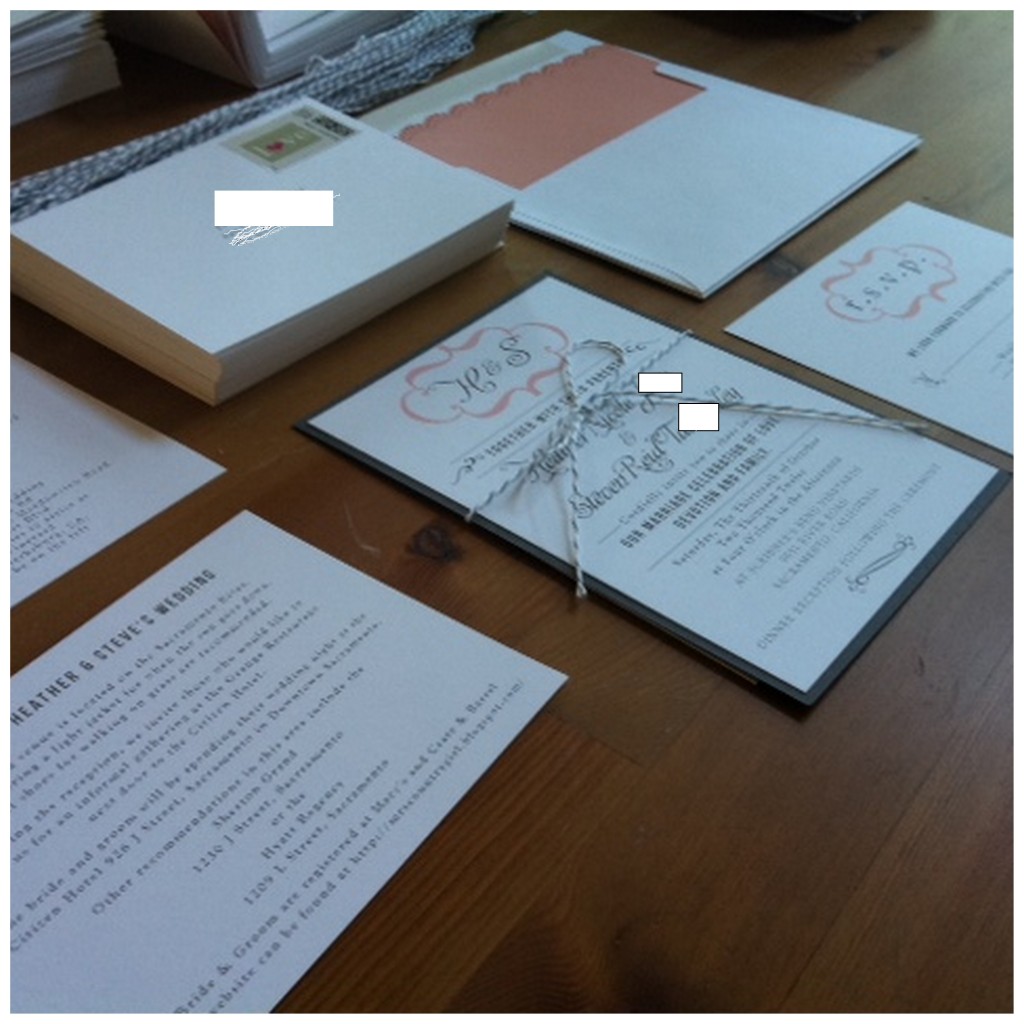
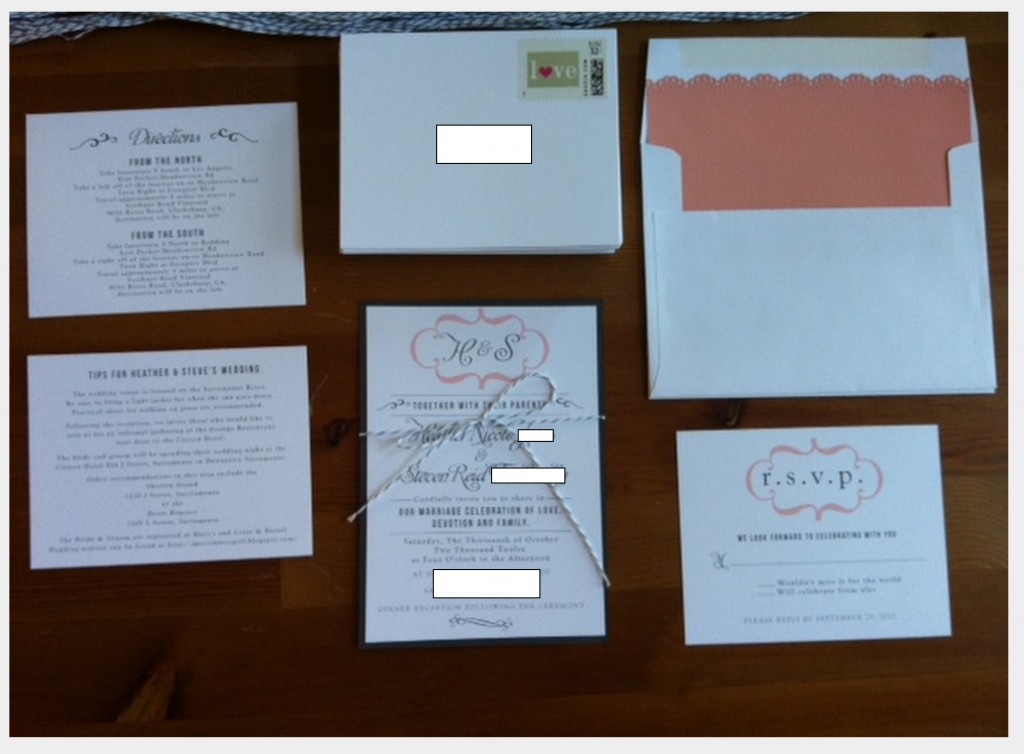
Here is the final product. I used Anna Malie Designs to create our invites, rsvp cards and direction cards. We decided to create a tips for our wedding on the back of the direction card. We included details like recommendations of where to stay in the area, where we are registered, and our wedding website. I also included tips that I know I would have love to have as a wedding guest, such as a suggestion to bring a sweater as the venue is next to the Sacramento River and wearing shoes that are suitable for walking in grass. So far everyone has loved these suggstions and said that they appriciated the "tips".  

We created our own envelope liners using some tips from this tutorial and packaged the invites along using bakers twine to tie them together.   My biggest recommendation when it comes to invites is to not be afraid to do something different. Allow yourself plenty of time to create, edit and print your invites. Invites should go in the mail at 8-6 weeks before your wedding. We got our in just under the 6 week maker which was cutting it a little close.  So what do you guys think?? Do you like the idea of a "tips" card to give your guest a few extra details?
Heather

To check out more of my wedding ideas check out my blog.


The Second Most Important Attire {Grooms Wear}

The bride's dress usually steals the show, but I think the groom also needs to get a little love in the attire department and what he is sporting on the big day.

Source

My Mr definitely had an opinion about what he wanted to wear, which I love. No, he did not pick out a powder blue suit, but he did have an opinion on what the groomsmen wore and how coordinated all the guys looked. We decided to rent the suits for the guys as our bridal state is spread throughout the state. To help us in the decision making we also brought along the best man so we had a final decision maker.

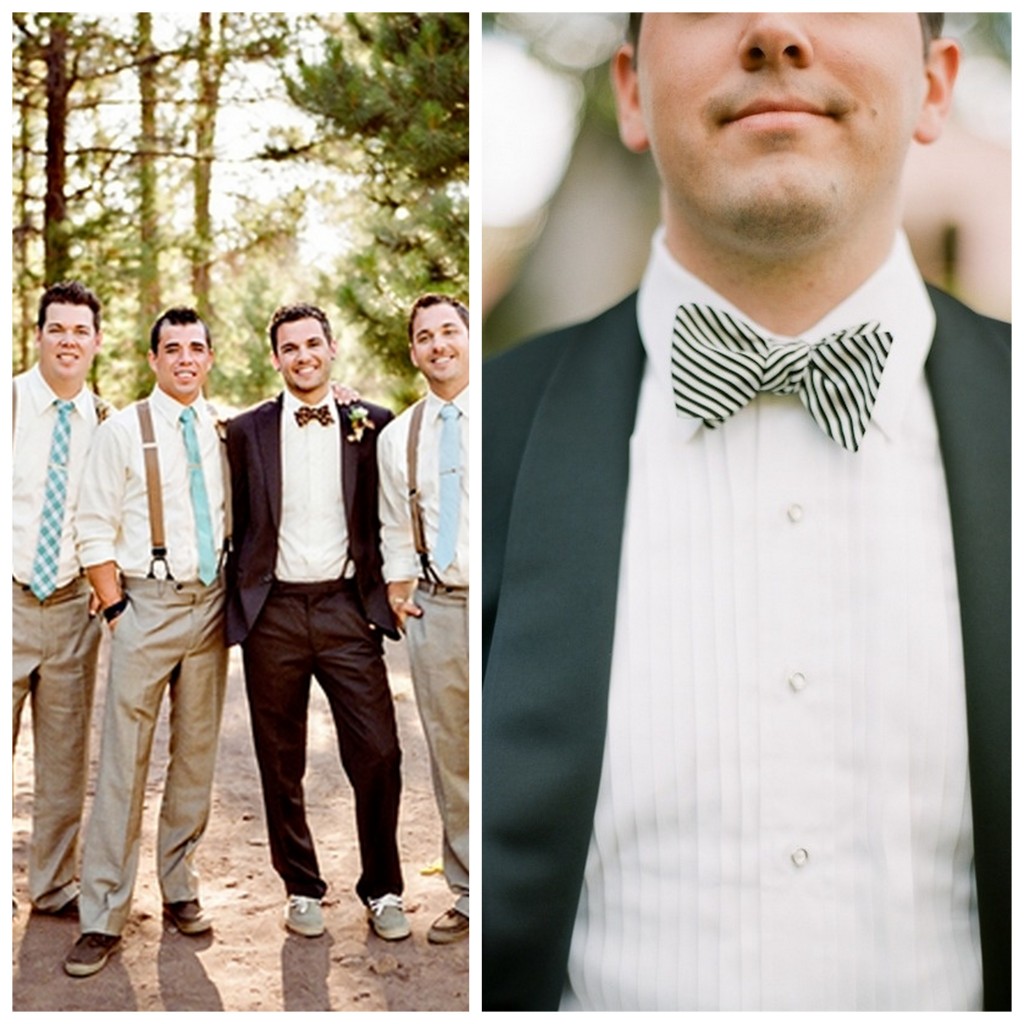
Source: Left, Right

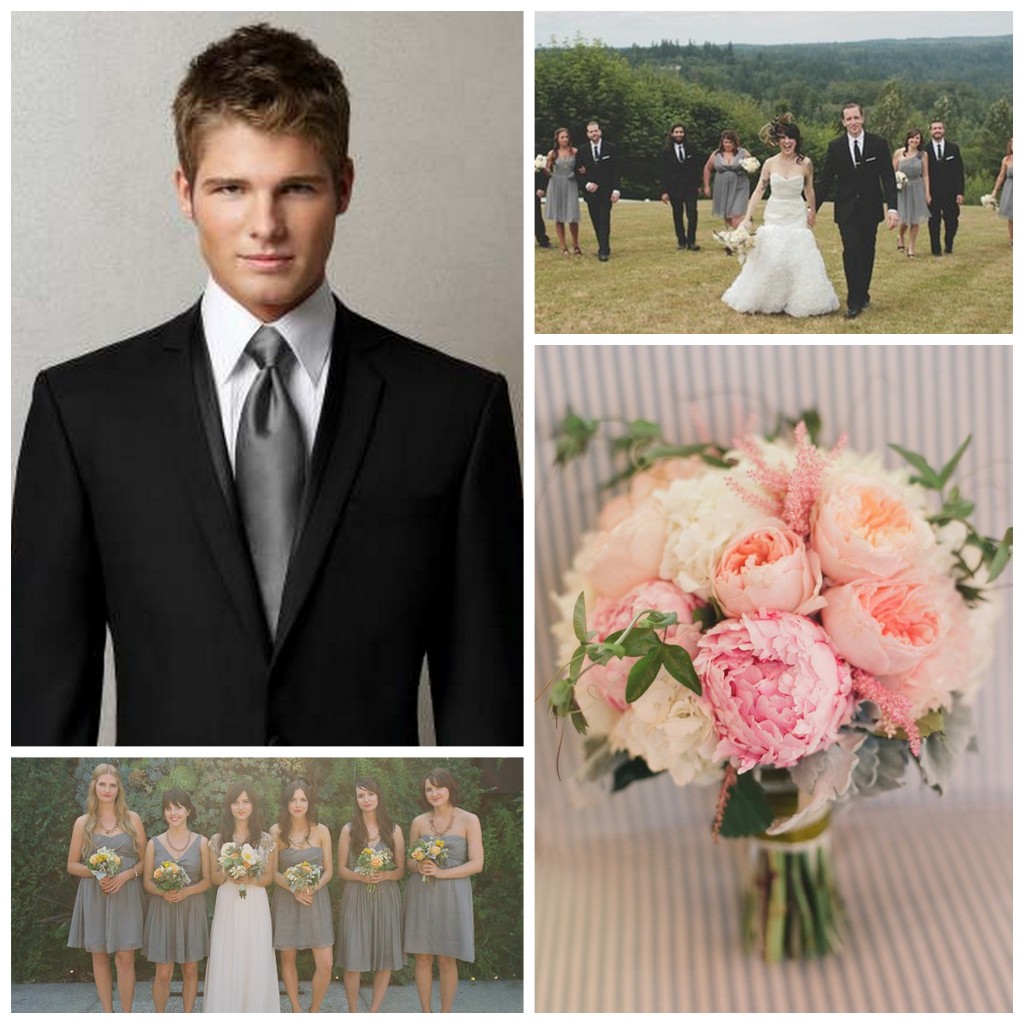
I am very pleased to report that both guys picked the same suit and tie the minute that we walked into the tux rental shop. I automatically loved what they picked and couldn't be happier with the choice. Here is a little inspiration board that I put together before we went searching just to give the people at the store an idea of what we were looking for and styles the guys preferred.


 Source: 1, 2, 3, 4

Here are a few tips that will help make getting your groom outfitted an enjoyable and easier processes:

  • Bring a swatch of the fabric that matches your dress. You wouldn't believe how many shades of white there are out there. Having the swatch with you will allow you to see how your dress is going to look next to your groom and the groomsmen and ensure that you compliment each other.
  • Along with a swatch of your dress also bring a swatch of the bridesmaids dresses. This will make it easier to match colors and ensure they don't compete.
  • Book an appointment! Not only does this ensure that you will get in and out of the store in a reasonable time, but some store give you a kick back because you booked an appointment. In our case, the whole party got their shoes upgraded.
  • Even if you didn't attend a bridal show, ask anyways about bridal show discounts and specials. Often times the salesperson will extend the offer to you even if you didn't attend. In our case, we received several gift cards and the Mr's tux complimentary. It doesn't hurt to ask!
  • Ask if the store actually has samples available for your guy to try on. This was a big thing for me and my Mr. I am a very visual person an ordering an entire outfit from a small swatch of fabric scared me. Not to mention you don't see how the whole thing will look  until a few days before the wedding when you pick up your rental. We actually ended up changing where we got our grooms wear from because of this. The rental company that we ended up choosing actually does a grooms preview. Think second fitting for the groom. They will bring the shirt, pants, jacket and all the accessories that you ordered and allow the groom to try it out and make sure you are happy with what you will be getting for the big day. I am very excited to see the whole thing put together when we go back in September.

So, what did you do for grooms wear? Rent? Buy? I want to know!

Heather

Checking-In and Engagement Photo Reveal

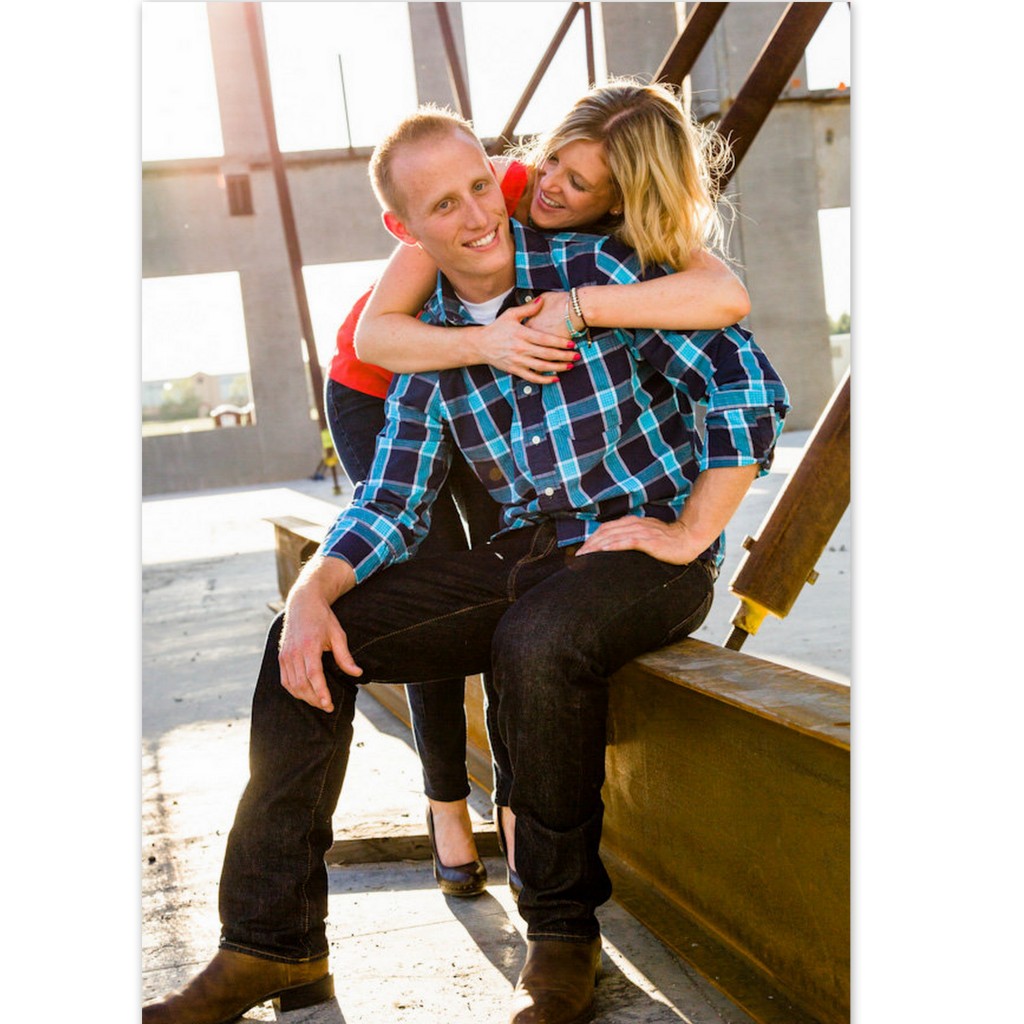
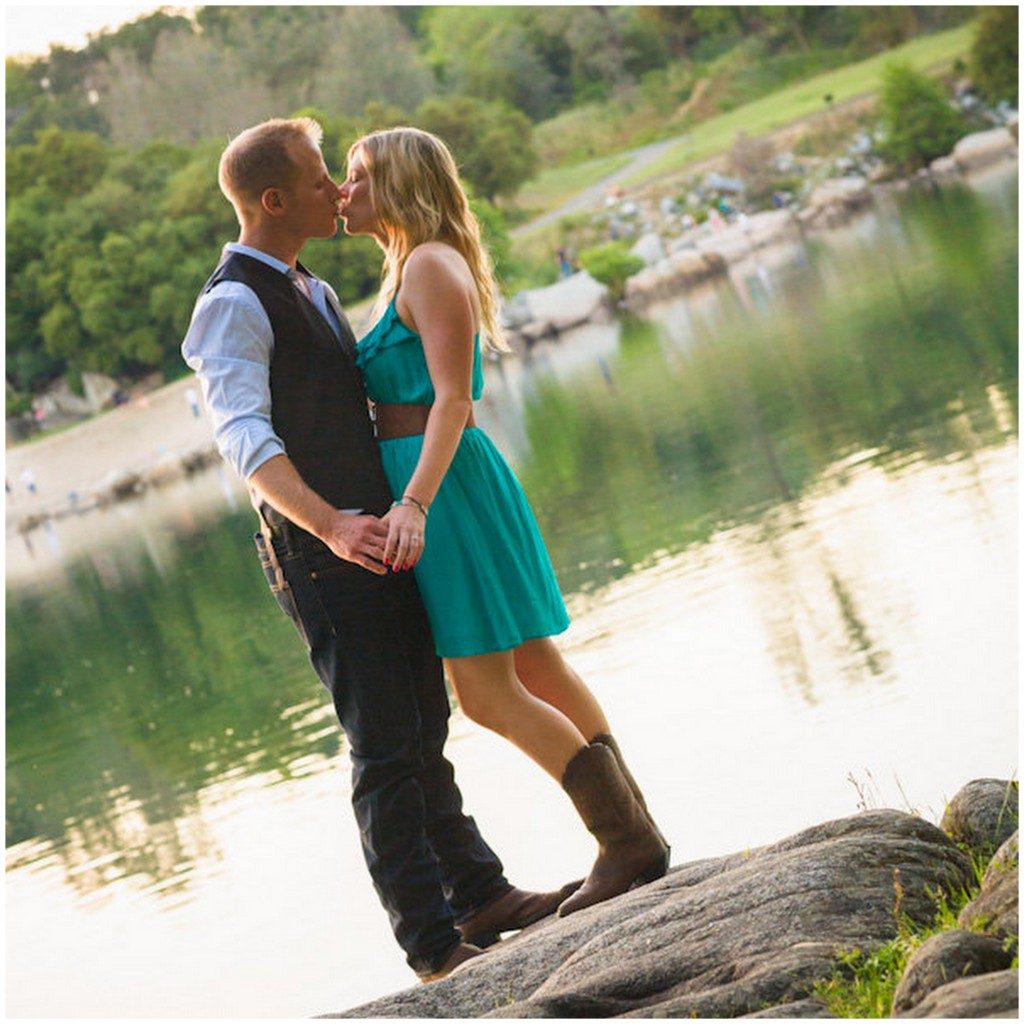
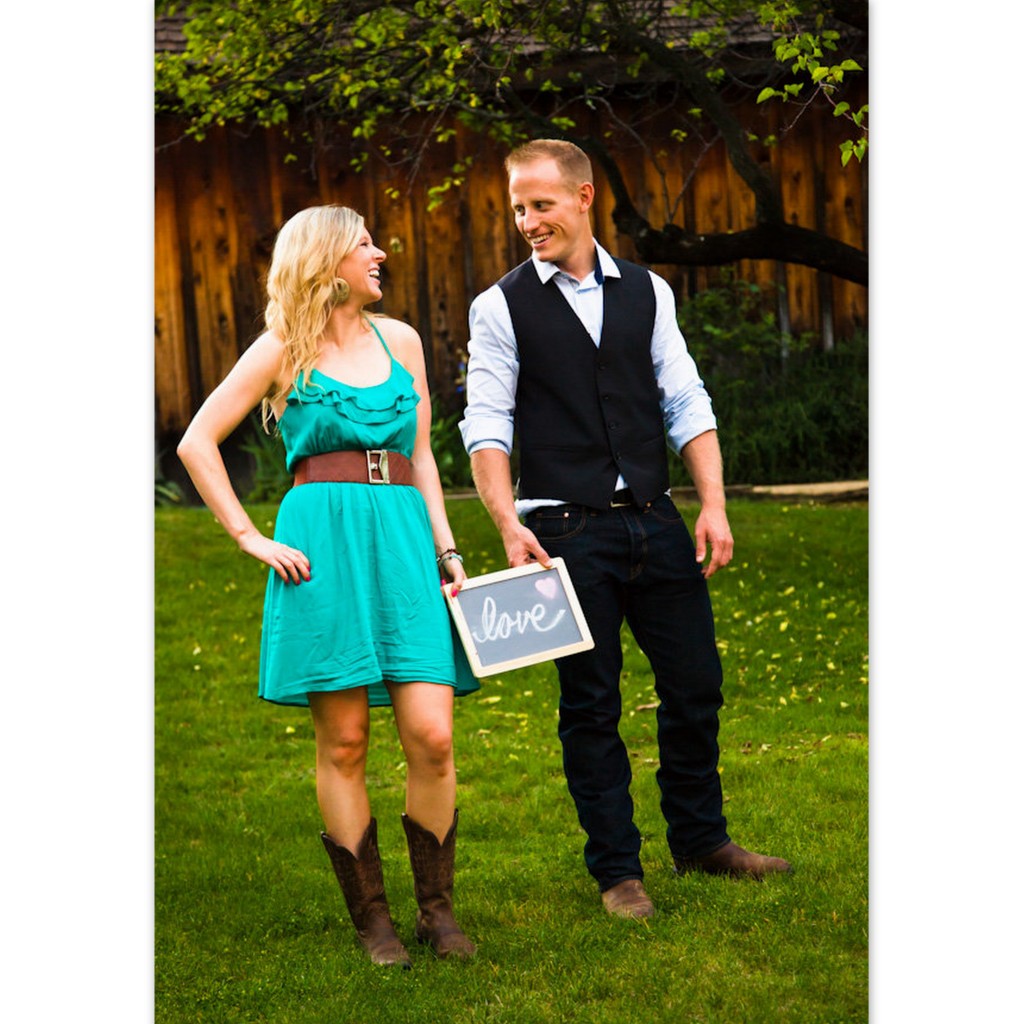
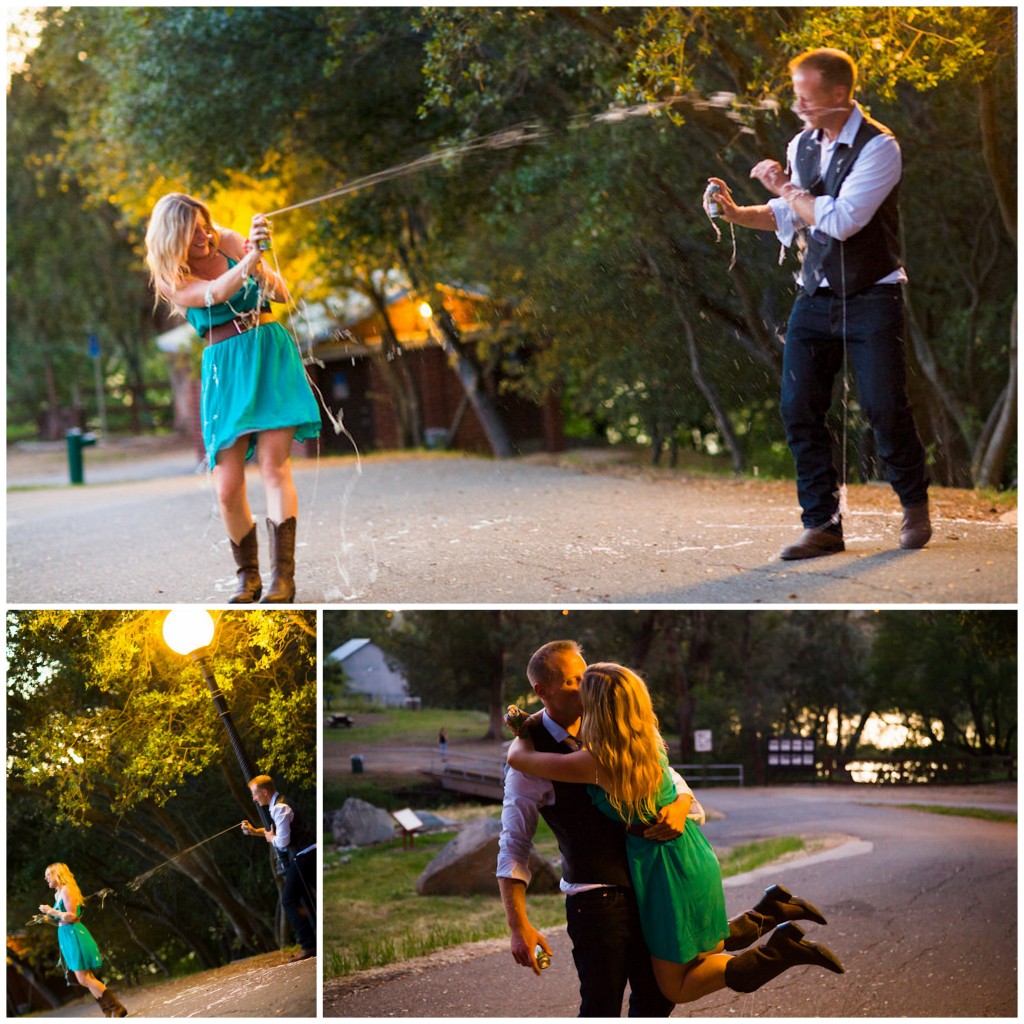
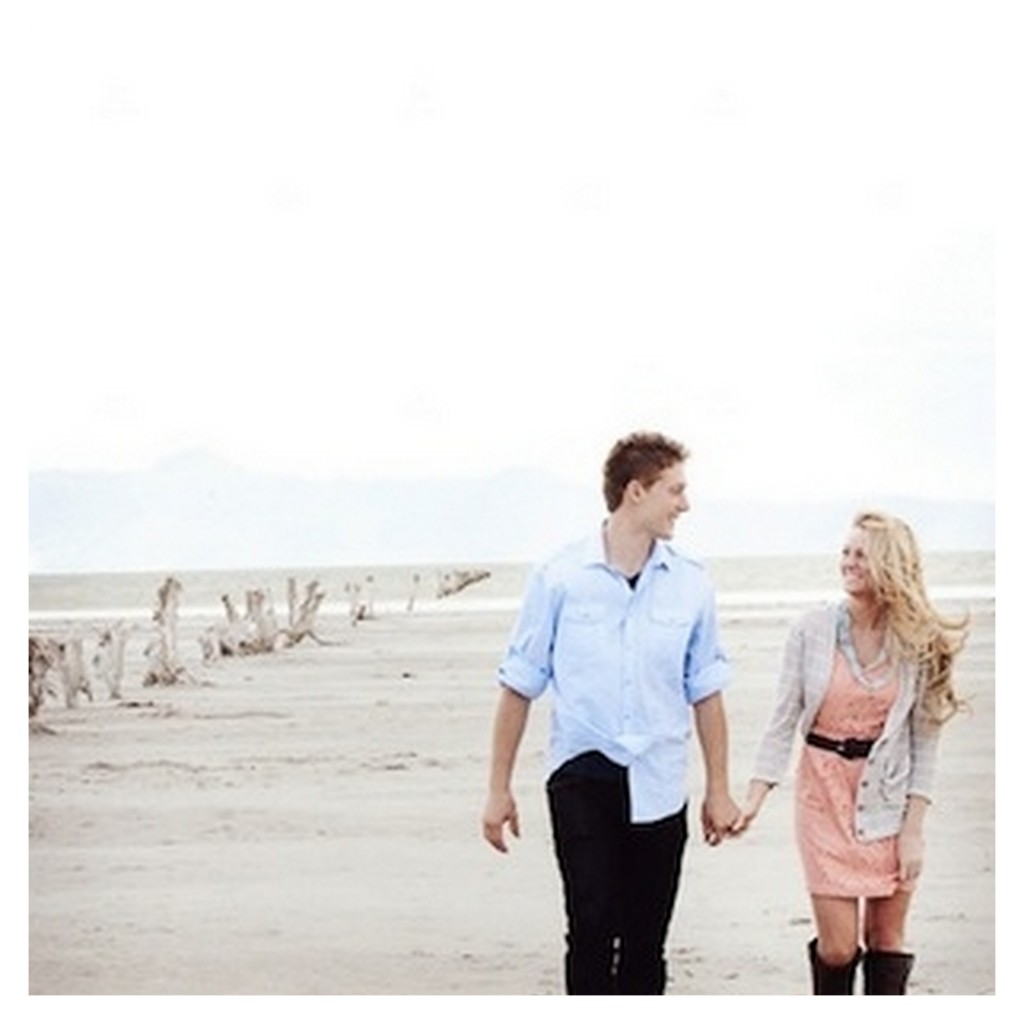
As we approach the 60 day mark we have begun full crafting mode at our home. This weeks list of items to complete includes; creating envelope liners for our invitations, package the invitations and getting them in the mail. As you can imagine we have a lot to do in a short amount of time. I can't wait to share the final product and tutorials on how we created our invitations. In the mean time, please enjoy a few photos from our engagement session by the amazing Cinzo Photography.


Heather

Keeping It Fun

I have been very lucky in my wedding planning process that I have had a full year to prepare for the big day. My Mr. and I were quick to jump on securing vendors the month after we got engaged and got all of the major decisions done early. Though I have enjoyed having this time to get inspired by all the little details out there in blog land, I found that their is also a balancing act when it comes to wedding planning so that the processes stays fun. In order to accomplish here are a few things that I have done keep myself from being overwhelmed with all their is to do.

I only allow myself three days a week to work on wedding related activities.  I am sure as we get into the home stretch this will change, but for now this has really helped me to keep the planning process in perspective. I make a list of the items I need and/or want to accomplish that week and set out to get them done in the three day window. Those items that don't get completed get moved to the next week. Some people might think I am crazy, but for me and my Mr. this system works for us. It allows us both  enjoy our time together outside of wedding planning. This includes being able to go on out of town trips with friends or a date night on the weekend.

Source: AK Studio Design


Set a DIY limit. This has been a tough one for me to figure out. It would be great if I had copious amounts of free-time to DIY everything for our wedding but in reality this is not a possibility. I  have a very demanding full time job, so balancing what I can create to what is needed to complete our look is an on going struggle for me.  Currently I have a long list of DIYs to complete but have stuck to my schedule above and should be able to complete everything in time. Along with setting a DIY limit comes stop Pinning! I have found that I started to get so overwhelmed by all the ideas that I couldn't focus on what I needed to do versus what I liked. After a careful review of the Pintrest Wedding board I was able to figure out what I wanted to create versus a style that I might have liked but did necessarily fit with the look of our wedding.Another DIY inspiration:

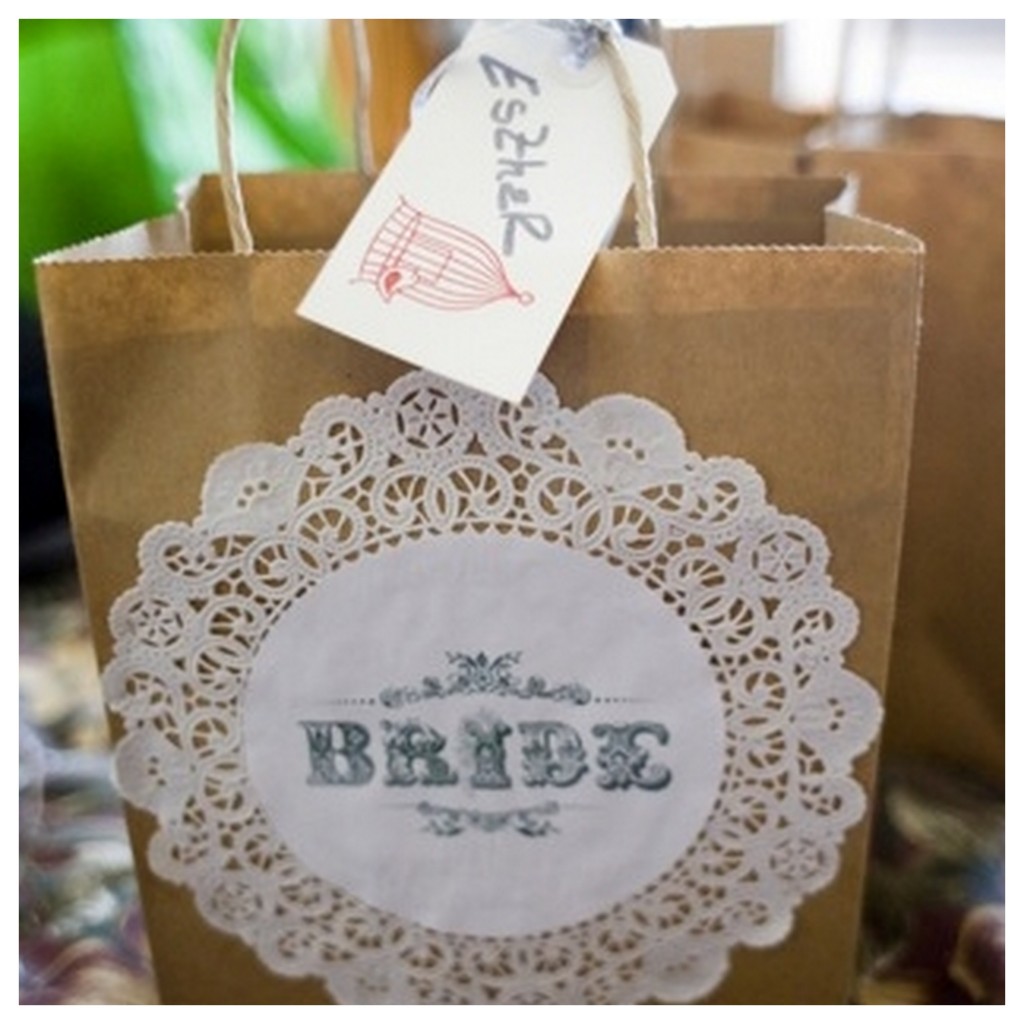
I think these bags would be awesome to give bridesmaids gifts in!

Source: Scarlett and Stephen Photography

My last thought on the whole wedding processes comes down to this. When all is said and done and the dust settles, we will be married and to me that is all that matters. Enjoying this process is important but, remembering that it is a small part in the bigger picture of marriage is the most important thing.

Source: Kristin La Voie Photography

Heather

Pinky Flower Power

This past week I had the pleasure of having my first meeting with my amazing florist Jackie, of Jackie's Flowers. I haven't met with Jackie regarding my flower choices since December of last year, and I was surprised at how my choices in flower have changed.

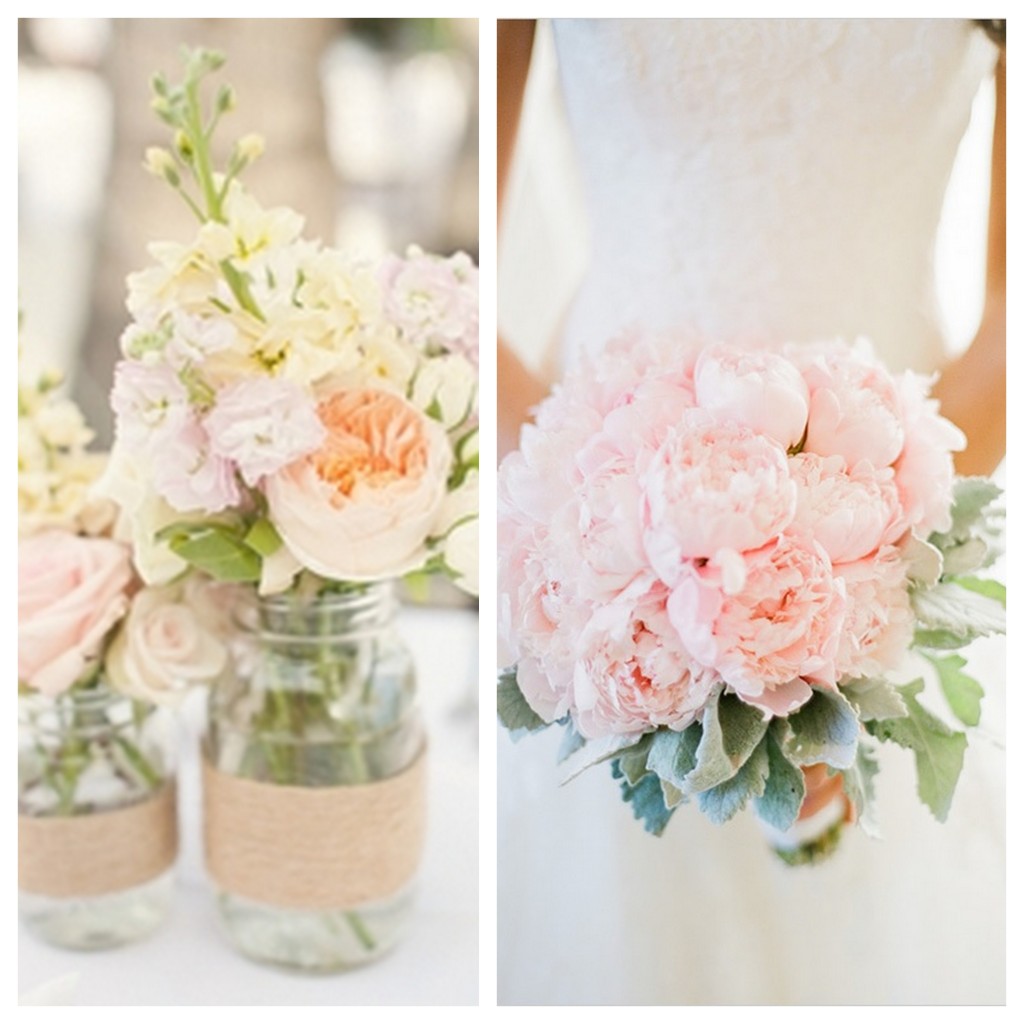
Source: Left & Right

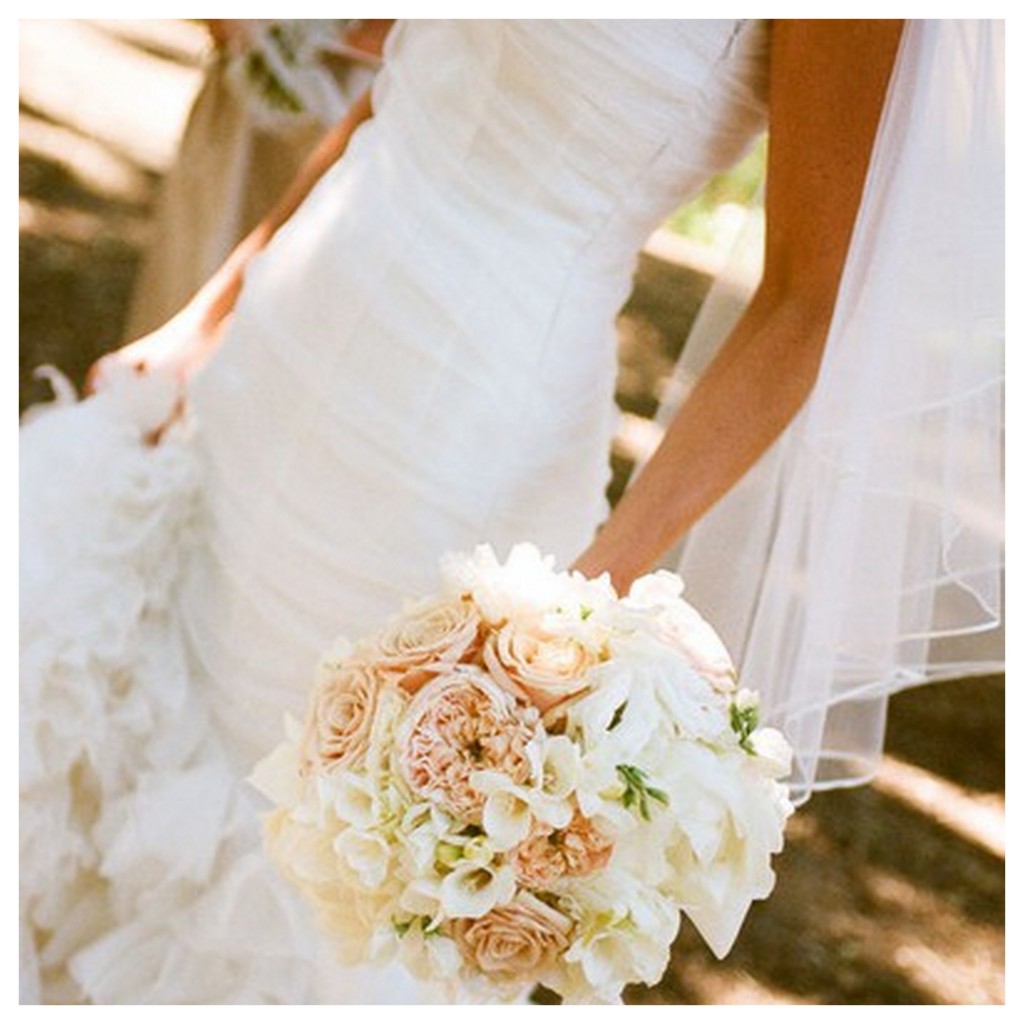
When I first started wedding planning and gathering inspiration on my Pintrest, I loved the look of light pink and ivory flowers, peonies and plush garden roses.

Source

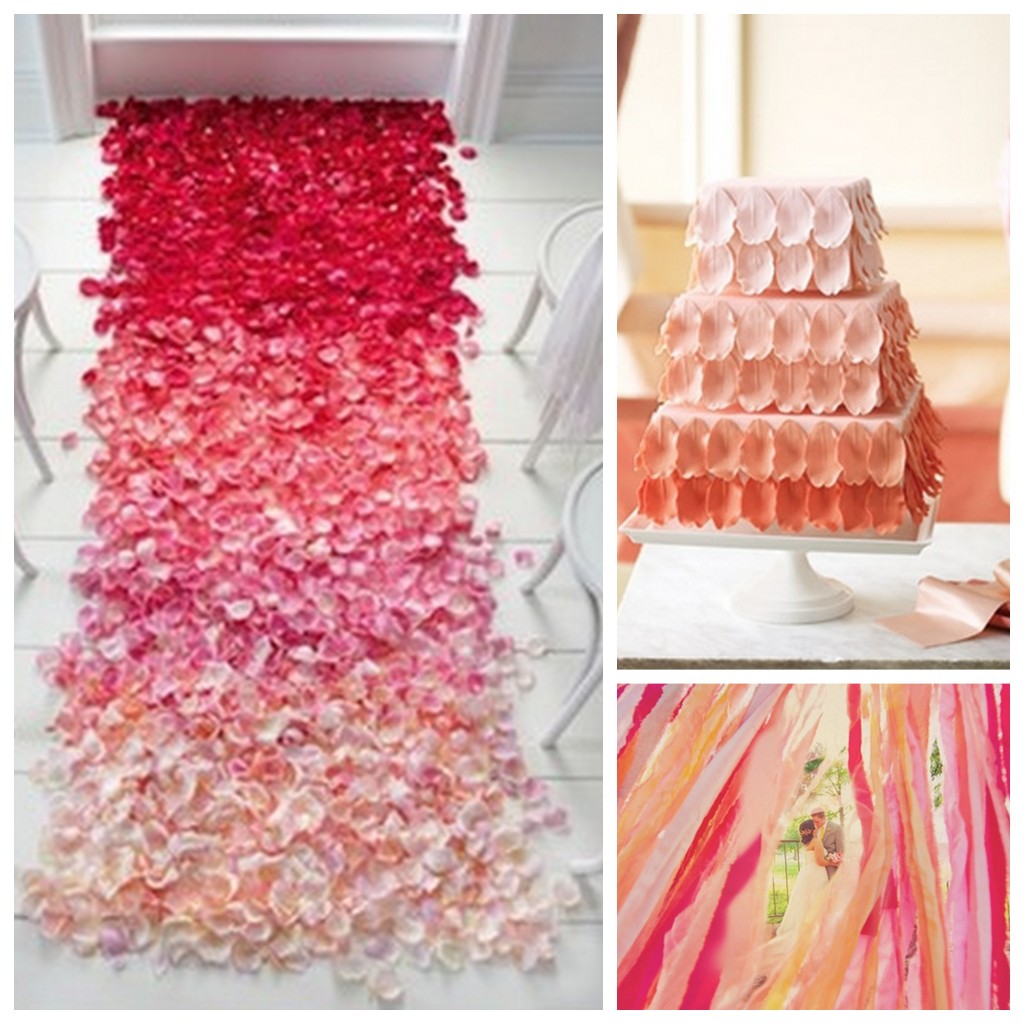
As time has gone on and we have selected our bridesmaids & groomsman's attire, invitations, and all of the other color elements I decided that I wanted more variety in my color pallet. Enter the fabulous trend that is ombre.

Source: Left, Top, Bottom

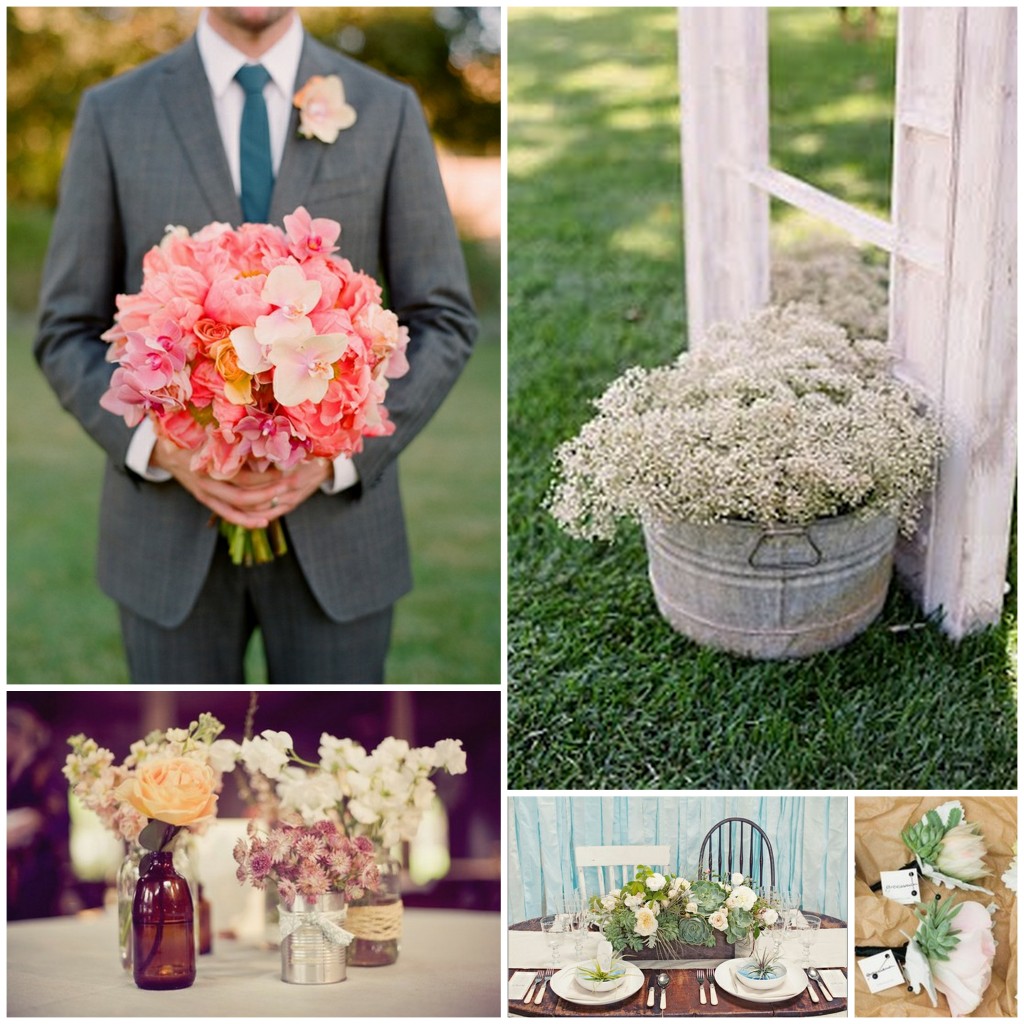
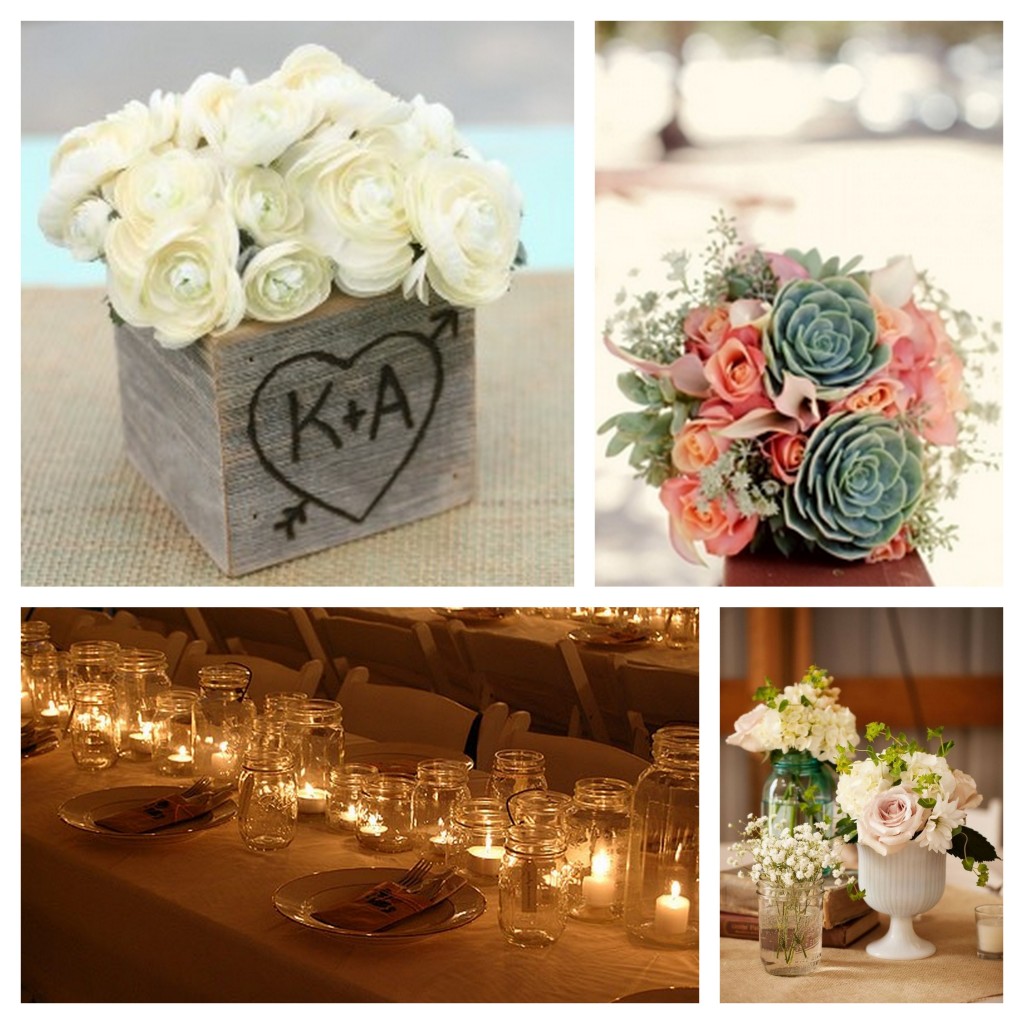
I love the freedom that the ombre looks allows. We aren't stuck with matching one color but can have the full spectrum of color. Jackie and I worked through all of the color and flower options and I am very excited to incorporate the ombre color pallet with the vintage doors, bottles and wood crates that the amazing Jackie is going to create. Here's some of the inspiration that we are pulling from to bring the whole look together

Source: Top Left, Top Right, Bottom Right, Bottom Middle, Bottom Right

Source: Top Left, Top Right, Bottom Left, Bottom Right

Heather

Bridesmaids Attire & Statement Necklaces

 I feel so lucky to have such wonderful women and friends as bridesmaids in our wedding. With that I want to make sure that my girls are stylish and hip. Here are some of my insperations for my sweet ladies.

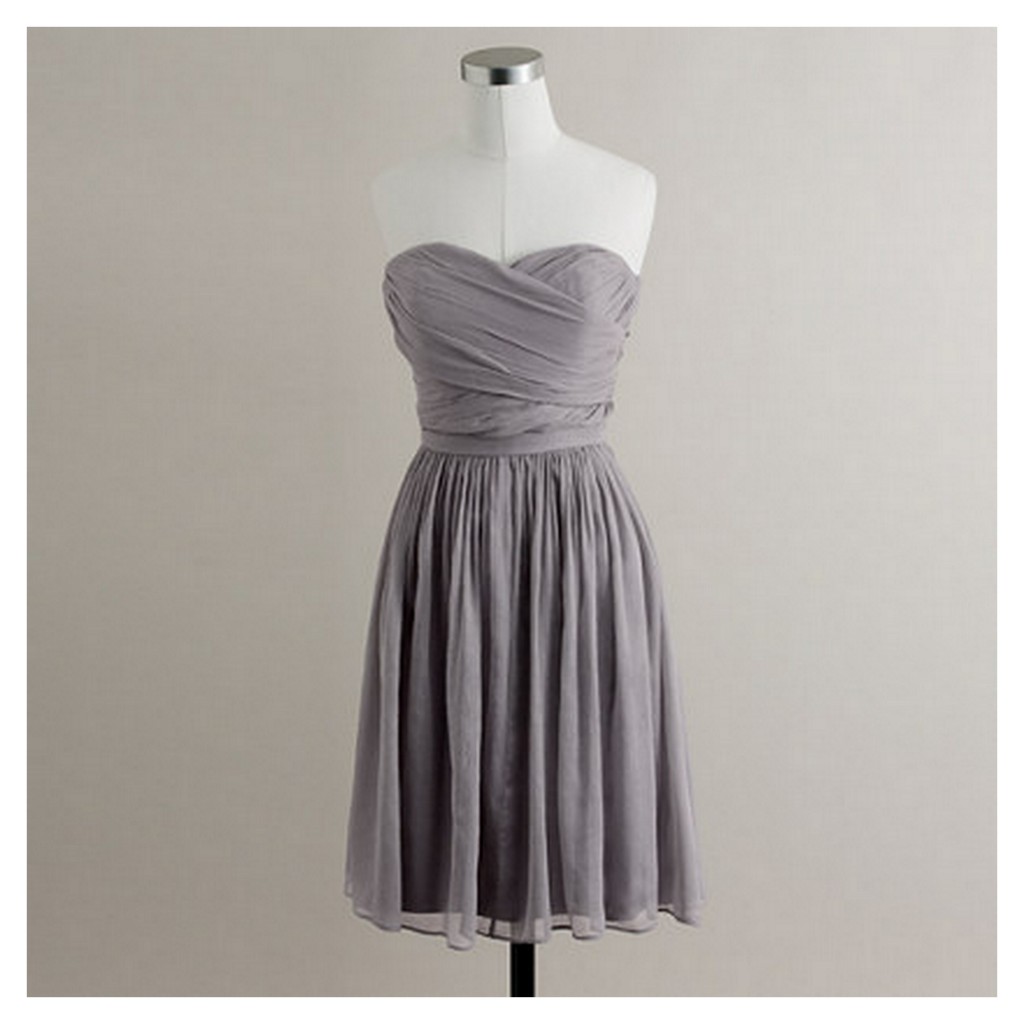
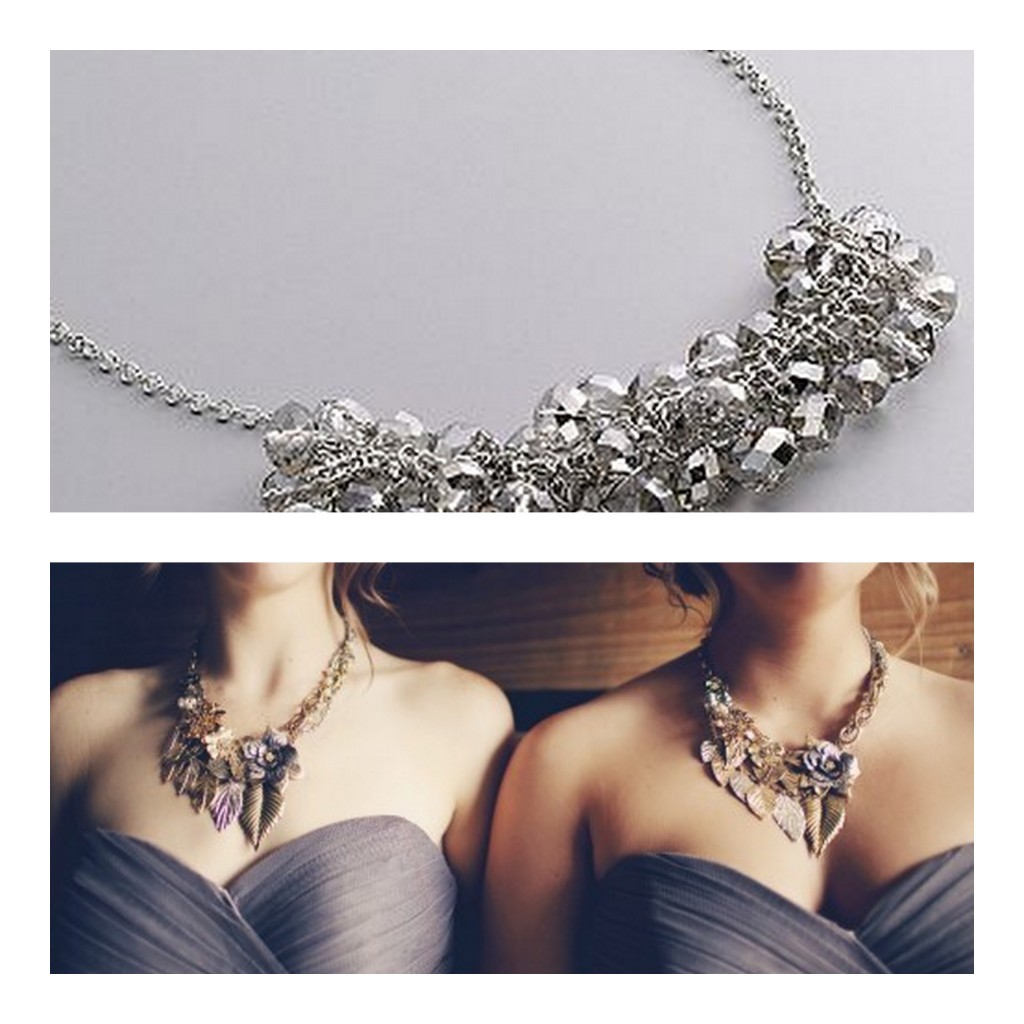
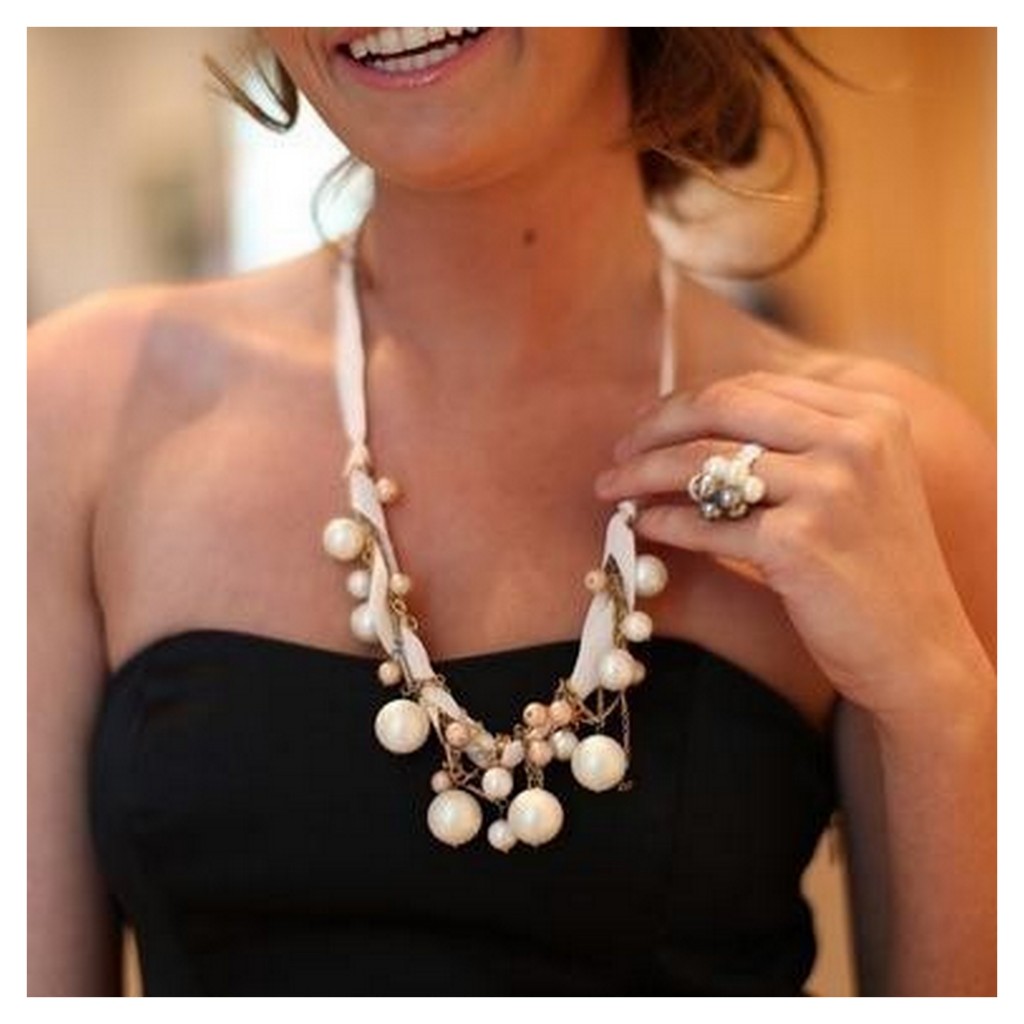
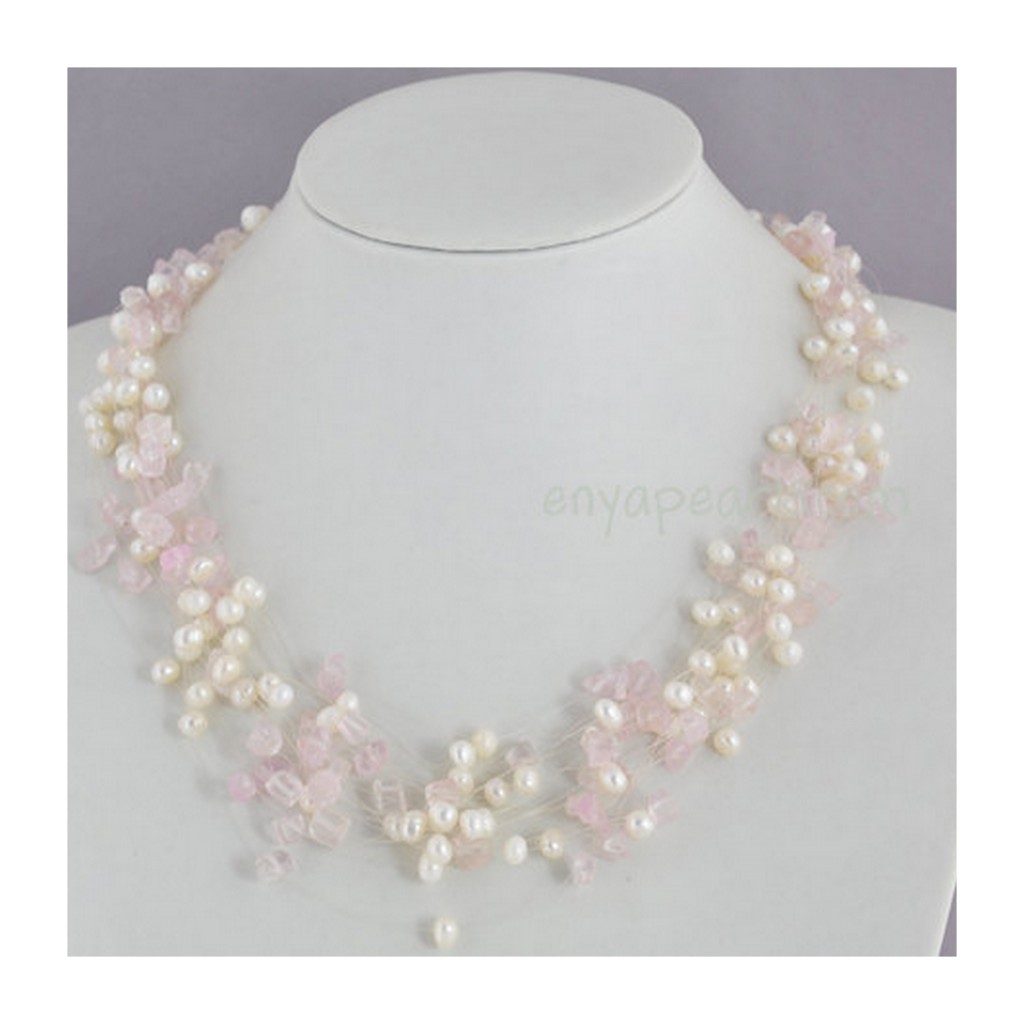
These are the dresses that we have decided on from JCrew in the graphite. I would love to find a great statemenmt necklace to go along with this in a coral, white or peach color.

Source: 1 & 2

Source: 1 & 2

And the overall look with the groomsmen attire

Source: 1, 2, 3, 4

I am loving our graphite and coral and peach wedding colors. So, what do you think of the statement necklaces? To trendy or just the right added detail?

Heather