{doable} Do It Yourself

This week has been full of crafting for me. Over the past few months I've realized I should outsource some of the projects (thank you etsy!) and other projects were simple enough to do myself. Here are some of the images that have inspired me to get my DIY on, followed by my personal tips to get the jobs done.

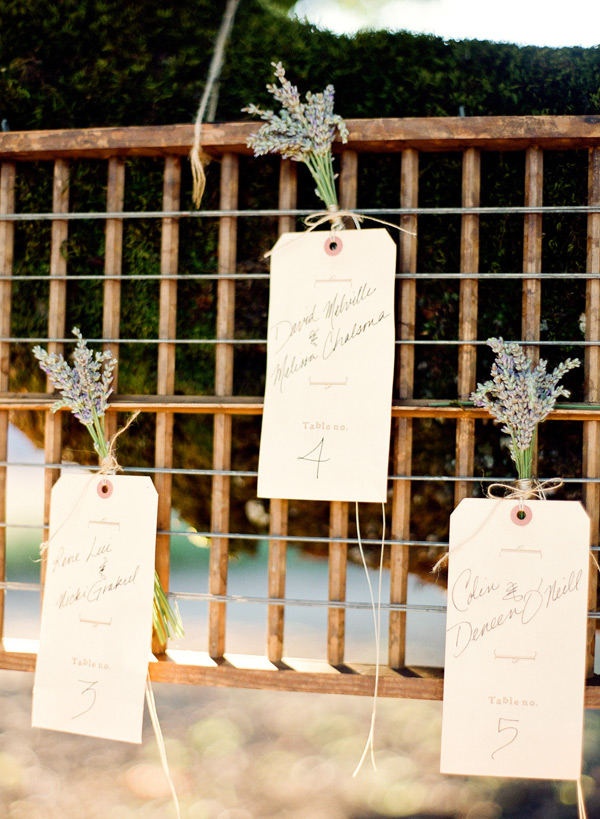
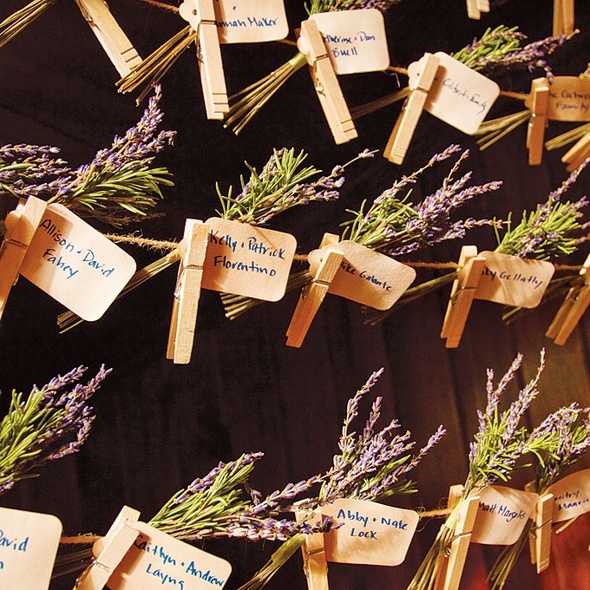
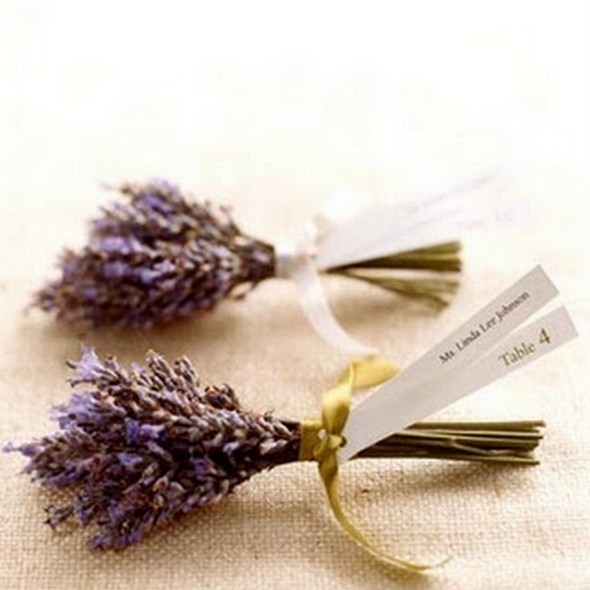
Lavender bunches with escort cards

7fcfdf074d7c4df73fe1e94ef84ea10cd5f0335e6f2e8fbe59da09639abd35c3-001 Sources: Top, Bottom 

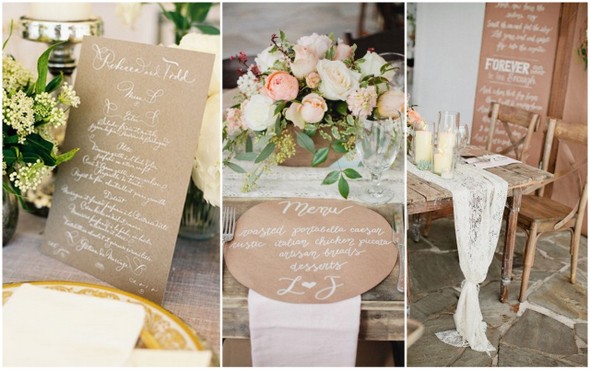
Menus and a lace runner for the head table:

Wedding Crafts1 Sources: Left, Center, Right

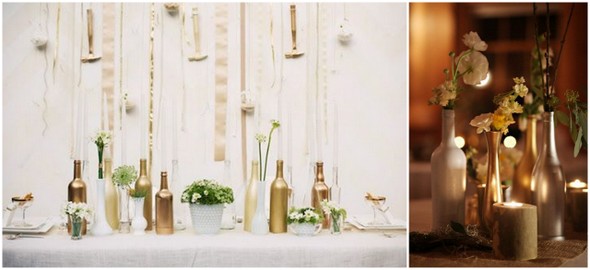
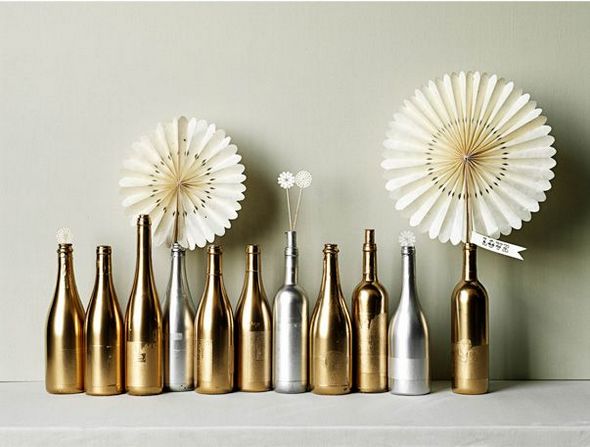
Metallic assorted bottles for the welcome party:

Wedding Crafts29b5e911693dc542ba4402bcdf6251513-001 Sources: LeftRightBottom

This is how it went for me...

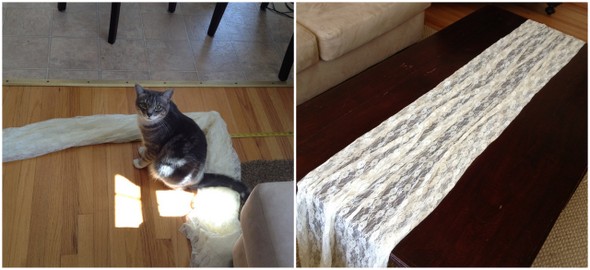
DIY No-Sew Table Runner: SUPPLIES: Lace Fabric | Fabric Scissors | Tape Measure

Wedding Crafts3

I bought the lace fabric at a discount fabric store for $23. I measured the fabric to make sure it would run the length of the table and have enough to hang down on either side. I then cut the fabric to the width I wanted. I realized if I gathered the fabric, as shown, the edges would be hidden and therefore don't need to be finished. I will be using the jute twine from the escort cards to tie each end like in my inspiration image. This project worked well for me because we only have one farm table as our head table. The other tables are round and will just have the standard linens. If you wanted to do this for more tables, you could easily get two runners out of the width - just make sure you get the length you need so you don't have breaks in the fabric.

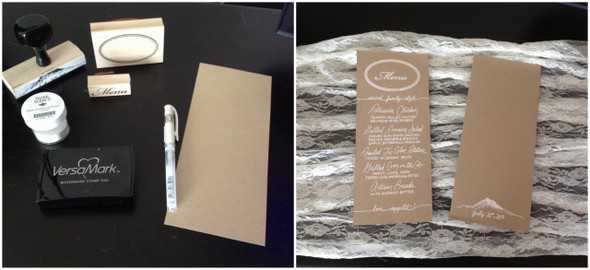
DIY Stamped & Embossed Menus: SUPPLIES: Stamps | Stamp Pad | Kraft Paper | Embossing Powder | Embossing Tool

Wedding Crafts5

I used stamps and the heat embossing powder and tool for the top oval and 'Menu' part. For the rest, I used the white pen to write it out. It took me a couple tries to get the layout and spacing just right. To help myself from writing at a slant, I used a piece of thicker, contrasting paper and held that under the line I was writing. Then, as I wrote each item, I watched the space between my line and the other piece of paper. Slant avoided! I did enough for two per table.

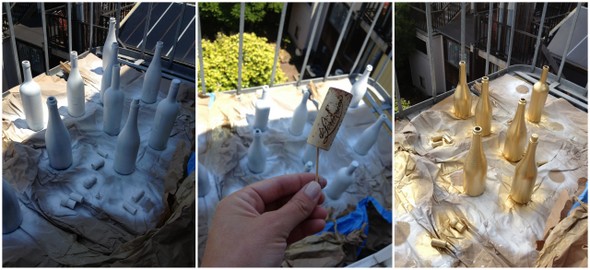
DIY Metallic Bottles: SUPPLIES: Assorted Bottles | Primer Spray | Metallic Spray

Wedding Crafts4

For my welcome party, I knew I wanted something cost effective and related to wine since it will be held at a Springhouse Cellar - a tasting room in Hood River, OR. I found the images of gold and silver wine and champagne bottles and HAD to give it a try.

I left the labels on and used a primer and then metallic spray bottles - I just went to my local paint store and they helped me figure out what to buy. In addition to the bottles, I also sprayed some corks to sprinkle around the bottles and I called my florist who said she would provide the single stems of white and green flowers. Easy! And all-in it will come to under $90 to decorate about six tables. Not bad, right?! *Hint: take your engagement ring off and don't do this the week before your wedding - or use some gloves!

DIY Lavender Bunch Escort Cards: SUPPLIES: Lavender Sprig | Jute Twine | Cloth Pins | Small Cards (used business card sized paper from Paper Source) | Hole Punch | Pen

I haven't done this project yet, but my florist recommended grouping couples and families onto one card - that way you have less to do and the display at the wedding won't be overwhelming.

Happy crafting and happy Fourth of July to you all!

 

Paper Extras {tying everything together}

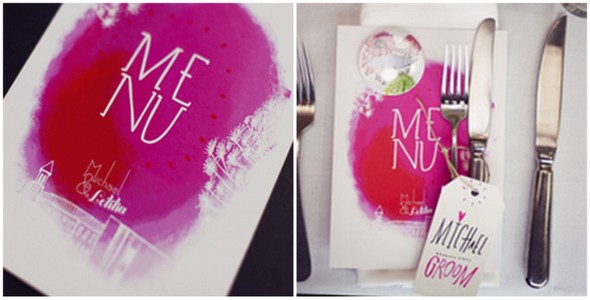
I am a sucker for paper - stationary, thank you cards, menus...you name it. So when it comes to my wedding, I get giddy over not just the invitations, but all the 'extras.' Here are some images inspiring me...

Source

Source

Source

Source

Source: Left, top right, bottom right

I came to the realization recently (after getting a quote from a designer) that these things do not come cheap, so there may be some DIY in my future! I won't be able to do everything so I'll also have to get creative with different vendors. Knowing that it's going to take more than just hiring a designer and approving the design, I realize this all will require some extra work. But I know that the savings and getting to have more of a hand in everything will make it worth it.

I was really inspired by fellow E&I blogger who recently posted about her DIY invitations - check them out! I also love Kim's, here.

Did you DIY all or part of your wedding invitations and/or the extra paper goods? How did it go for you?

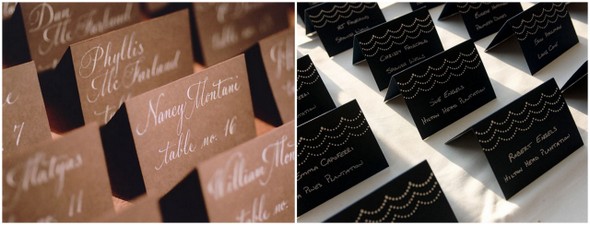
cute & clever {escort cards}

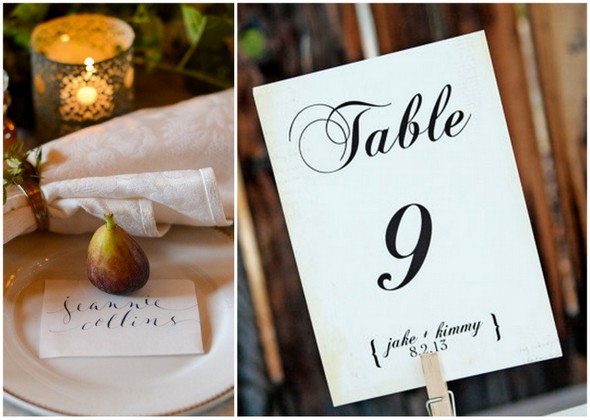
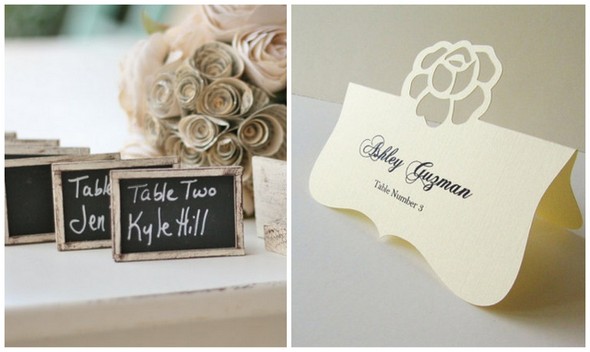
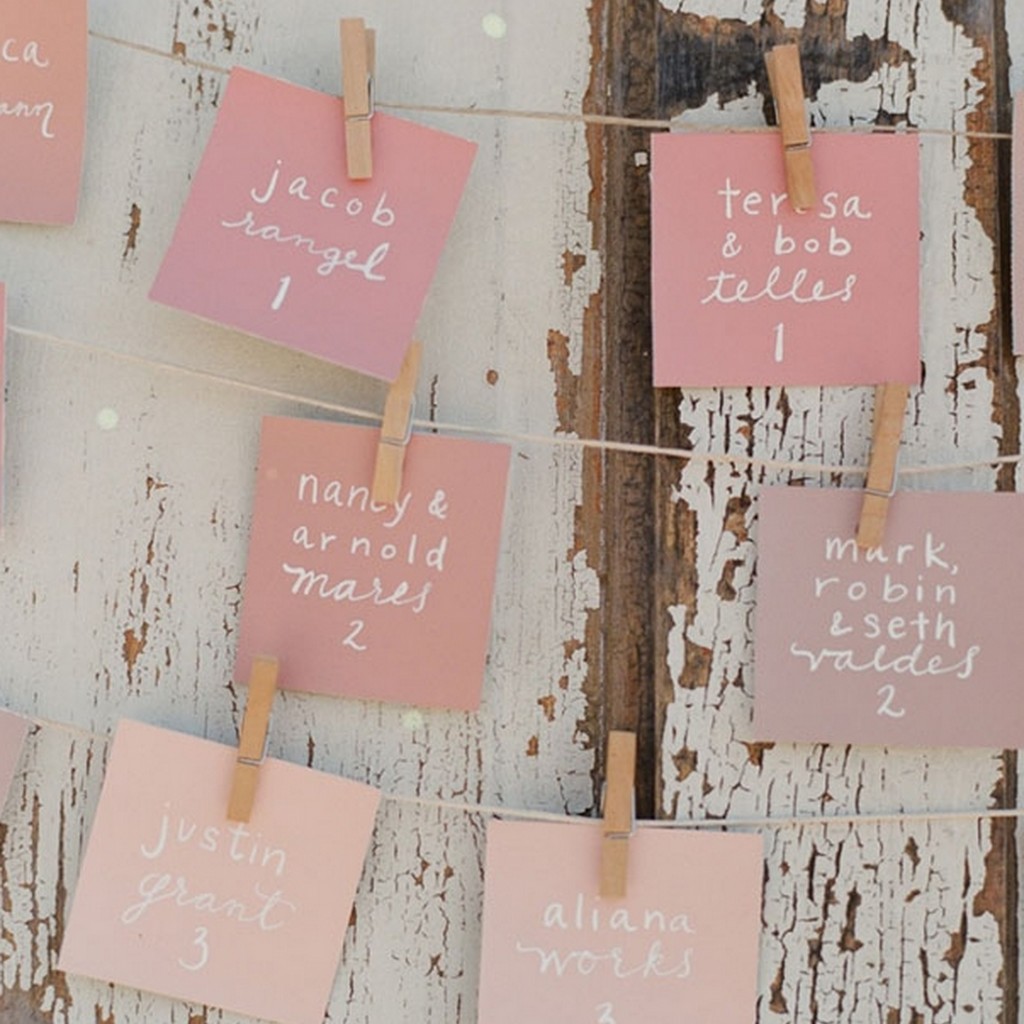
Not gonna lie, people..... the bridal anxiety has set in. I'm trying my best not to freak out, but omg the big day is here in just 33 days! I'd like to have 95% of my work done 2 weeks before, which means I have 2 WEEKS to get my butt in gear! I have plenty of little things that need my attention. one of which is seating. Should I have a map/list of guests' names & tables with a name card at their seat, or should I make escort cards and have guests seat themselves at the table? Well, if I do escort cards I would like something cute and/or clever.... like any of these:

photo credit: www.elizabethannedesigns.com

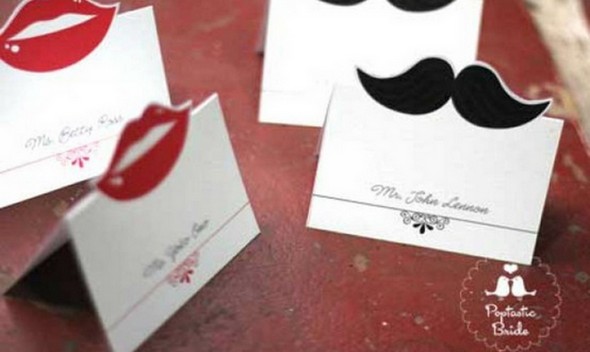
photo credit: poptasticbride.com

photo credit: left & right 

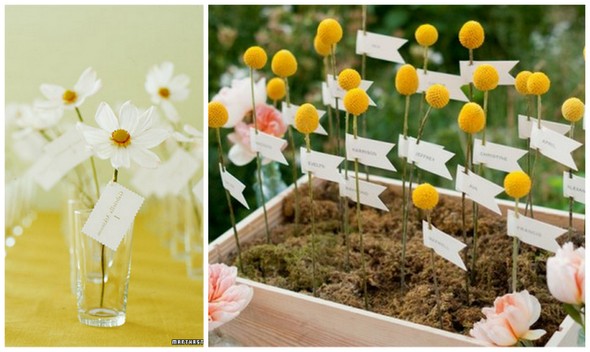
lavender escorts double as pretty table decor

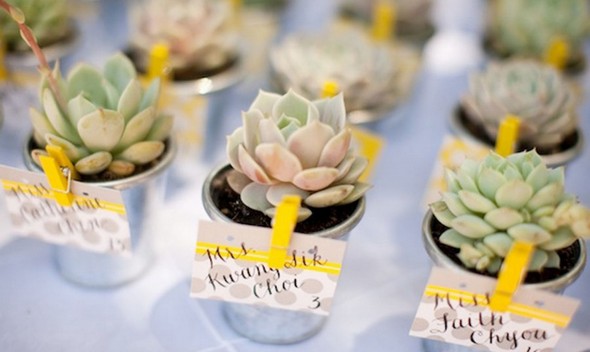
These succulent escort cards double as party favors :)

Thank you Allison for emailing me some escort card inspiration and for the advice. You're totally right-  "You can do something simple and just add a tiny twist to make it kind of different. For example, an escort card with something that matches your wedding taped with a little piece of glitter tape." I think the simple route is the direction I'm headed ;)

What are your thoughts, brides-to-be? Anyone else only a month a way? Or perhaps you just had your big day? Any words of wisdom for me as I wuickly approach mine???

xo, Taya

Finishing Touches {Signage & Printing Galore!}

Hi Guys! Holy cow do I feel behind on just about everything in life right now. It feels like the last couple of weeks have flown by and between a full time job that takes me out of town and finishing all the wedding details, this girl is on over load. I find myself sitting back and going where did the last year go?  We are two and a half weeks out and the pressure is on to finish those last little details.

Source

Source

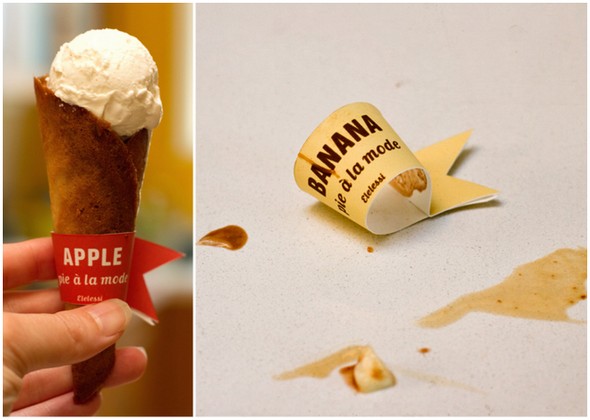
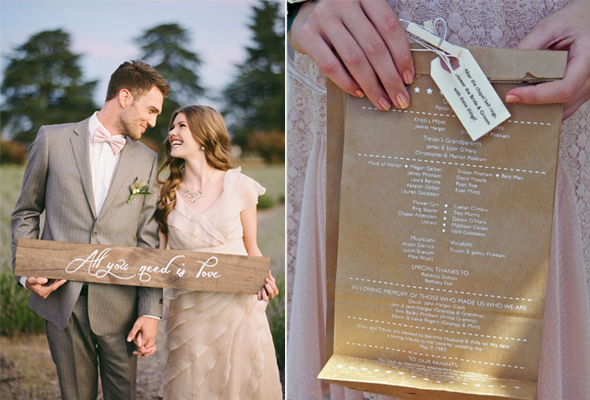
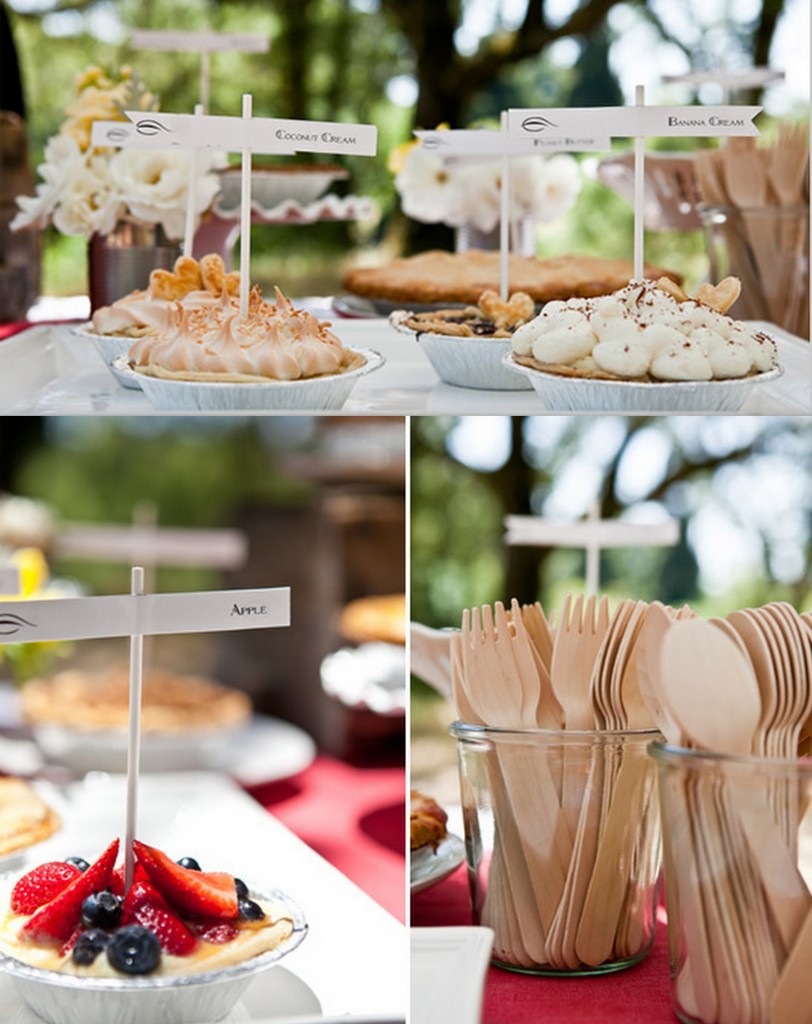
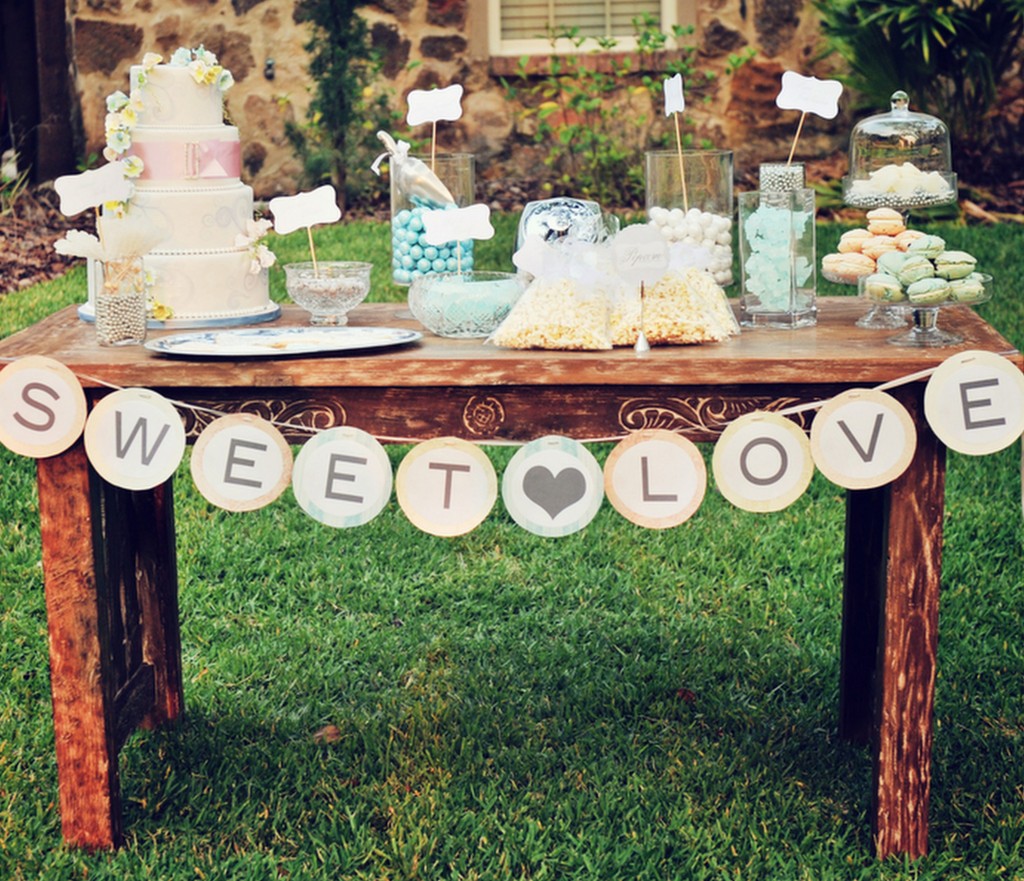
I am busy designing and printing all the little details like programs, escort cards and signage. I am also working on a banner for above our dessert table that hopefully I will have a little tutorial for  you guys on next weeks post. I am so excited about the dessert table. I am currently making fun little flags to go with each type of pie and signage that shows guests his and her favorites when it comes to the deserts. Here's some of my inspitation that  I am channeling when designing ours..

 Source 1 Source 2

Tomorrow I am off to beautiful San Diego for my Bachelorette weekend with my girls. Let the festivities begin!

Heather