I'm Getting Married!


Vendors1Source

I can't believe this week is finally here! After a year and three months of planning, we leave for our wedding weekend today! I'm so excited for it all to come together and have my family and friends in one place for an entire weekend.

Here are some of the images that have inspired me and shaped our wedding over the past year...

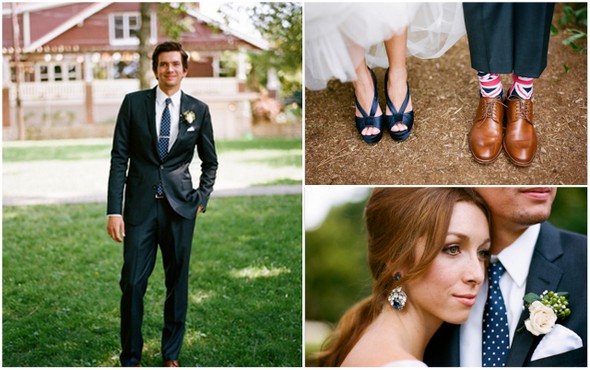
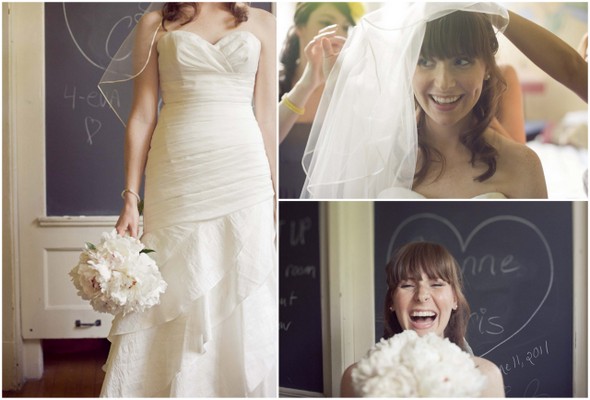
f7a3cdcef946d7d5a74725ce80a6ad28 Groom-Style1Source: top, bottom three

 Steph&ScotWedding-185Source

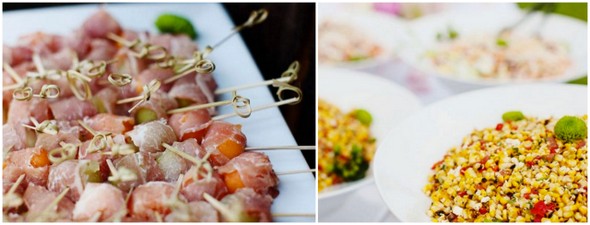
Bodas-Catering2Source

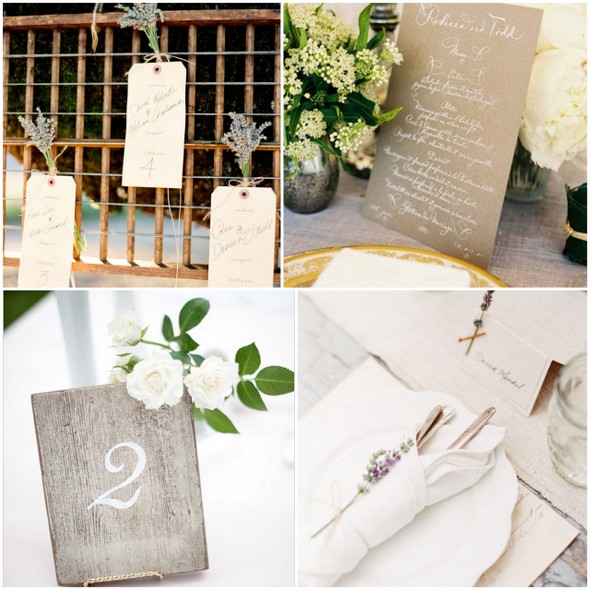
Last E&I Post!2Sources: top left, top right, lower left, lower right

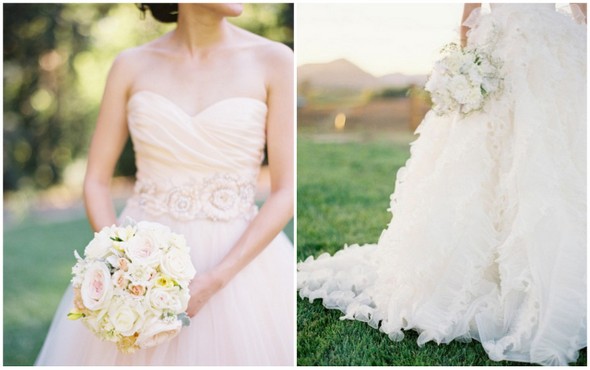
Last E&I Post!3Sources: left, right

Last E&I Post!Source: left, right

It's been so much fun being a part of the E&I community! Thank you for following along on my journey to the alter. Cheers!

Rachel

A Bubbly Bridal Brunch

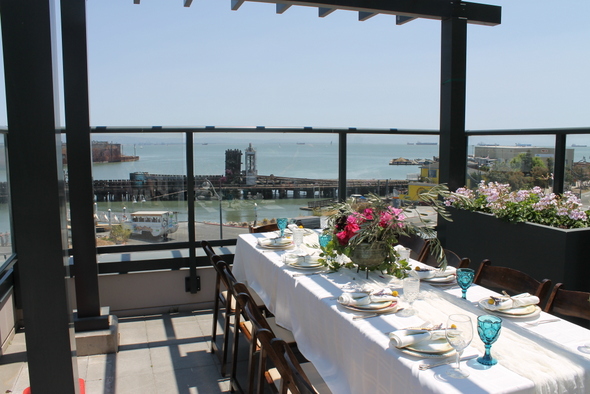
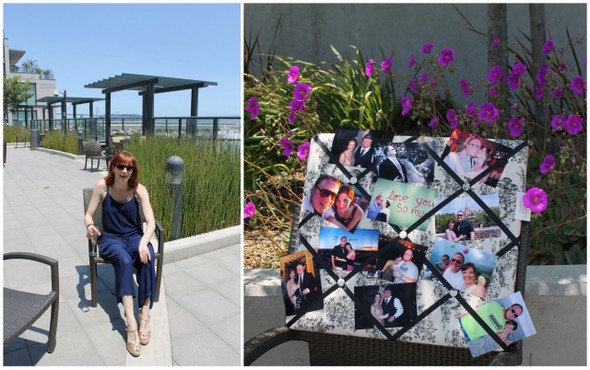
IMG_2035-001 A few weeks ago my girlfriends and I threw a rooftop brunch for our friend who is getting married in August. One of the hosts has an amazing spot in San Francisco's SOMA neighborhood, so the backdrop was taken care of.

*Note the bus/boat going into the water in the background. We got to watch it drive right into the water about every hour. :-)

Lindsey's Bubbly Brunch3

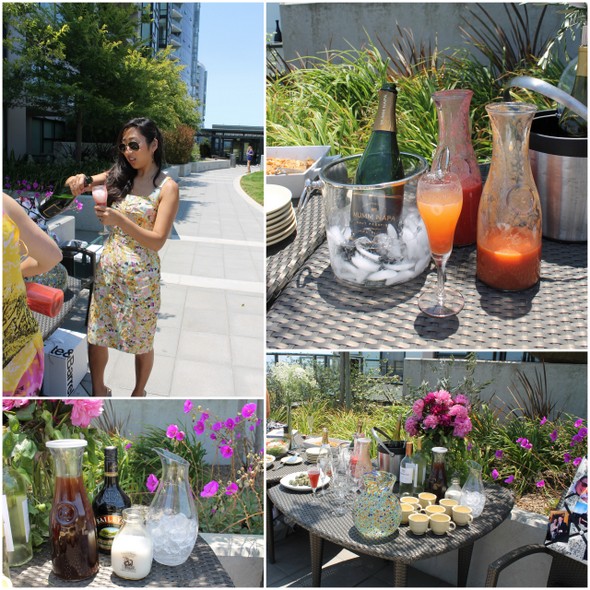
Inspired by our bride-to-be's french roots, we served dishes like quiche,  and, of course, kept the champagne flowing. Fresh peach and strawberry purees (courtesy of my new Vitamix!) made for colorful bellinis. It was a hot day so we also served french press coffee on ice.

Lindsey's Bubbly Brunch2

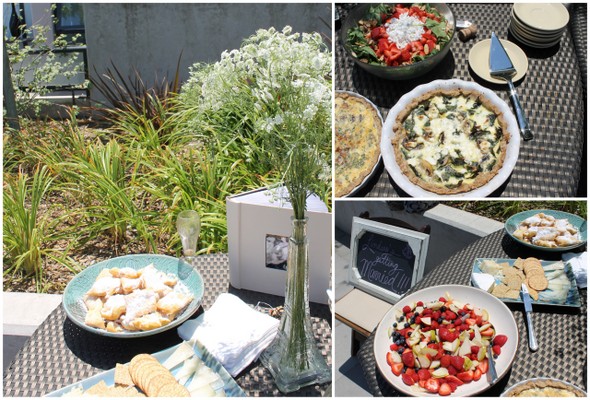
Homemade quiche, apple french toast, cheeses, fruit, and fresh beignets. Delish.

Lindsey's Bubbly Brunch

We decorated with pictures of the bride and groom-to-be. We also had guests bring a few pictures of themselves with the bride so she could go home with a little keepsake. In our world of digital pictures, it's fun to have a good, old-fashioned photo book!

Lindsey's Bubbly Brunch1

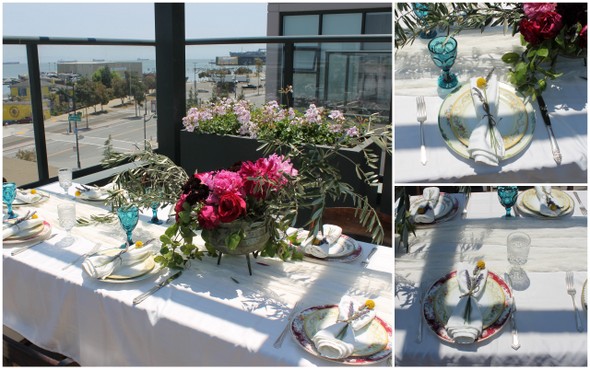
One of our guests got married last month and had collected assorted china and goblets for her big day, which we were lucky enough to use for the brunch. My friend whose rooftop it is is also a hobby florist and arranged this awesome centerpiece. We tied the napkins with lavender and billy ball sprigs.

It made for a really fun day in celebration of a great friend tying the knot with her sweetie next month!

I can't believe I'll be leaving for my wedding weekend in a week from today. It has really flown by. See you all here next week for my final post before the wedding!

{doable} Do It Yourself

This week has been full of crafting for me. Over the past few months I've realized I should outsource some of the projects (thank you etsy!) and other projects were simple enough to do myself. Here are some of the images that have inspired me to get my DIY on, followed by my personal tips to get the jobs done.

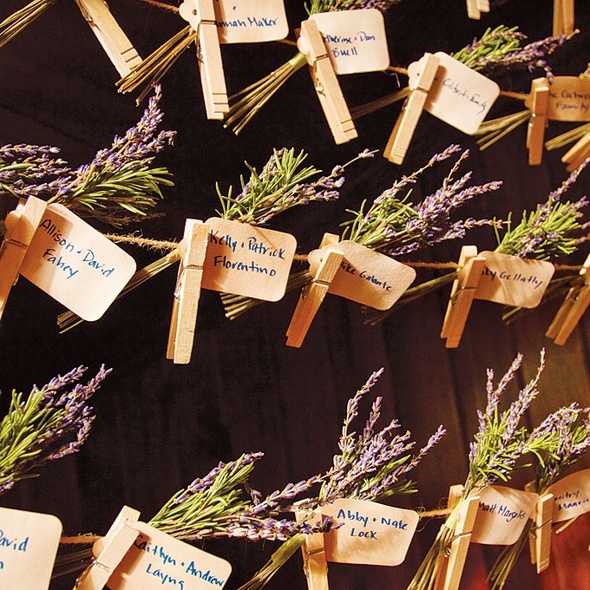
Lavender bunches with escort cards
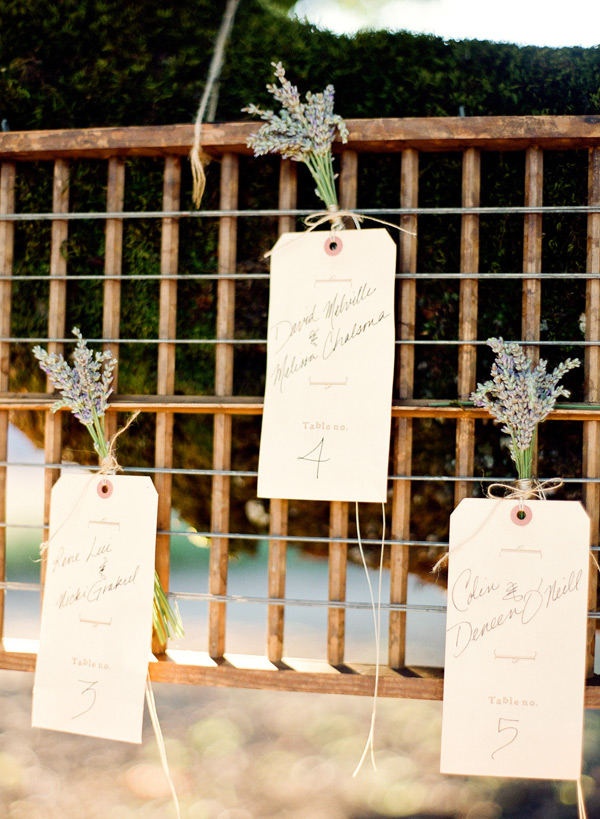
7fcfdf074d7c4df73fe1e94ef84ea10cd5f0335e6f2e8fbe59da09639abd35c3-001 Sources: Top, Bottom 

Menus and a lace runner for the head table:
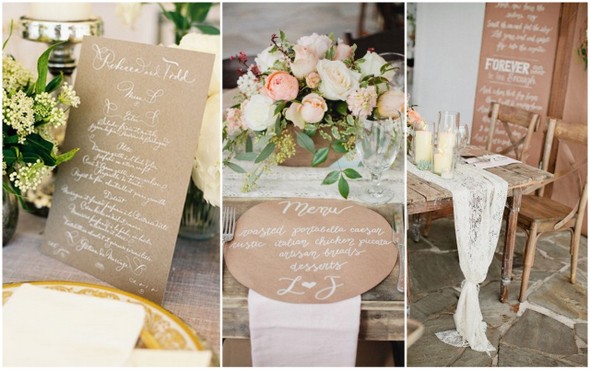
Wedding Crafts1 Sources: Left, Center, Right

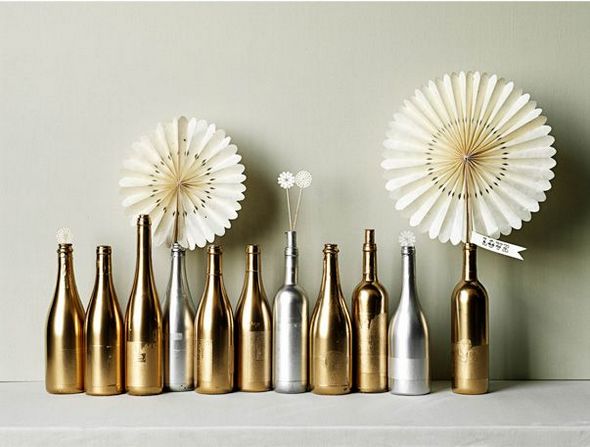
Metallic assorted bottles for the welcome party:
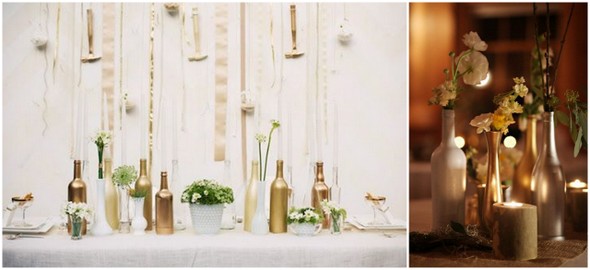
Wedding Crafts29b5e911693dc542ba4402bcdf6251513-001 Sources: LeftRightBottom

This is how it went for me...

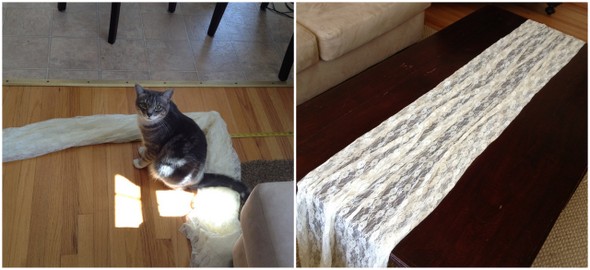
DIY No-Sew Table Runner: SUPPLIES: Lace Fabric | Fabric Scissors | Tape Measure
Wedding Crafts3

I bought the lace fabric at a discount fabric store for $23. I measured the fabric to make sure it would run the length of the table and have enough to hang down on either side. I then cut the fabric to the width I wanted. I realized if I gathered the fabric, as shown, the edges would be hidden and therefore don't need to be finished. I will be using the jute twine from the escort cards to tie each end like in my inspiration image. This project worked well for me because we only have one farm table as our head table. The other tables are round and will just have the standard linens. If you wanted to do this for more tables, you could easily get two runners out of the width - just make sure you get the length you need so you don't have breaks in the fabric.

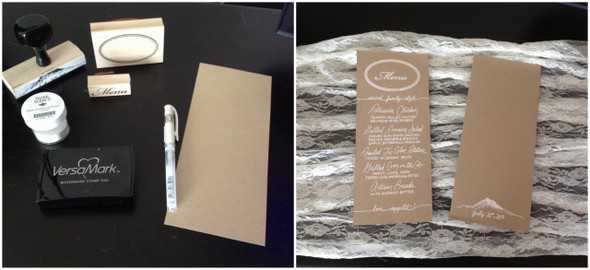
DIY Stamped & Embossed Menus: SUPPLIES: Stamps | Stamp Pad | Kraft Paper | Embossing Powder | Embossing Tool
Wedding Crafts5

I used stamps and the heat embossing powder and tool for the top oval and 'Menu' part. For the rest, I used the white pen to write it out. It took me a couple tries to get the layout and spacing just right. To help myself from writing at a slant, I used a piece of thicker, contrasting paper and held that under the line I was writing. Then, as I wrote each item, I watched the space between my line and the other piece of paper. Slant avoided! I did enough for two per table.

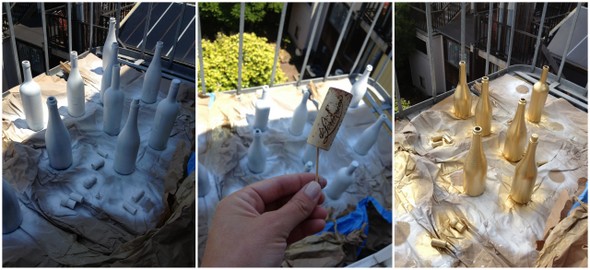
DIY Metallic Bottles: SUPPLIES: Assorted Bottles | Primer Spray | Metallic Spray
Wedding Crafts4

For my welcome party, I knew I wanted something cost effective and related to wine since it will be held at a Springhouse Cellar - a tasting room in Hood River, OR. I found the images of gold and silver wine and champagne bottles and HAD to give it a try.

I left the labels on and used a primer and then metallic spray bottles - I just went to my local paint store and they helped me figure out what to buy. In addition to the bottles, I also sprayed some corks to sprinkle around the bottles and I called my florist who said she would provide the single stems of white and green flowers. Easy! And all-in it will come to under $90 to decorate about six tables. Not bad, right?! *Hint: take your engagement ring off and don't do this the week before your wedding - or use some gloves!

DIY Lavender Bunch Escort Cards: SUPPLIES: Lavender Sprig | Jute Twine | Cloth Pins | Small Cards (used business card sized paper from Paper Source) | Hole Punch | Pen

I haven't done this project yet, but my florist recommended grouping couples and families onto one card - that way you have less to do and the display at the wedding won't be overwhelming.

Happy crafting and happy Fourth of July to you all!
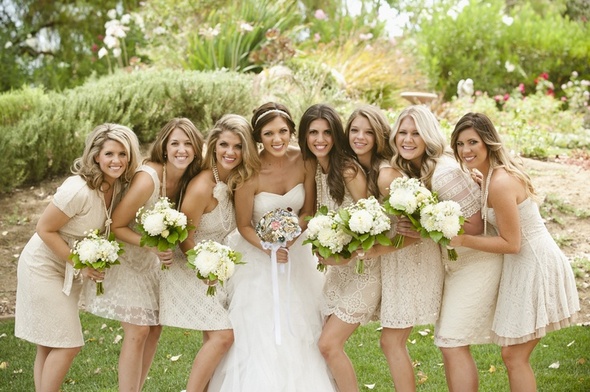
 

Vendor Guide {Columbia River Gorge}

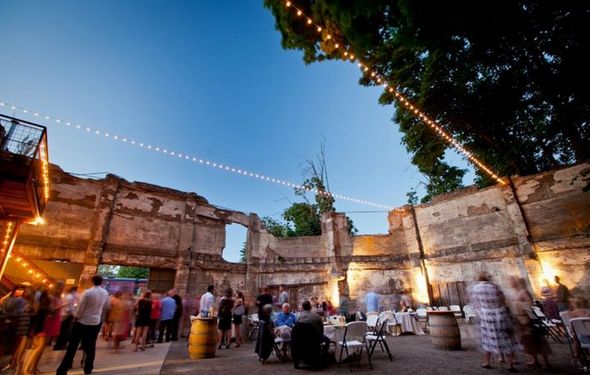
With the wedding quickly approaching, we have all our vendors solidified. It feels good to have everything set! Here are the vendors we'll be using. If you are getting married in the Columbia River Gorge area, I would highly recommend any of these people/companies...I did the research, so you don't have to :-) Welcome party location: Springhouse Cellar Winery - My fiancé and I love this place because they serve great, local wines and beers and the space is large enough for all the guests we wanted to invite. It also has the cool, laid-back vibe we wanted for the night before.

296999_10151013012505689_807842001_nSource

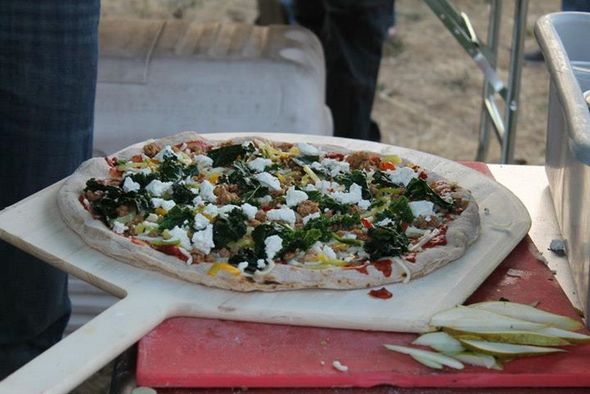
Welcome party catering (they have a mobile brick oven!): Solstice Wood Fire Café

317543_10151181297536941_383779493_nSource

Photographer: Sean Morrison

VendorsSource

Hair and makeup: Patricia of Foils Salon and Day Spa

Wedding venue, ceremony and reception: Mount Hood B&B

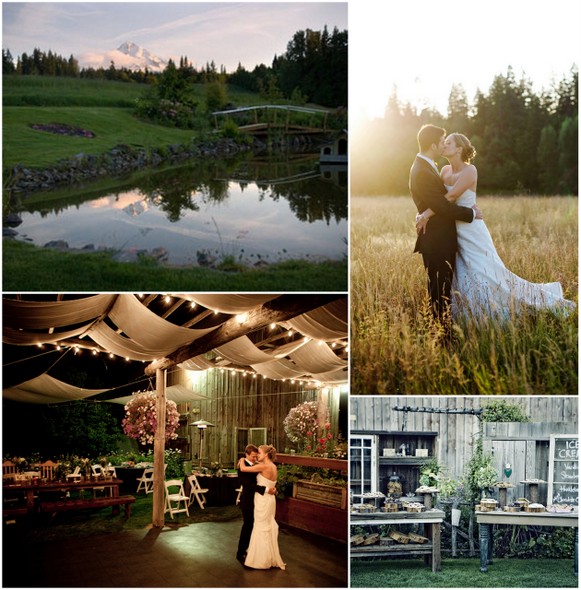
Vendors1Sources:top left, top right, bottom left, bottom right
Day-of coordinator: Betheny Roberts of Mt. Hood B&B - She is technically 'day-of,' but has been so helpful answering all of my questions leading up to the wedding.

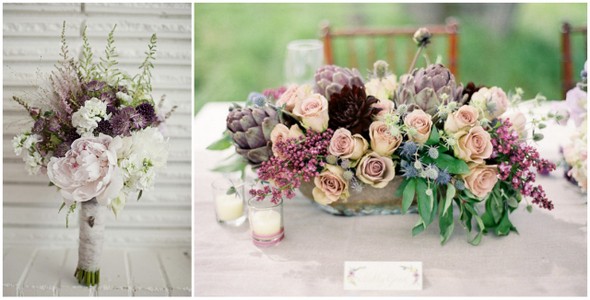
Florist: Lucy's Informal Flowers

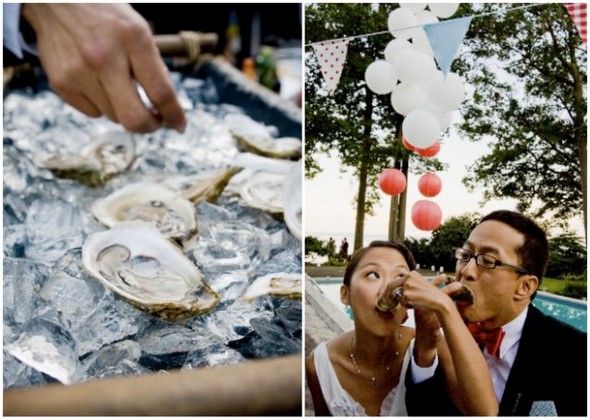
Wedding catering: Boda's Kitchen

Vendors2Source

DJ: Gavin Bruhn, The Aussie DJ 

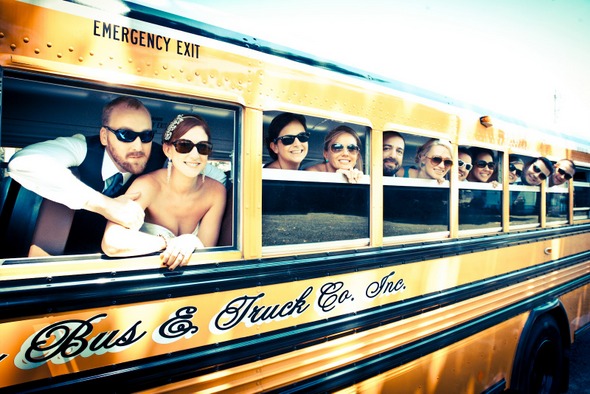
Transportation: First Student

Invitation design: Kimberly Roth, Bright Room Studio

Wedding website: http://weduary.com

Wedding dress: Encore Bridal, San Francisco - new and nearly-new bridal dresses.

Dress alterations: Fichu, San Francisco

Groomsmen Suits: J.Crew Factory

Photographer Shot List

One month countdown to my wedding! It is getting close and left on my checklist are the fine details. Not necessities, but the fun stuff!

My wise sister-in-law-to-be, who just got married, recommended I put together a shot list for my photographer. Something I wouldn't have thought of, but a great idea. Seeing all the beautiful shots out there, I know I want to make a list so I'm 100% happy when I get my photos back.

Here are some I definitely want in the mix...

Closeups of me with the bouquet.

Photographer listSources: left, right
The details.

Photographer list5Source

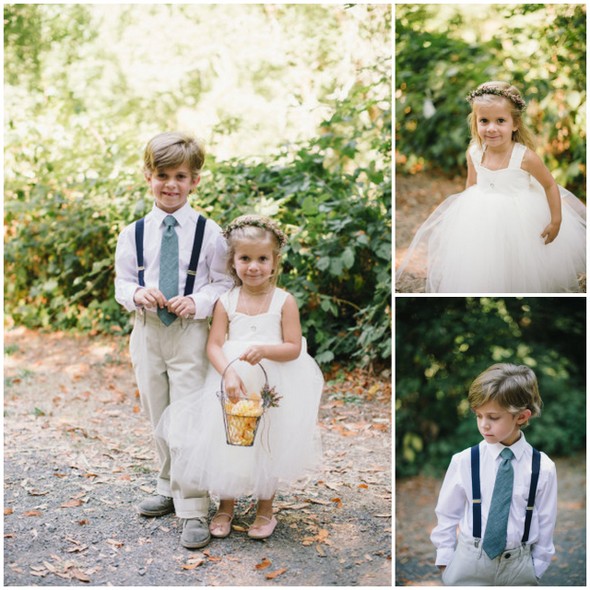
The ring bearer and flower girl getting excited for their walk down the isle.

Photographer list1Source

Sun behind.

Photographer list3Sources: left, right

Cute candids.

Photographer list4Source

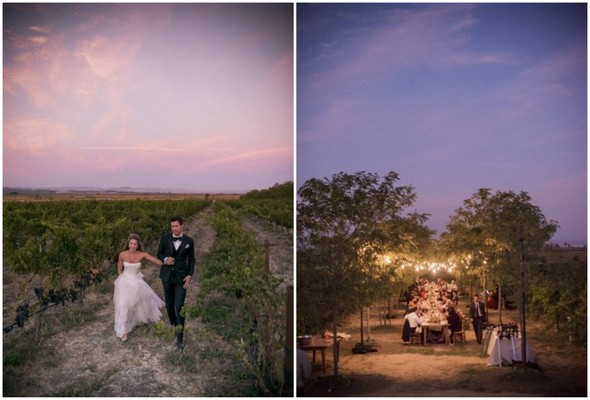
Cool shots featuring the sky at dusk.

Photographer list2Source

Did you do a shot list for your photographer?


Invitation Design

BRSD-1_rev

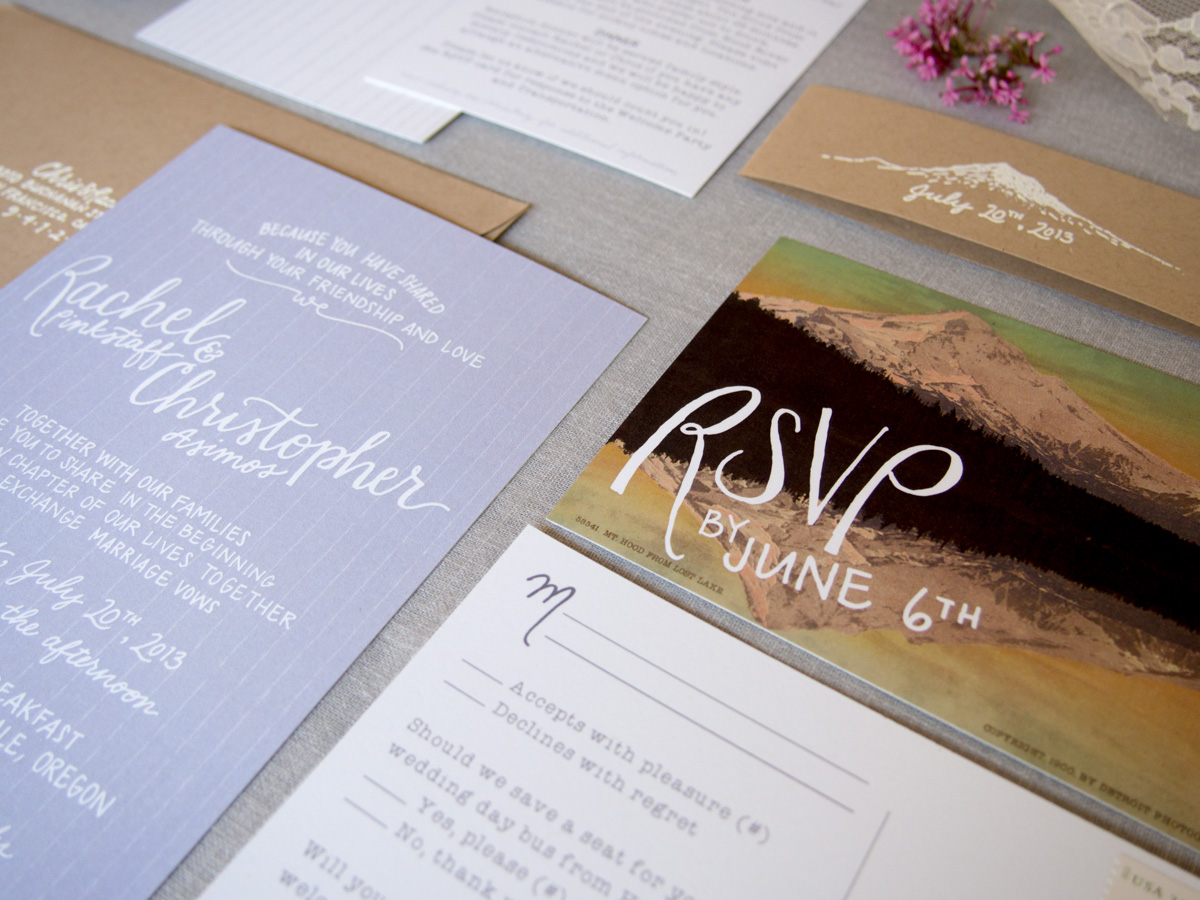
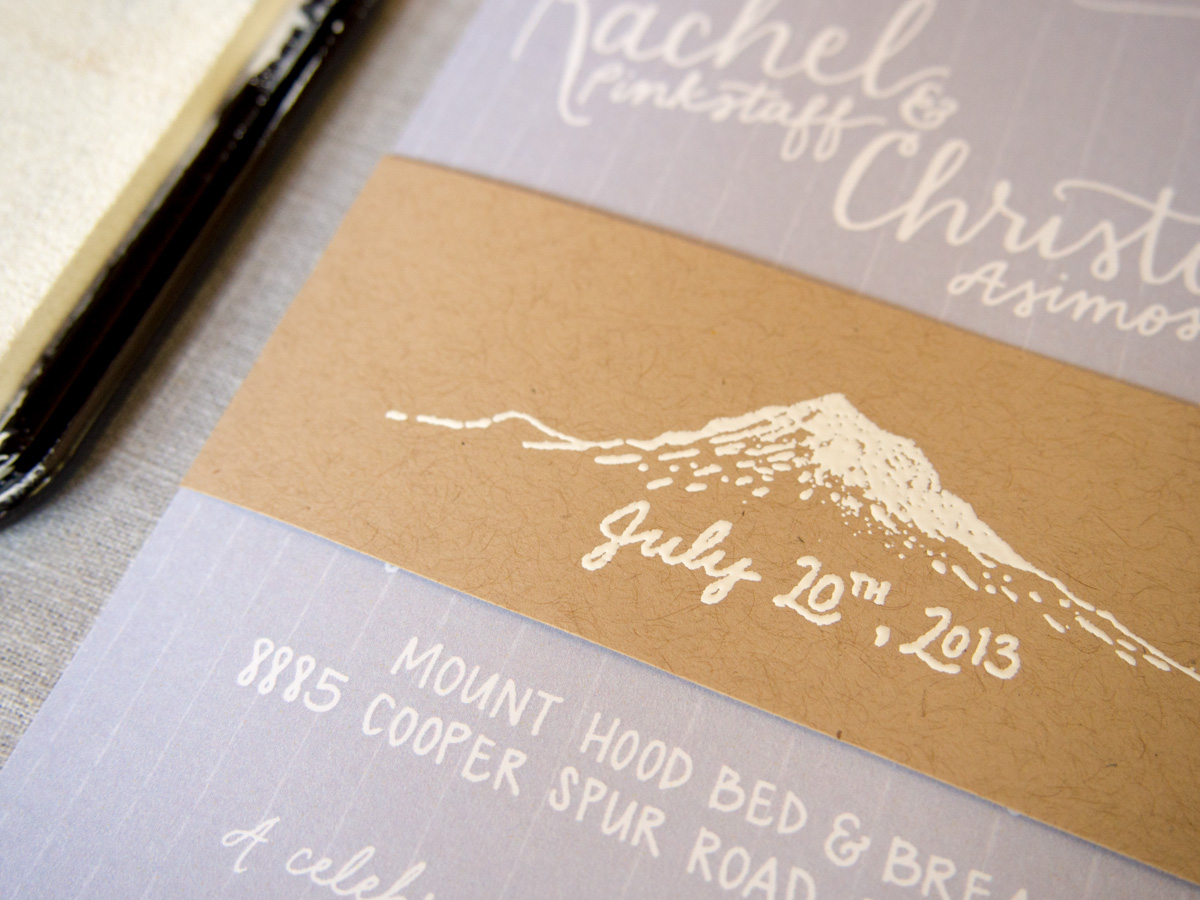
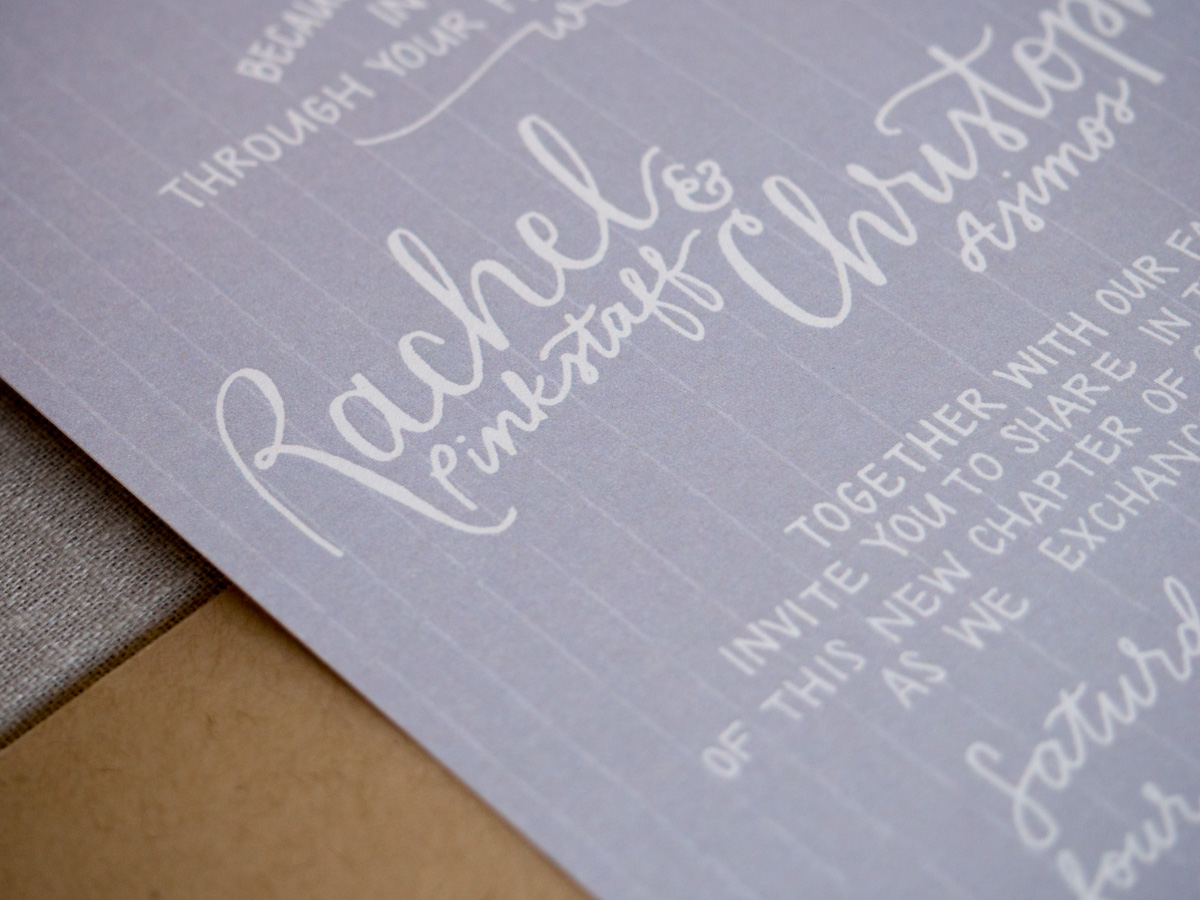
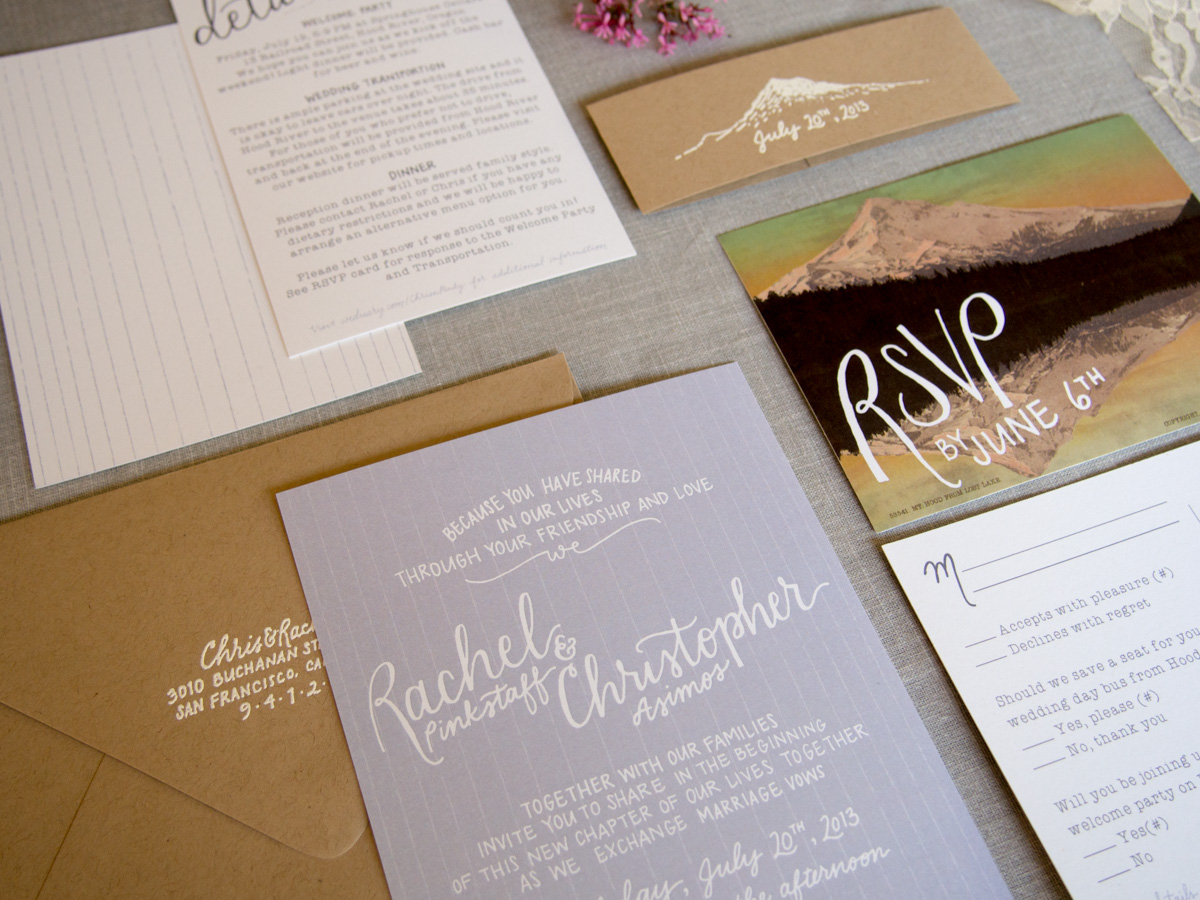
Today I get to show off my invitations! I worked with graphic designer and E&I blogger alum, Kimberly Roth, to create my invitation suite. I love how they turned out.

Along the way, I feel that I really solidified the vision I had for my wedding. We pulled inspiration from the location - Mount Hood, Oregon - by featuring the mountain, the muted lavender color from the lavender fields in the area, and the overall whimsical feel.

 BRSD-2   BRSD-5 BRSD-6

BRSD-3Photo credit: Kimberly Roth

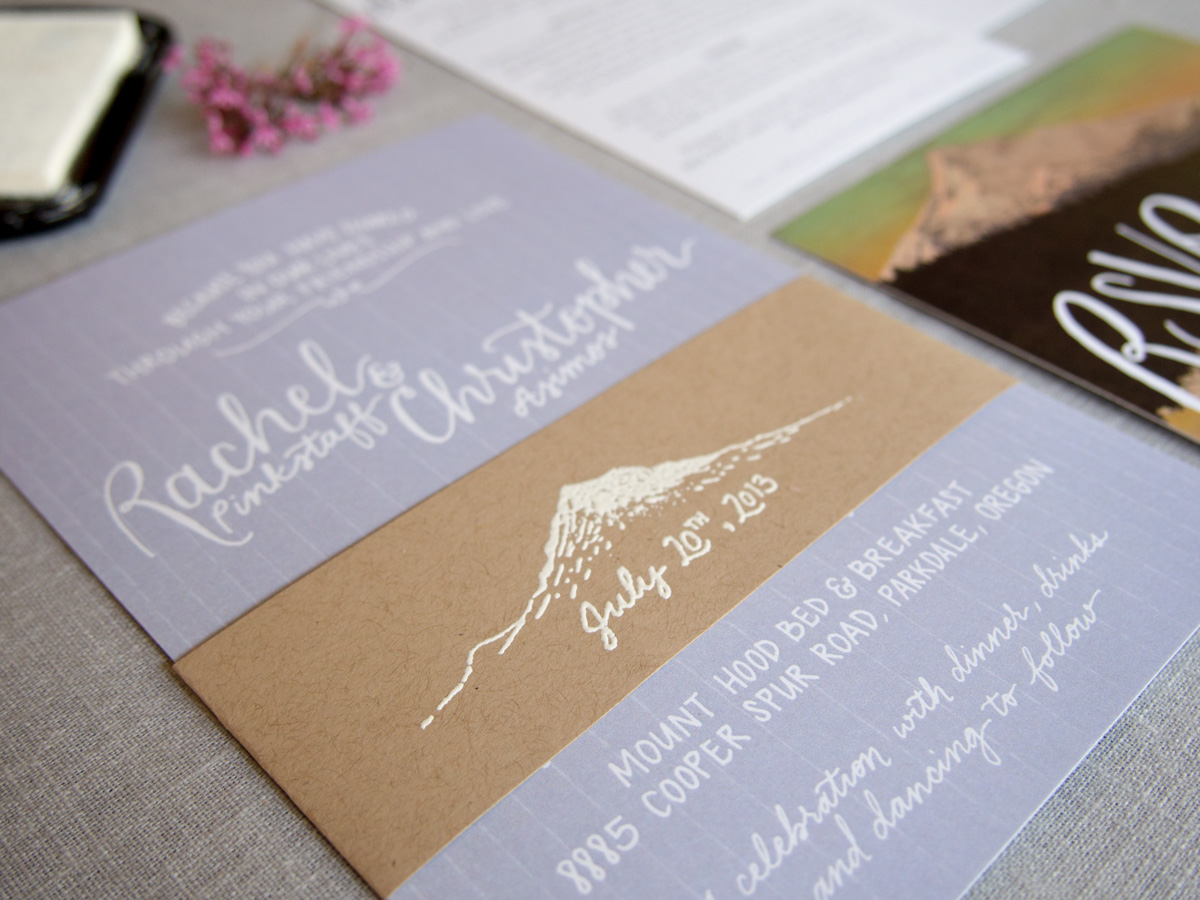
I also got a chance for some DIYing. Kimberly designed and coordinated having stamps made for our 'belly band' and return address. During a visit to Paper Source, I realized embossing with white would show up much better on the Kraft paper than just a white stamp. Embossing is really fun and easy (but time consuming when you are doing it for 100+ invitations).

Here's what I used:

- Stamp

- Stamp pad

Embossing powder

Heat tool

Once I got the hang of it, it went by pretty fast. I would stamp three at a time, apply the powder, lay them out on the table (until it filled the table) and then use the heat tool on all of those. Much faster than doing the whole process for one at a time. Two of my bridesmaids came over one night to help and that really speeded things up. Note to self: make sure cat doesn't get to them before you set the powder with the heat. :-)
After embossing, I folded each belly band around the invitation and secured it with a strip of double sided tape.

InvitationsPhoto credit: me

BRSD-4Photo credit: Kimberly Roth

French Honeymoon

We finally booked our honeymoon and I'm so excited to be going to France! Now, along with the final wedding preparations, we're adding honeymoon planning to our plate. Luckily my fiancé is a great trip planner and we are going to keep the agenda pretty simple so we have plenty of time to relax.

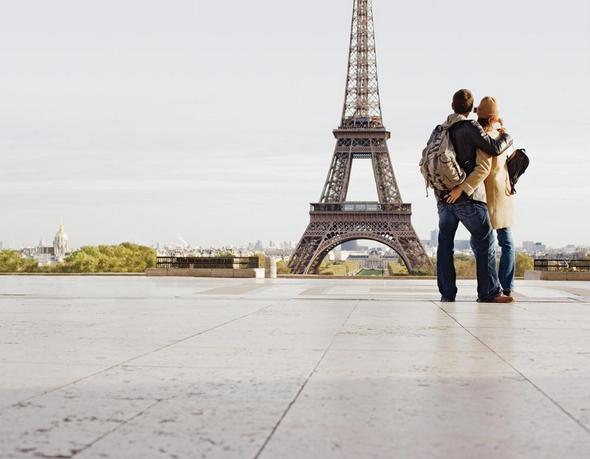
First stop: Paris!

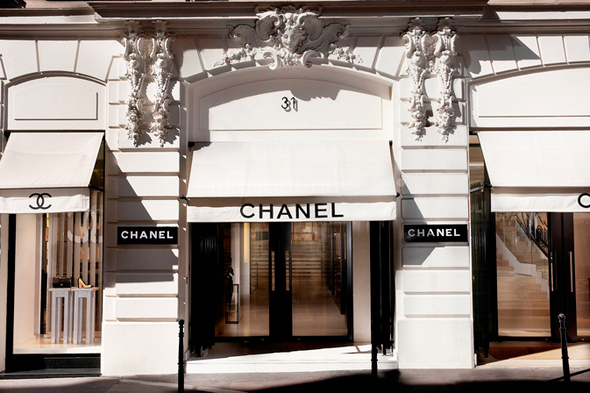
lovers-bridge-pont-des-arts-paris-france P1070740 Chanel-store-Rue-Cambon

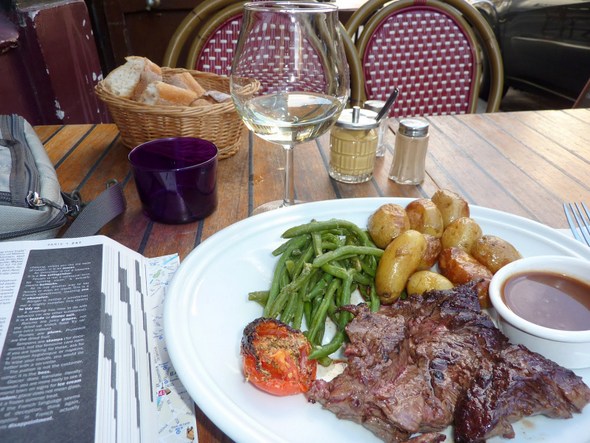
france paris wedding honeymoon attractions - eiffel towerSources: Lovers Bridge, Food, Chanel, Eiffel Tower

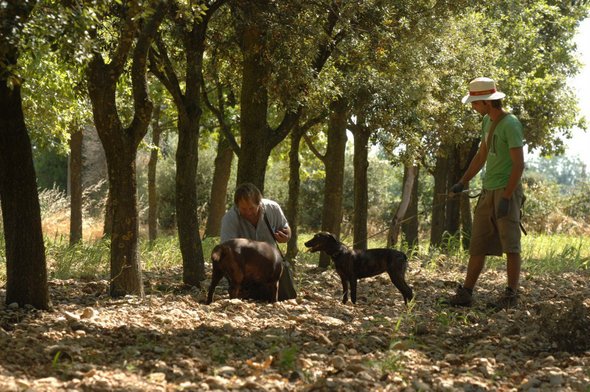
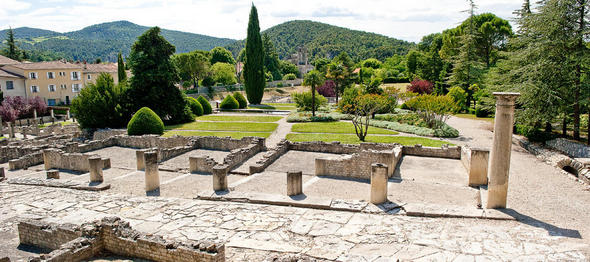
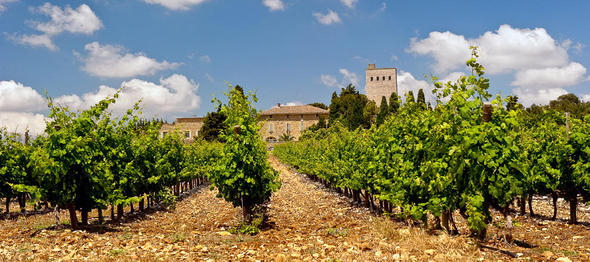
Next up on the itinerary is Provence - a few hours southeast of Paris by high-speed train. We're still researching where we want to stay in this area. The things we want to do - wine taste, eat good food, a truffle tour, see a Roman ruin or two, and relax in the beautiful setting.

CrillonleBravetruffle HoneymoonSources: dogs, truffles

 ancient_history_provence wine_provence_gallery_2Source

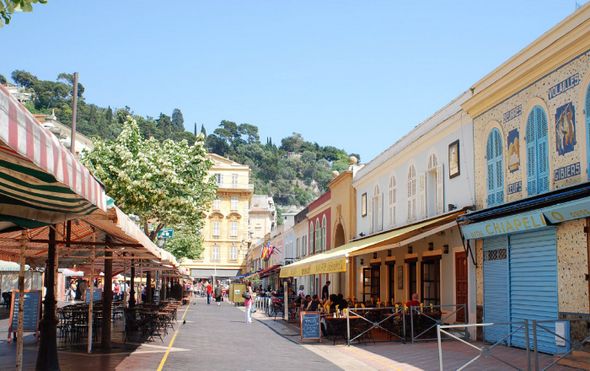
Our last destination will be Côte d'Azur, also known as the French Riviera.

imagechateau_new wedding-cote-dazurSource

Riviera-FranceSource

This will be a first time in France for both of us. I can't wait to see what it has in store for us!

Building a Meaningful Ceremony

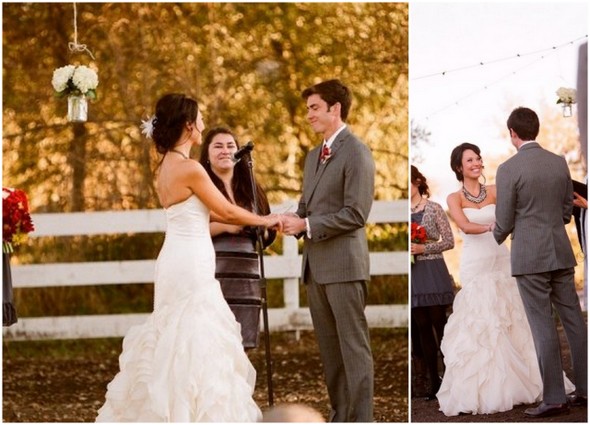
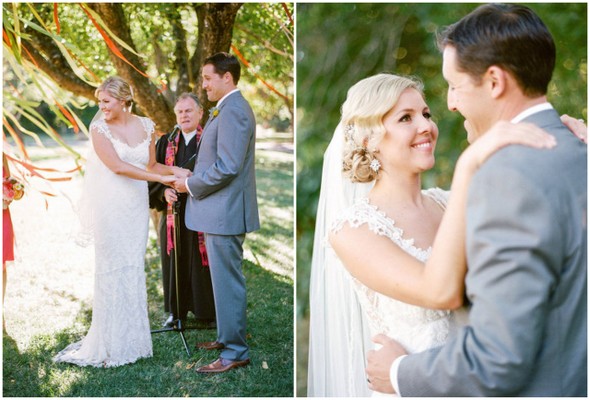
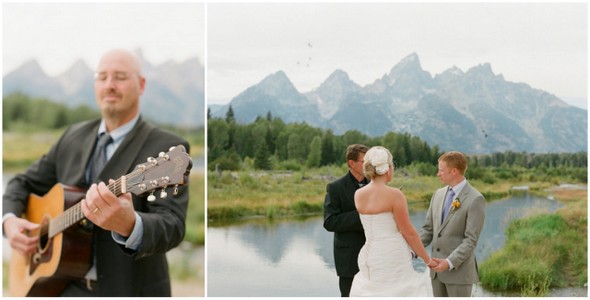
Vows1Source

"Writing a ceremony can seem exciting and liberating, while feeling terrifying and overwhelming at the exact same time" - Meg Keene, A Practical Wedding.

My fiancé and I asked my uncle to officiate our wedding ceremony. And, while we are very excited to be having someone we know and admire be a huge part of this day, it means navigating the road of putting together a ceremony. Exciting...but also a bit overwhelming.

Megan Keene of A Practical Wedding's advice? Start by building a foundation - what you and your fiancé believe marriage to be, fundamentally. Sit down together and each write down a couple things and then go through them together. Her other great piece of advice is to know that you don't have to write your ceremony from scratch. Take the ideas and 'feeling' you know you want for your ceremony and then find a service structure that works for you. No reason to completely reinvent the wheel. It's about finding something that's authentic to the two of you.

VowsSource

Once you find a ceremony 'structure' you like, you can edit to make it just perfect. From there, start adding in the extras like readings or music. Keep in mind the length you want and how everything will sound out loud and in front of your family and friends.

Vows2Source

I think it's easy for us brides and grooms-to-be to get a little caught up in the material details of a wedding (guilty girl, right here), but it's good to take the time to thoughtfully plan the ceremony. A heartfelt ceremony sets the foundation for a great reception (and marriage!). Just think of the extra sweet and special ceremonies you have attended. They make you get all sappy and remind you what is important in life. They make you love love.

Repeat after me...my ceremony is not the boring part of the wedding. It is about me and my fiancé and our lives together and, therefore, it will be awesome! :-)


Resources I am finding helpful:

- example of a service structure that is not necessarily religious, here

- detailed example of structure, here

- example of structure from an officiant, here

- good things to consider when planning your ceremony, here

Please share if you know of others!

Addressing the Invitations


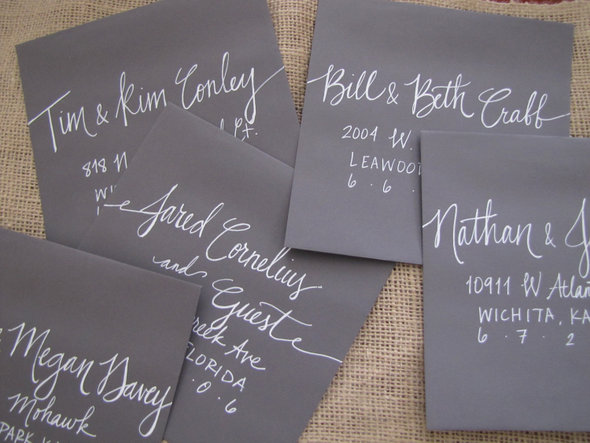
AddressesSource

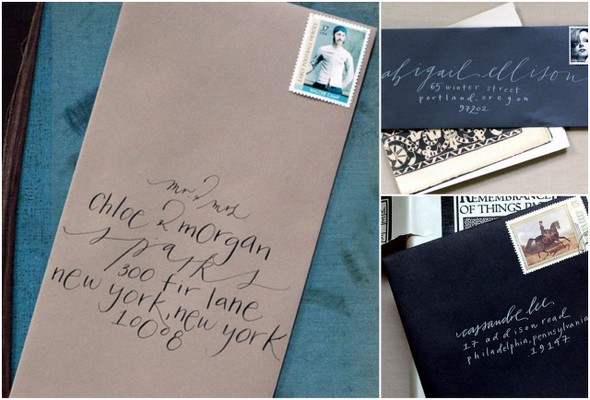
For better or worse...I will be addressing my own invitations. I decided to take on the challenge because I want the handwritten look, but it's not in our budget to hire a professional calligrapher. I also thought it would be a fun project! While our invitations are being printed this week, I've been practicing my handwriting and trying to navigate the world of address wording etiquette. It's more complicated than I thought! And while our family and friends aren't sticklers for etiquette rules, it's one of those things - I like to know the rules before I decide which ones to break. :-)

il_fullxfull.273548507Source

Here are some of the most common rules.  We are just having the single envelope (no inner one).

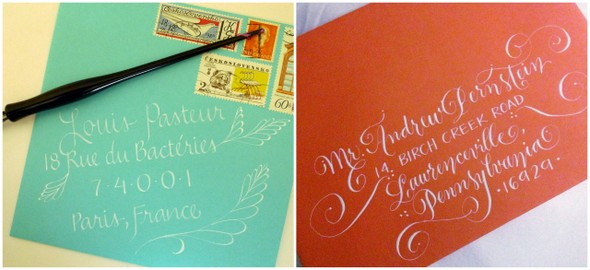
- Spell out Post Office Box, Street, Avenue, the word 'and,' etc. Spell out the state name, unless it won't fit on the same line as the city. Put the zip code on its own line. Use Mr. and Mrs. abbreviated, but spell out Doctor.

- Married couples: names go on the same line, unless there's a fit issue. The traditional way would be to say Mr. and Mrs. John Smith. Another option I like is from the first image, above. I don't see it in the rule books, but I like that it includes both the husband and wife's name - Mr. and Mrs. John and Jane Smith. If the woman has kept her maiden or professional name, her name goes first and the two names are on separate lines unless they fit easily on the same line. 

- Unmarried couples: The names go on two separate lines, with the name of the person you know first. If you know both, the woman's name comes first or some places say to do alphabetical order when you know them both. 

- Guests: try to find out the guest's name if you can. Many sources I'm reading say it's not good to put 'and guest,' but I think it makes sense in some cases. 

- Kids: Write the parents according the 'married couples' guidelines and then put the kids first names below in order of oldest to youngest. If you only put the couple's names and not their children, it is assumed that it will be an adults-only affair.

Source: The Wedding Book by Mindy Weiss

If you're like me and you want a visual of the different variations there are some great resource and other options: here, here, and here.

Addresses2Sources: left, right

Addresses1Source

In doing my research, I realized there are differing opinions about exactly how to address envelopes. I think the best thing to do is to pick your favorite style and then just be consistent.

Did you address your own envelopes? Do you have any tips for me?

Less than three months until the big day!!!