{DIY Tutorial} Kinda-Calligraphy

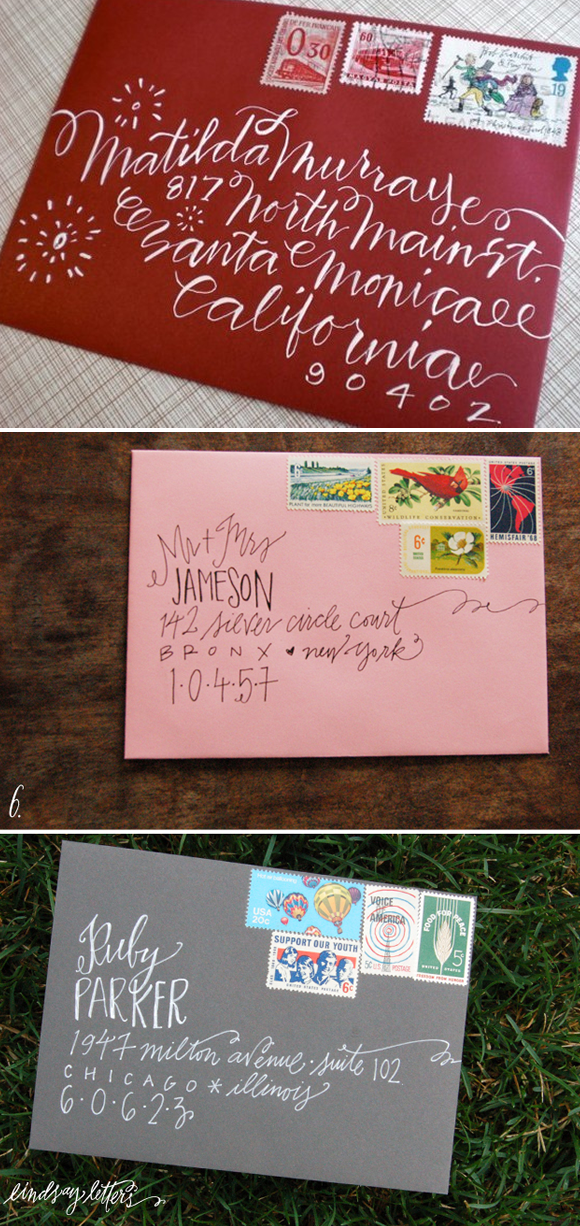
I've been talking a lot lately about calligraphy, invitations and wedding papers, so today I'm sharing a little DIY tutorial for what I like to call "kinda-calligraphy." This is basically a way to get the look of calligraphy without being a professional and even without all the fancy calligraphy tools. While this certainly does not replace what a real artist can do, it could be a great budget-conscious option. It's also a good way to do hand-lettered signs because you could do this on just about anything, from a rustic piece of wood to a vintage window or mirror! This little trick took a little practice for me to make it look just right, but it is super easy to do. It's not a science by any means so just have a little fun with it and see what you like!

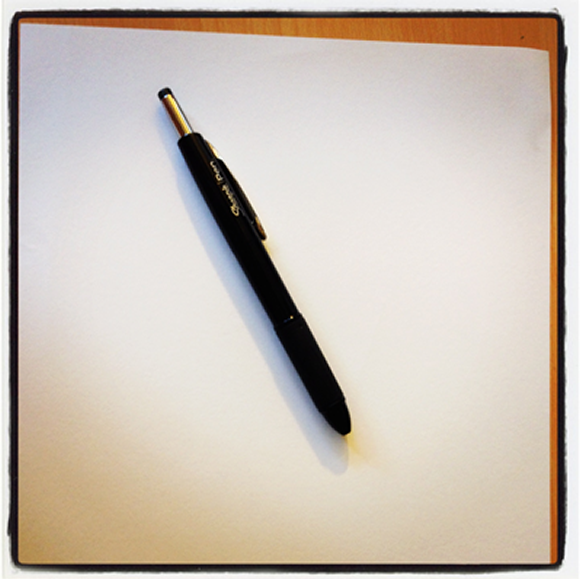
What you need: *Pen (I recommend something with a thin tip but that is a bit inky--I really like the Sharpie ball point pens, but whatever you have will work great as long as it isn't too thick) *Paper *Someone with nice cursive handwriting :)

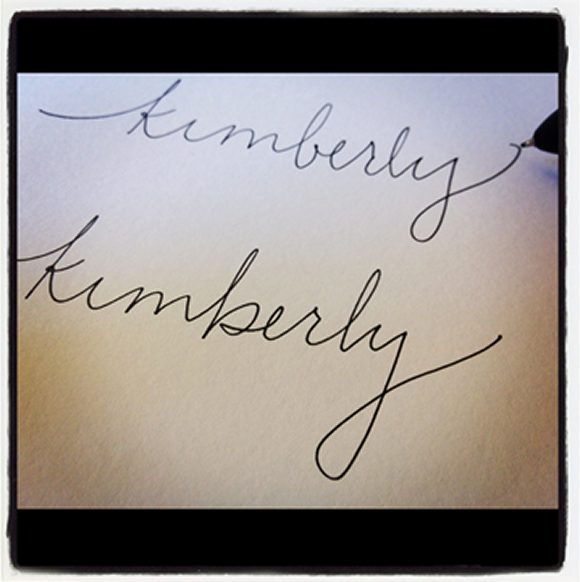
First, write in cursive whatever you want to have in the faux calligraphy (I picked my name because I played around with this quite a bit when I was designing the invitations.) Write it a few times. Try a few different styles. Get creative. Add some flourishes. You want to have some options for which to turn in to calligraphy.

TIP: Don't hesitate to look at photos of calligraphy online. For example, I really didn't like the way my lower case 'b' looked so I found some photos and borrowed their style. You can get good ideas for shapes, swooshes, etc. from just a Pinterest or Google Image search (or my post from a few weeks ago with some fun calligraphy inspiration).

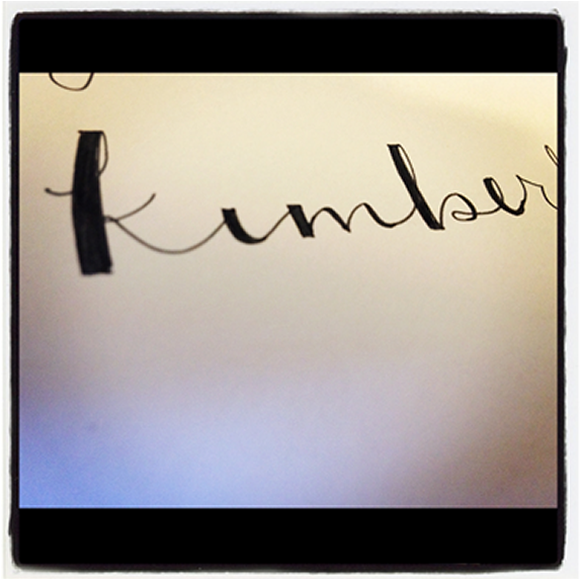
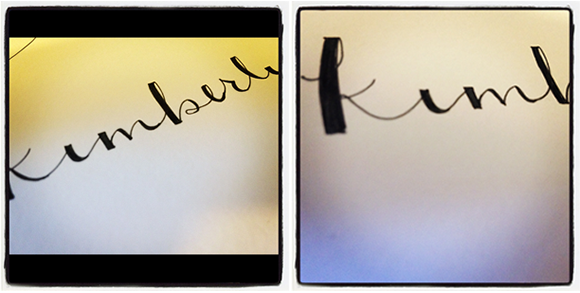
From your writing, pick your favorite--one where you like the shape and the spacing of the letters as well as any ornaments you've added. Now, you will essentially be building out the lines where you pen drew downward. This is how you mimic the look of using an actual calligraphy pen, which often has a wide tip and is drawn by angling the pen. I've just outlined them here you so you kind of see what I'm talking about.

Again, if you are ever unsure what to fill in, check out some photos online. Play around with it and see what looks right to your eye. This definitely does not have to be perfect, but it gives a nice feeling of calligraphy. I found that the flat top on the thick line gave a nice look as well.

Once you've filled in all the letters, you have your kinda-calligraphy word complete! At this point, you're all done if you're using it for a hand-lettered sign or address.

If you want to use your new masterpiece on something that will be printed such as an invitation or program, you should now scan the image so you have a file of it on your computer. From here, I brought the image in to Adobe Illustrator and basically traced the word so I had a digital vector file (or have a graphic design savvy friend help). To be honest, I'm no Adobe pro so there's probably a much better way to do this. Please share if you have any tips!

Full disclosure: I am not a calligraphy expert by any means, and just making this up as I go! Has anyone tried something like this before? Feel free to share any tips, tricks or other ways to use this!
The Perfect Day

Last week, I had dinner with my friend, bridesmaid, and wedding-planning buddy… whose wedding is now only 4 weeks away! And while we got to catch up on her craft projects and remaining to-dos, we also had a great conversation about life and marriage, and we were both reminded what this entire process is all about--getting married!

In all the excitement of planning a fabulous party, it's easy to lose sight of what really happens on that day. It may only be 30 minutes of the day, but among the perfect flowers and adorable details (which, don't get me wrong, are still tons of fun and worth the effort), you will marry your best friend. You will be creating a new nuclear family. You will be starting a fabulous new chapter of your life.
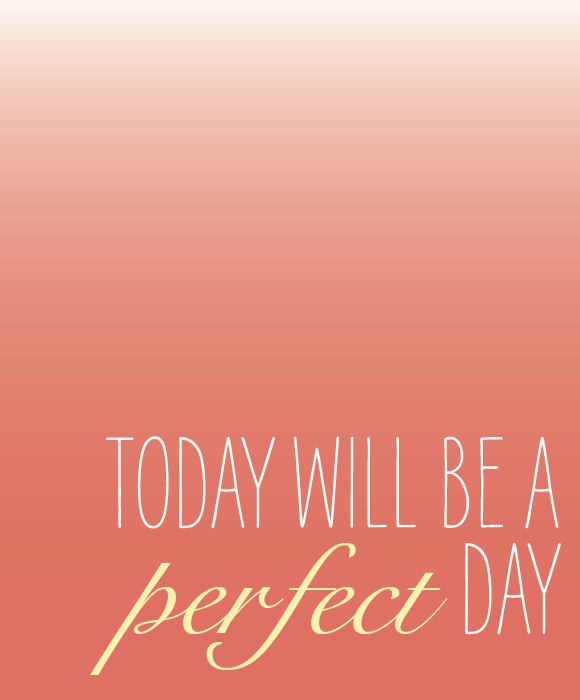
My fiancé said something the other day that really resonated with me: "We're getting married, not wedding-ed". I play this in my head whenever I stress about a wedding detail because ultimately, it will be a perfect day, no matter what.

Source: Designed by me

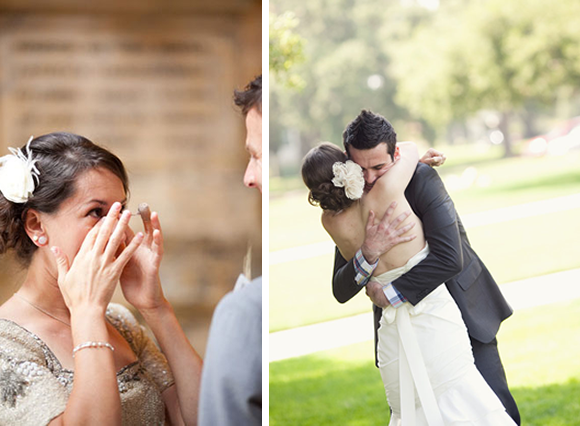
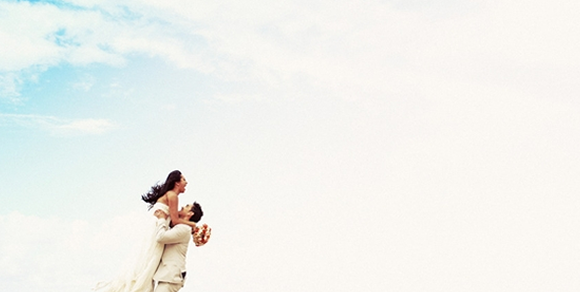
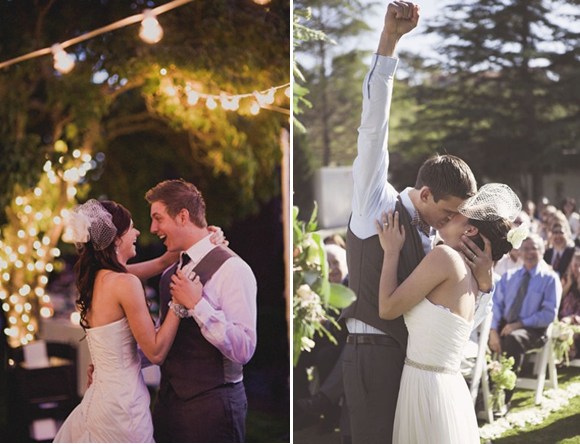
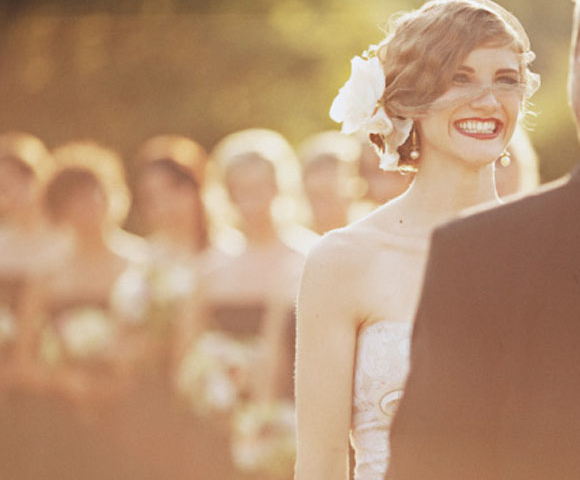
And in case you don't believe me, take a look at these blissfully happy brides and grooms.
Sources: 1, 2, 3, 4, 5, 6, 7

Don't worry--next week I'll be back with some beautiful inspiration and a fun DIY project. I was so refreshed by the little bit of perspective that I wanted to share it with you all as well. :)

Handcrafted & Casual Invitation Inspiration

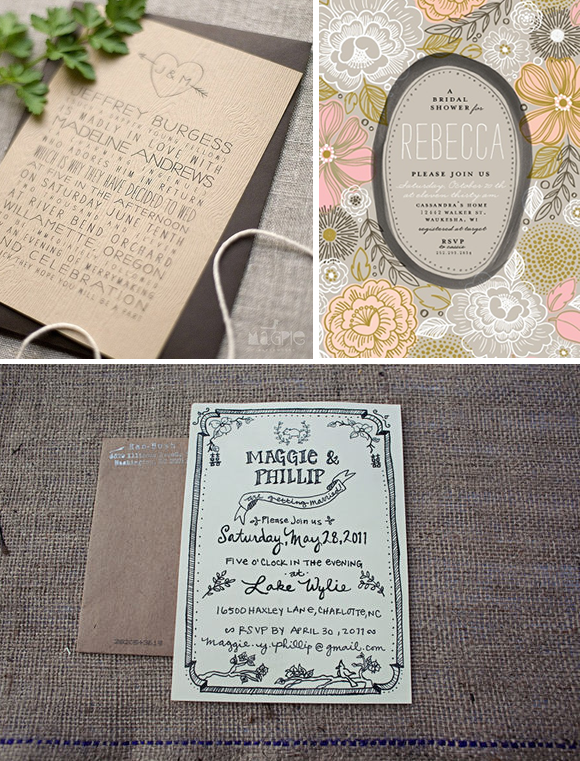
Last week I told you that I'm going to be designing my own invitations (along with sharing some gorgeous calligraphy), and I've had some fun gathering inspiration for the invites. To go with our backyard-style wedding, I want to keep the invitations casual, while still being sophisticated, personal and special. I definitely want it to have a handcrafted style. Handwritten type, line drawings and perfect imperfections.

Sources: 1, 2, 3

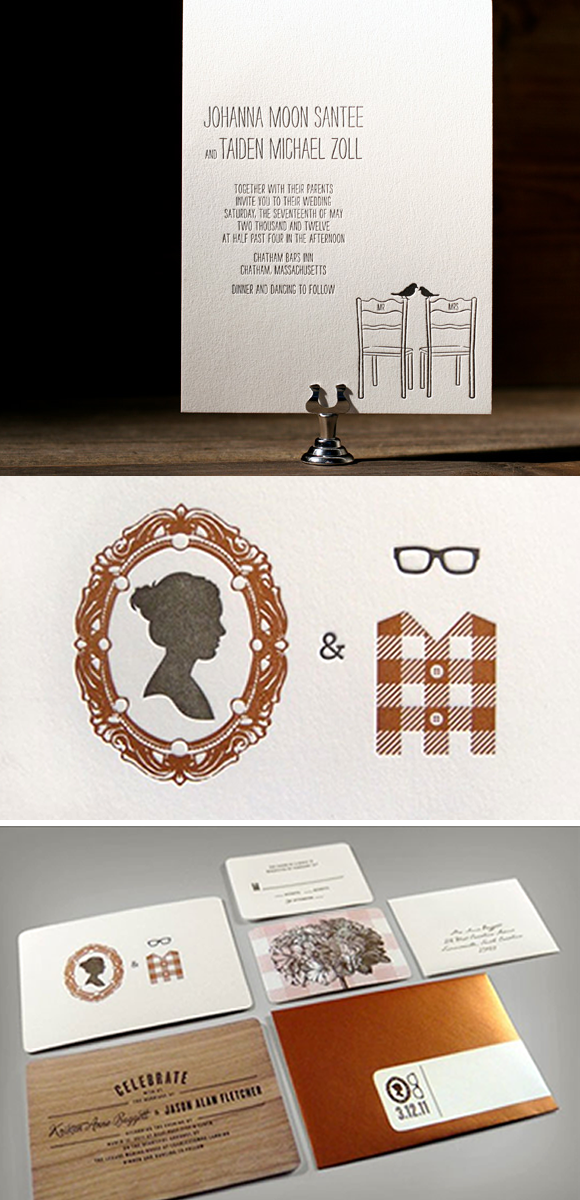
I also love little personal details. How cute are these symbols of the bride and groom here--especially the plaid vest. I almost feel like I know this adorable couple :)

Sources: 1, 2

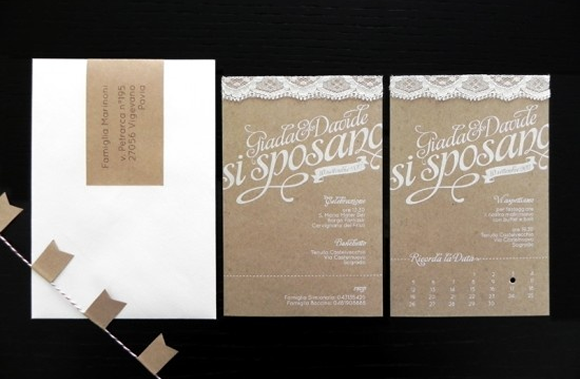
And finally, I adore kraft paper. I think it perfectly fits the casual vibe. Paired with chevron, lace, or splashes of color, you can't really go wrong.

Sources: 1, 2, 3, 4, 5

Did you design your own invitations? Any words of wisdom?

Loving Calligraphy

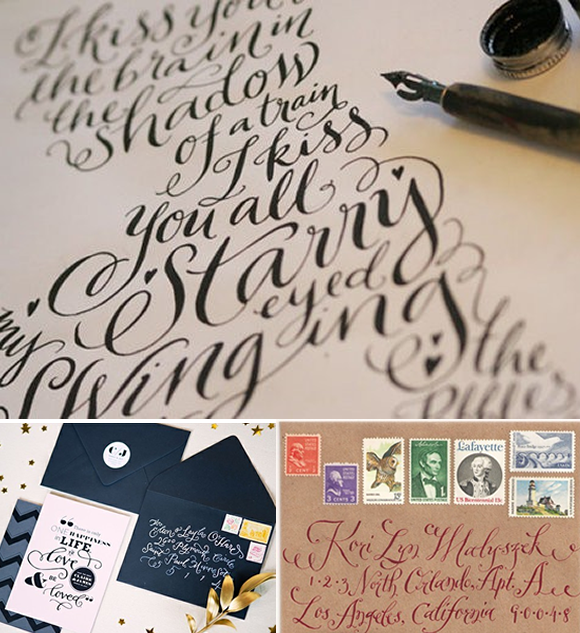
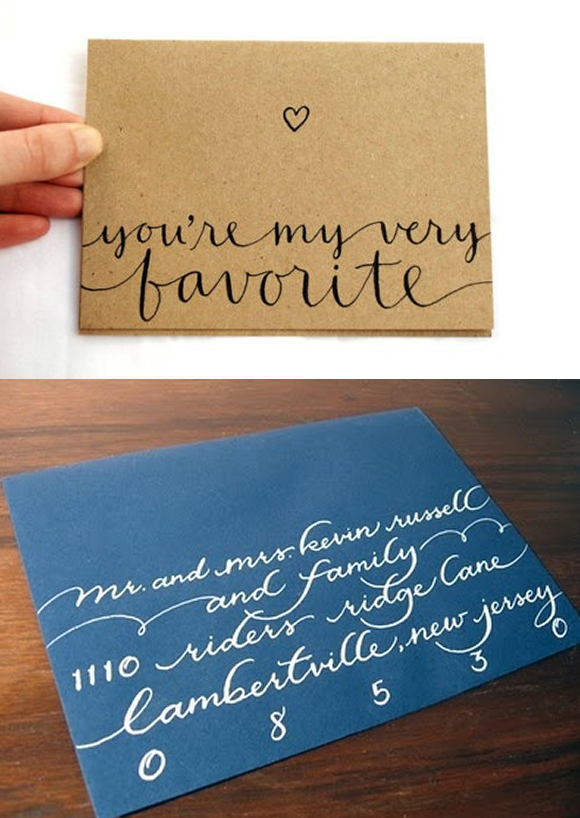
As I blogged about in my progress report last week, one thing on to-do-next list is work on invitations. I've been thinking of designing my own and have been doing lots of brainstorming about what I want. I have some fun inspiration that I'll show another week once I start designing, but one thing I'm drawn to time and time again is calligraphy. I thought it would be a fun project to attempt to teach myself calligraphy and see if I could create something possibly as lovely as this inspiration. What's kind of amazing are how many styles of calligraphy there are! There's the very traditional style with lots of swirls and ornaments.

1, 2,

Lately I've been seeing a lot of this slightly more contemporary style calligraphy as well. I love the combination of calligraphy and other handwritten styles type.

1, 2, 3 

I think my favorite is somewhere in the middle--a classic and clean look. I also love the look of the attached words.

1, 2

And I just love the look of this invitation all calligraphy. And with the striped envelope liner? Ahh, love.

Source

What's your favorite calligraphy style? Have you tried (or considered trying) doing your own calligraphy? I'd love to hear your tips, tricks or ideas!

Planning Progress Report

I've been posting fun inspiration for the past few weeks, so I thought I'd take a pause for a quick planning progress report. We are a little less than six months out and are making some great progress through our check list! Though that certainly doesn't mean we don't have plenty more to check off! Over the past year, we checked off all the "big" things--venue, caterer, photographer, florist, DJ and dress. More recently, we've been plugging along on the next batch of to-dos.

Ceremony Music: We are finalizing logistics, but we are very excited about the guitar and violin duo that will be playing during the ceremony and cocktail hour. We think it will be a nice fit for our outdoor affair.

Guitar, Violin

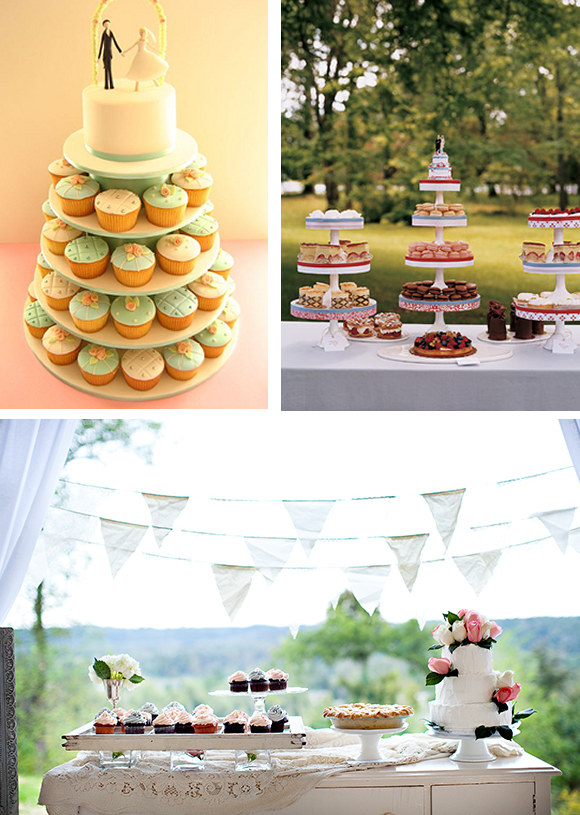
Dessert: I decided on cupcakes a while ago, but we are starting to talk to--and more importantly, taste!--cupcakes from some local bakers.

1, 2, 3

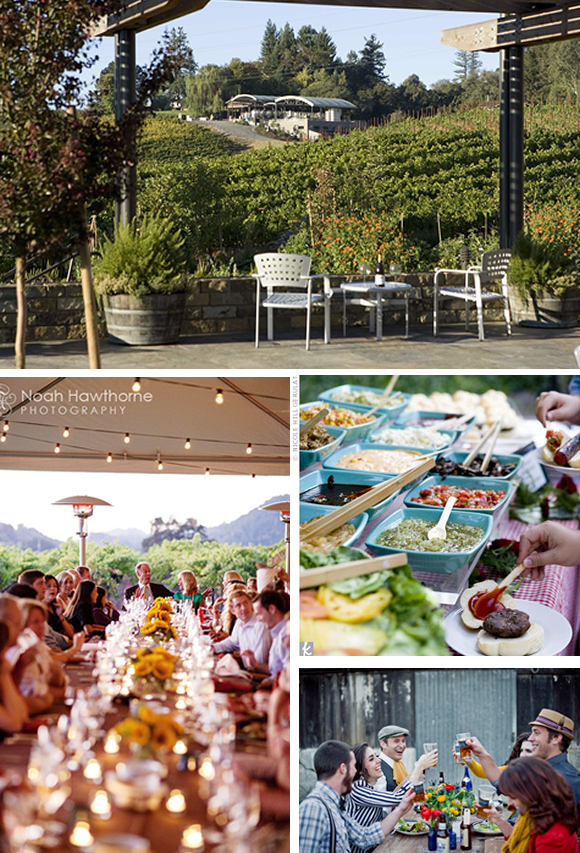
Rehearsal Dinner and Day After BBQ: We've even been able to check these off this list too! We met with the fantastic people at Lynmar Estate where our rehearsal dinner will be held and have worked out the menu and decor. The winery is now one of our favorite places and we are very excited about what they've put together for us. And with plans for hamburgers and hot dogs on Sunday to send off our guests, we have a weekend full of festivities coming together!

1, 2, 3, 4

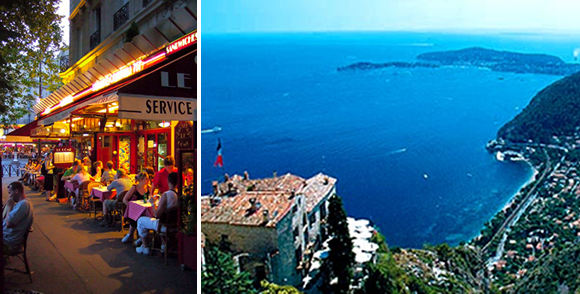
Honeymoon: This has been one of my favorite things to fantasize about, yet also one of the most stressful. But I'm still very excited for the French vacation that's slowly coming together. More on that in another post!

Cafe, Coast

And while boxes are being checked, there's certain more to do! Next on the docket, invitations (you'll see my love for craft paper soon)....

Source

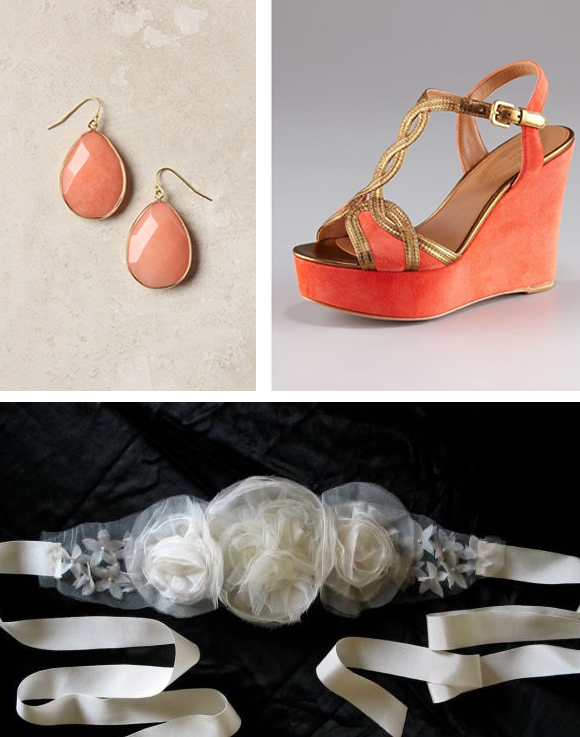
...accessories (obsessing over these shoes)...

Earrings, Shoes, Sash

And of courses craft projects galore!

Lots more fun (and posts about it all) to come!

I Just Can't Get Enough of Ombre

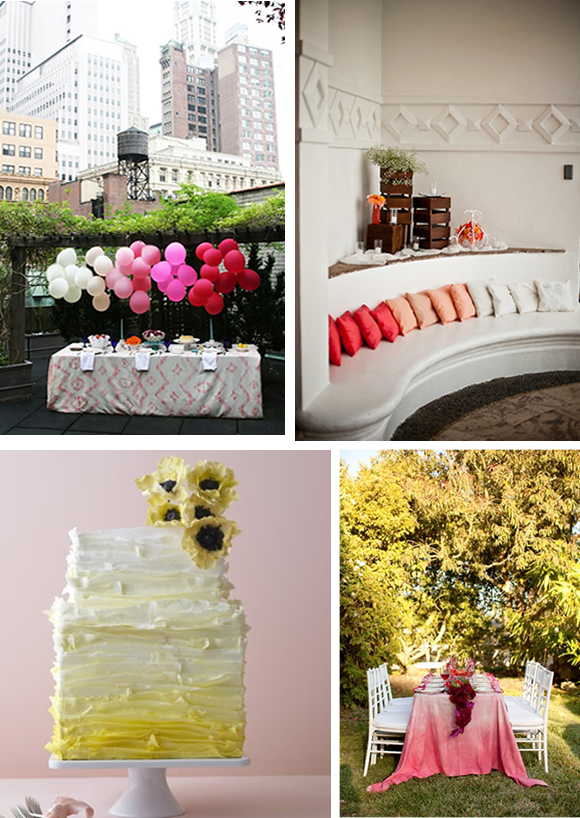
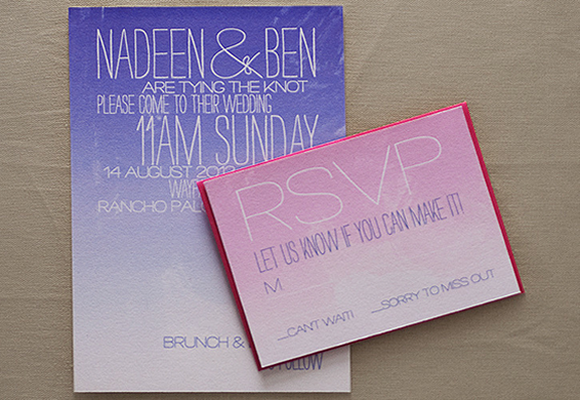
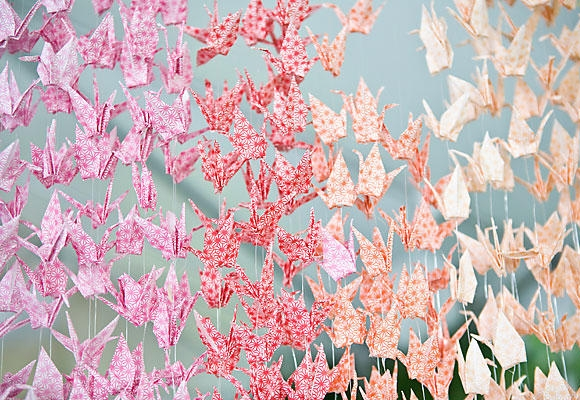
Ok, so I know I'm not the first person to highlight this trend but I love it all the same. Ombre is everywhere in fashion, home decor and weddings and I can't get enough of it! From cake to backdrops to invitations, it creates such a beautiful, yet still simple, look.

Source

What I haven't figured out is the best way to incorporate this in to our wedding. Maybe that table cloth could be a good way.

Sources: Balloons, Pillows, Cake, Table, Invitation, Cranes 

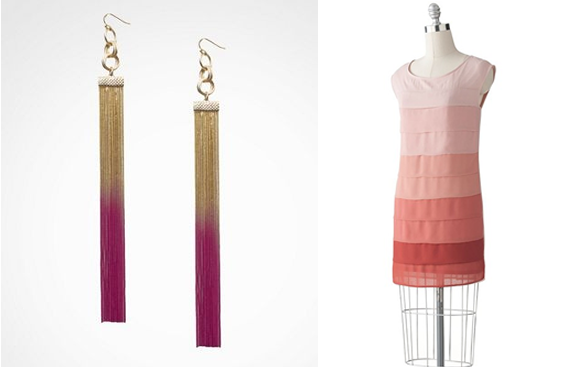
And, if all else fails, maybe my punch of ombre will show up at our rehearsal dinner or a shower!

Sources: Earrings, Dress

Are you using ombre as a design element in your wedding (or shower or rehearsal dinner)? Share your ideas!

Our Save the Dates

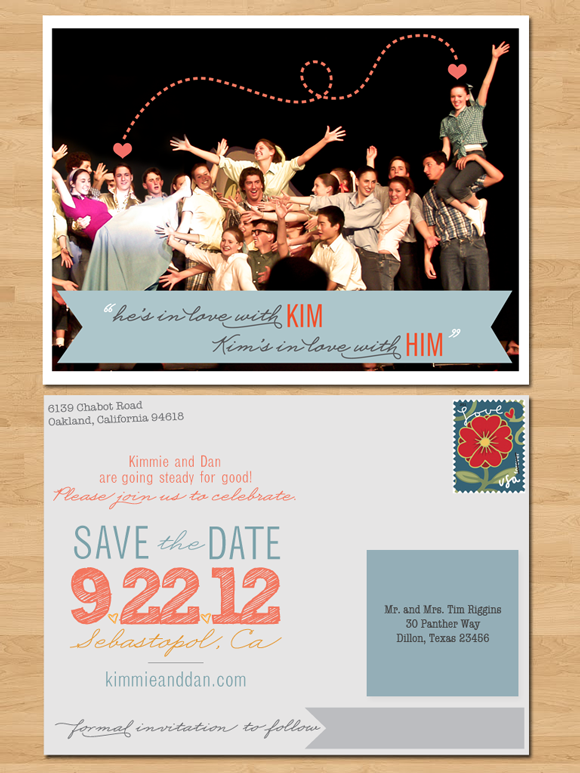
Enough of our guests have now received their Save the Dates, so I'm excited to be able to reveal them to you all! First, a little backstory and context about my fiancé, Dan, and I. Dan and I met and began dating in high school. While we had been going to school together for years, we first really noticed each other during our junior year high school musical "Bye Bye Birdie". Dan played the adorable Hugo and I was a featured dancer in the chorus.

The photo in our Save the Date is a picture from the musical's finale. I love the period of time that it captures--we were just realizing that we had met someone special. And it almost looks like the entire cast is celebrating that!

We decided to go with postcards that we had printed with Zazzle. Zazzle worked out fantastically because you can print small numbers at a time. Before ordering enough for our guests, I ordered one each of a few different color combinations and picked out the one I liked best in print. I ended up printing labels in a color to make it feel like part of the piece and then I could use fonts that matched the rest of the card.

I did the design myself. The script font is one I had picked out a while back as our perfect wedding font (I had been looking everywhere for that font). So it was just a matter of adding fun and colorful touches from there. It was also fun to tie in both the musical and high school "themes".

We're starting to think about the formal invites now and, if doing these were any indication, it's going to be fun!

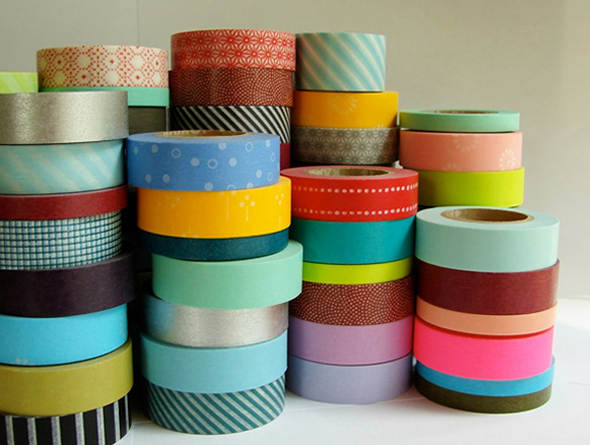
New Crafty Obsession {Washi Tape}

I’m in trouble. The research I was doing for this week’s blog post has lead to a serious new obsession: washi tape!

Source

I’ve seen it on craft sites and thought it would be fun to get some ideas of how brides are incorporating the decorative tape in to their wedding designs. I had no idea the search would uncover such gorgeous ideas! Washi tape is simple, colorful, fun and relatively inexpensive. And just a small piece of tape instantly adds a designer touch.

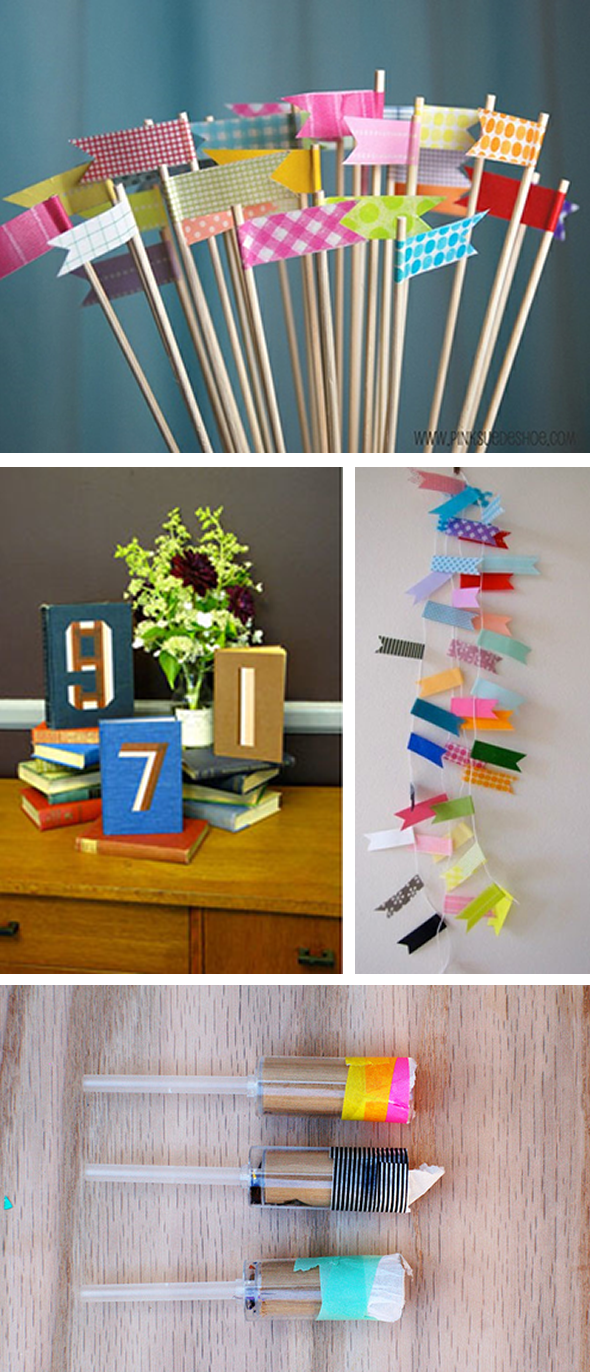
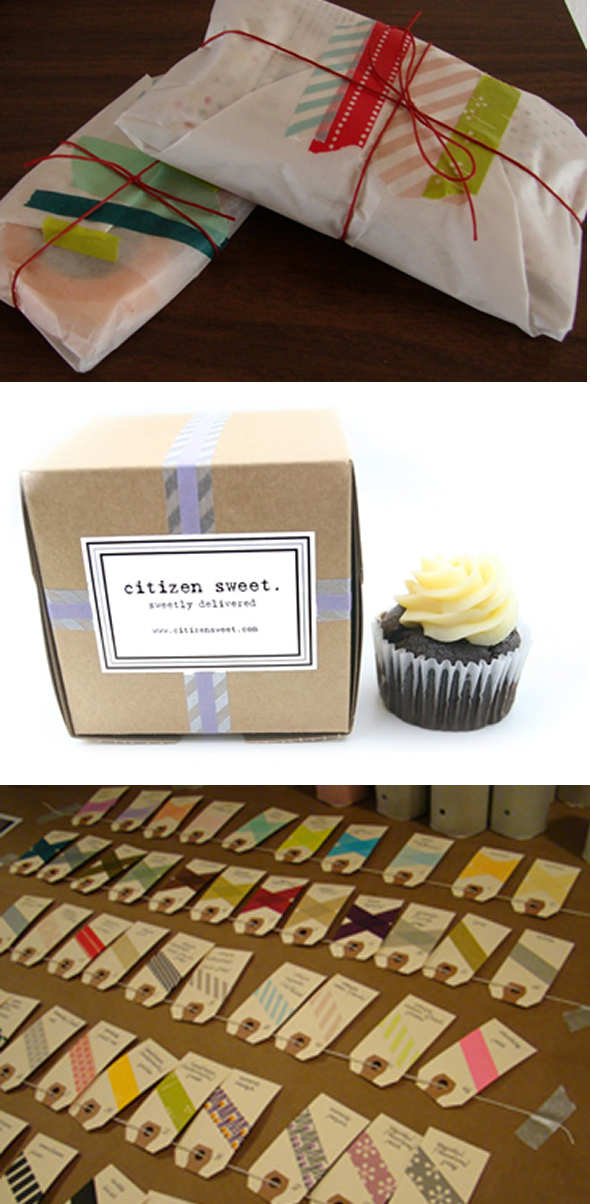
There are so many places to add it around your wedding day. Favors, table numbers, escort cards and bunting can all be jazzed up with washi tape.

Sources: Flags, Table Numbers, Bunting, Confetti Shooters (You gotta check out this DIY tutorial for these), Package, Cupcake, Gift Tag

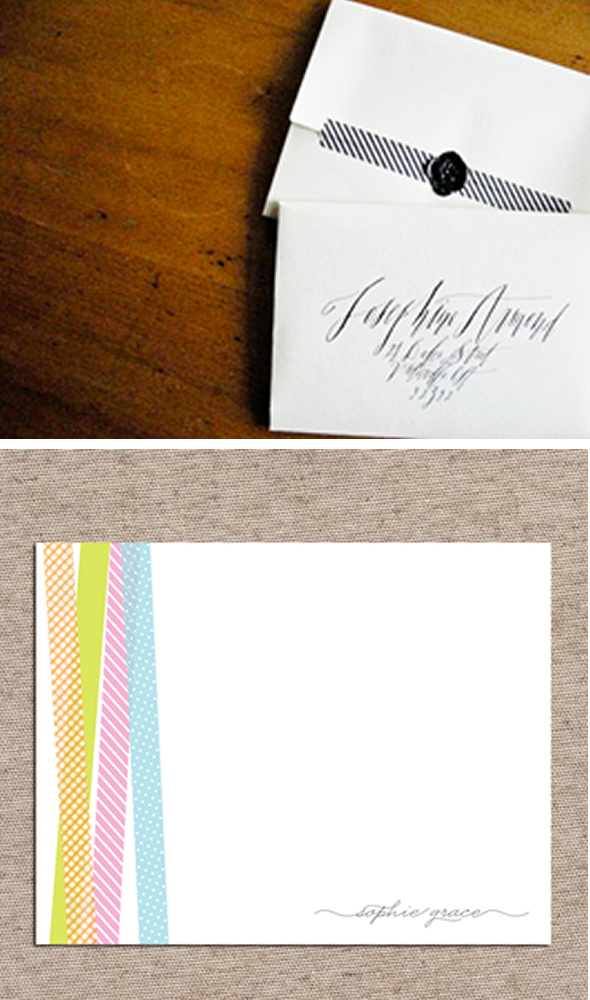
I love how it looks on printed materials too. This black and white invitations is so sophisticated!

Sources: Black and White, Neon

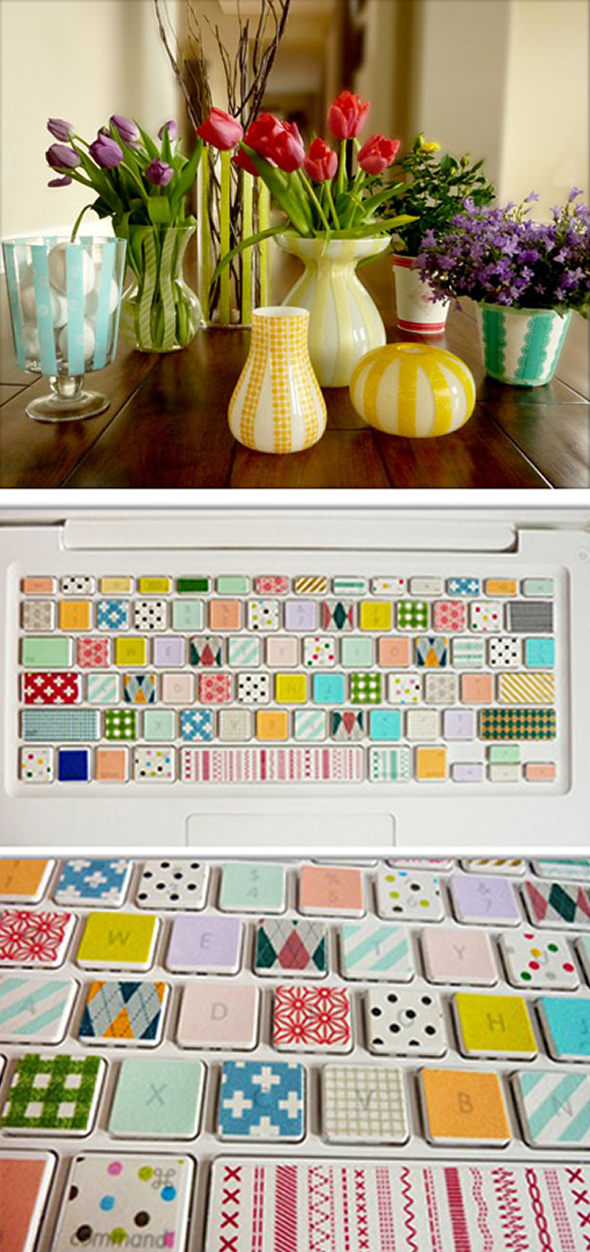
And if you still can’t get enough, washi tape even works in home décor. How incredible is this keyboard?

Sources: Vases, Laptop

I’m off to stock up on a myriad of patterns and colors. Anyone have any good washi tape resources?

Blowing In The Wind {Ribbon Decor}

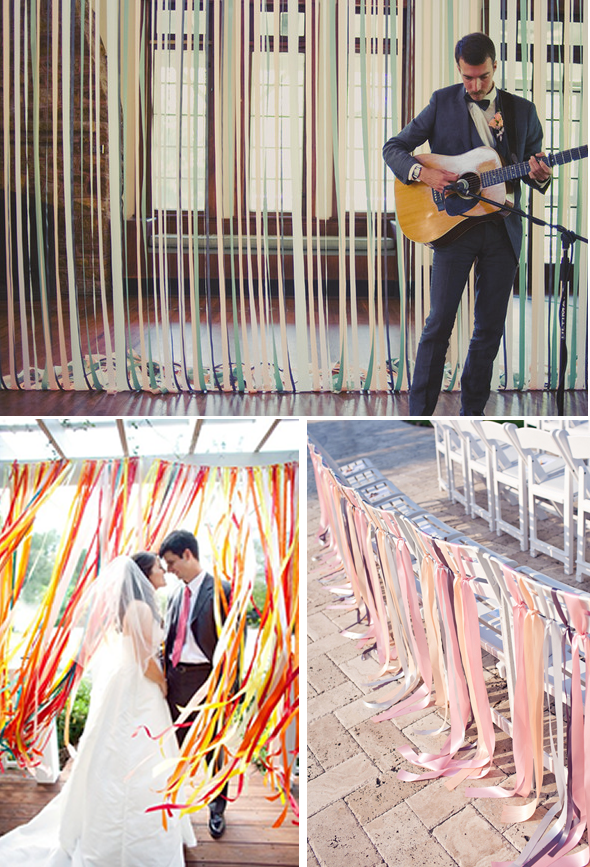
Somewhat unintentionally, a theme has emerged in some of my decorative ideas: Ribbons. And I have to say, I’m okay with this! I’ve always loved the look of ribbons on the back of the chairs, but I’m starting to think about incorporating ribbons throughout the wedding. I love the way they blow in the wind and create such a whimsical feeling. They kind of remind me of A Midsummer Night’s Dream. Ribbons (or paper or fabric streamers) can provide a great backdrop for a space. I’m also thinking about using them to divide up and define some of the spaces at our venue, all while not obstructing the amazing views.

Sources: Guitar Player, Bride and Groom, Chairs

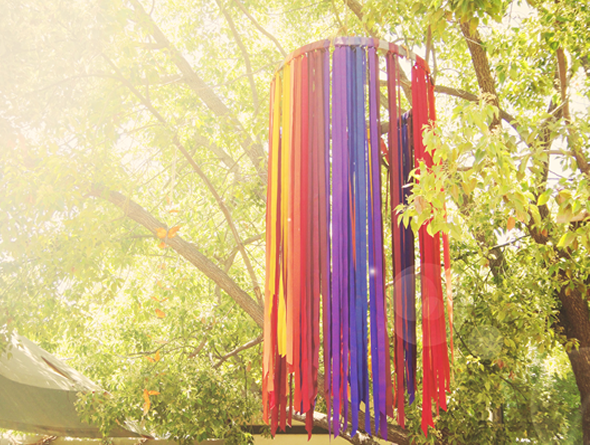
I am in love with this ribbon chandelier! If not for our wedding, maybe for our house....

Source: Chandelier 

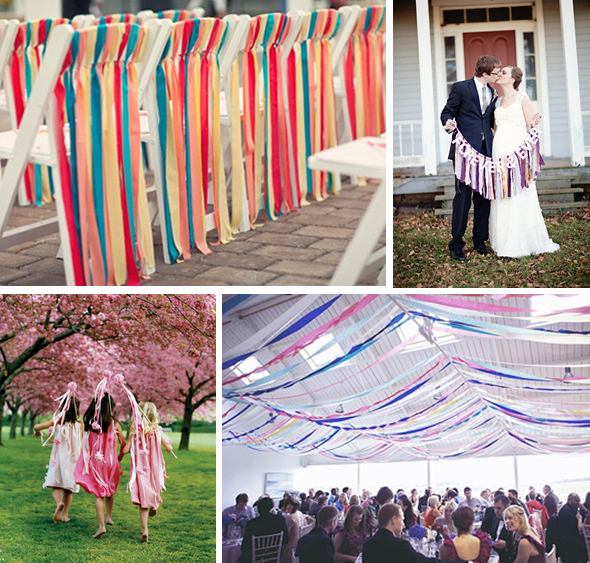
I also love the ribbon wands as an alternative to flowers for the flower girl. So cute!

Sources: Chairs, Forever Sign, Flower Girl, Ceiling

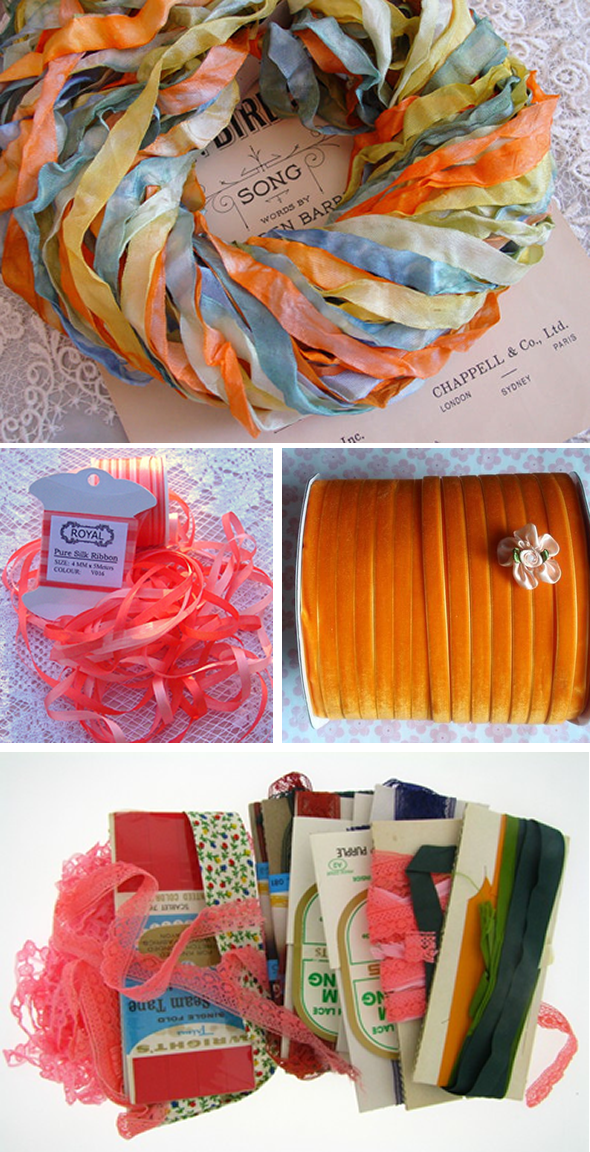
I started a little ribbon shopping this weekend; here are some initial favorites. I’m thinking that I can buy some of the fancier (and more expensive) ribbon in small quantities and mix it in with less expensive craft ribbon.

Sources: Blue and Orange, Coral Silk, Orange Velvet, Coral Lace

Do you have a good resource for reasonable ribbon, fabric or other craft supplies? I’d love to check it out!

Dressing Up the Aisle

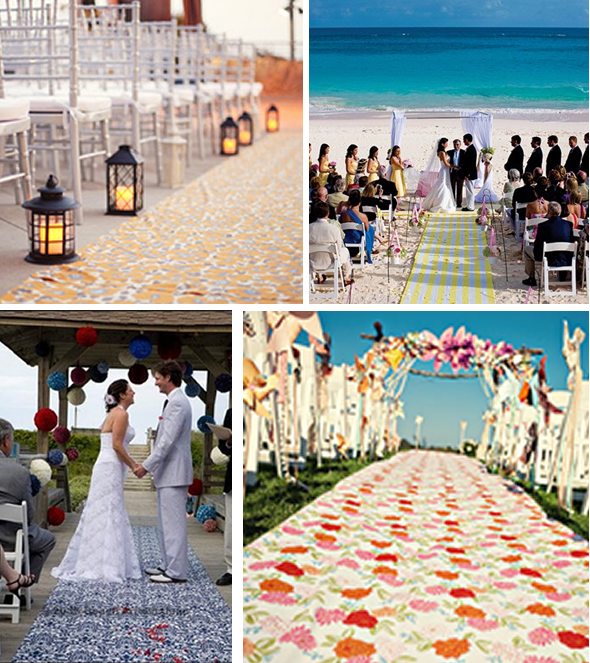
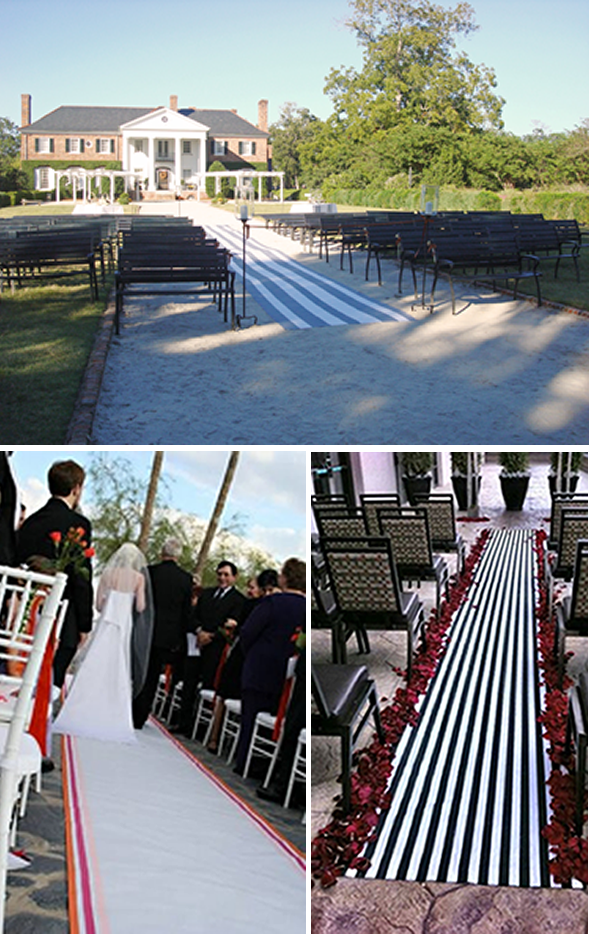
I’ve talked about aisle décor a bit, particularly with flowers, but now I’m thinking about aisle runners. The aisle way at our venue is part stone and part lawn, so I’m thinking that it will be necessary to have a runner to smooth out that transition. Plus, I don’t want my dress to get stuck on the flagstone! I don’t think a monogramed runner fits in with our style, but why just go with plain white or lace? The runner could be a great place to infuse a little color, pattern and personality! (And if you’ve been following me, you know I love some personality in my décor)

These floral patterned runners are gorgeous, but I’m really loving the look of the stripes!

Sources: Yellow Floral, Yellow Stripe, Blue Damask, Multi Floral, Blue Stripe, Orange Edges, Black Stripe 

Now I just need to figure out how to execute this. I could buy fabric, as long as the amount of fabric needed doesn’t get too expensive. I also saw a DIY tutorial suggesting painting a canvas drop cloth. As always, suggestions are welcome!

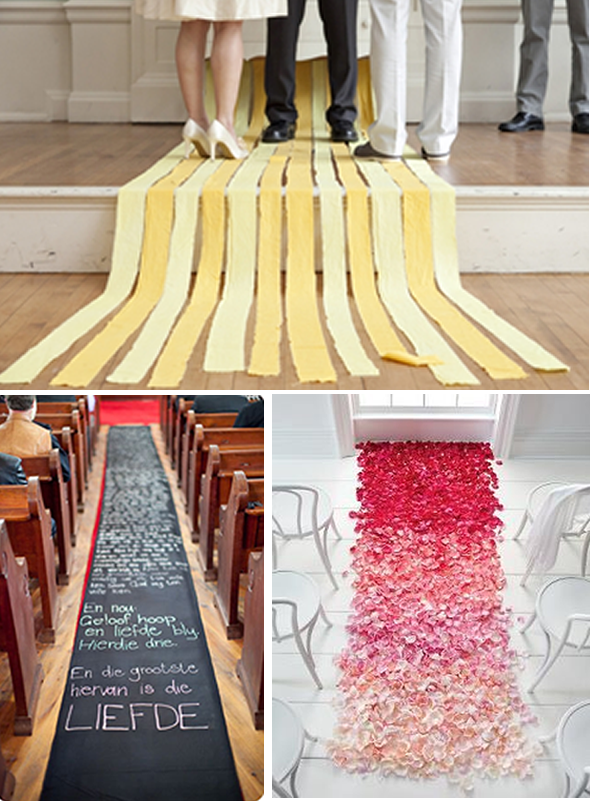
These runners aren’t quite practical, but they sure are gorgeous!

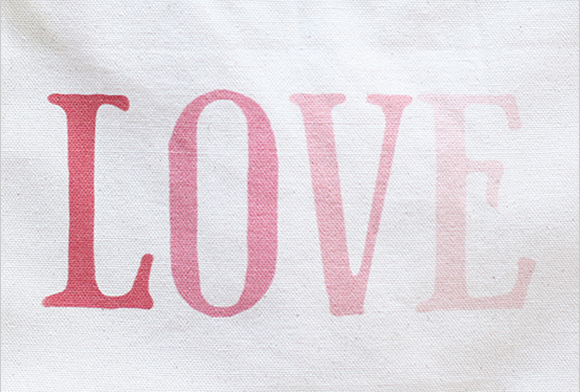
Sources: Streamers, Lettering, Ombre

Oh, and happy leap day! Enjoy this beautiful photo and one of my favorite quotes: "Leap and the net will appear"

Source