I've seen so many cute silhouette cake toppers on Pinterest lately, that I thought I'd have a stab at my own. And while I'm at it, why not personalize it? If you recall, our Save the Dates had a little pirate theme that we screen printed. I wanted to replicate that design for our cake toppers. So, here we go... here's how to make customized cake topper cutouts!
Materials needed:
- Paper (I used cardstock black and glitter red from Paper Source)
- Wooden Skewers
- X-Acto Knife
- Mat for cutting
- Glue (I used Elmer's)
- Printouts of what you want your silhouettes to be
- Heavy books
- Scotch tape
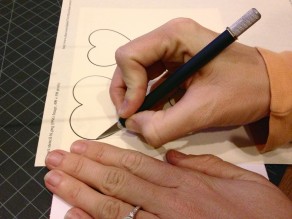
For a double sided cake topper, like the hearts I made, fold your paper in half and tape it closed on the sides. Then tape your stencil to the paper, so it doesn't slide around when you're cutting.
Trace the stencil lines, pushing as hard as you can! You have 3 layers of paper to get through, but don't worry if you can't cut all of the way through. If you're like me and don't have the willpower to cut through all 3 layers of paper, take your stencil off, and trace back over the lines you cut with your X-Acto knife, pushing all of the way through the paper.
Success!!
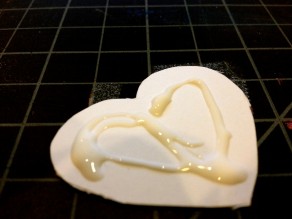
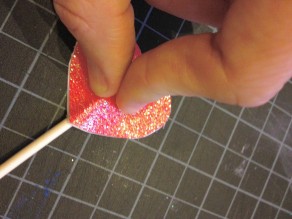
Match up the hearts (or whatever shape you're doing) that are the same size, and put glue on the backs of just one of each of the pairs. Then stick the wooden skewer on the middle of the heart with glue, with the pointy side inside of the heart (leaving the blunt end of the skewer at the other end - basically the opposite of what I'm showing below). Roll the stick around a bit to spread the glue.
Press the matching hearts together, pushing them together around the skewer. Wipe off any glue that squeezes out of the sides. Then cover each half of the heart with a heavy book. Basically, push two books up next to each other so they both meet at the skewer. Leave it alone for a day as it dries!
When the hearts are dry, take your X-Acto knife and cut around the edges so there are no white spots sticking out. You may also want to color in the white edges with a red pen (or whatever colors you're using), so you don't see any white. And now you have some cute glittery heart cake toppers!
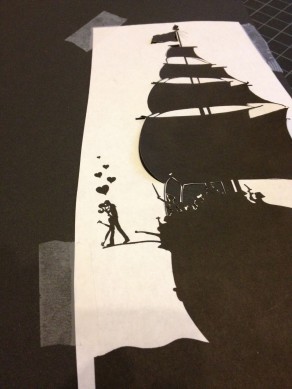
As for a more complicated stencil, where you probably only want to cut out one silhouette (because cutting out matching ones would be impossible!), it's all basically the same. You just have to be much more careful when you're cutting.
Once you think you have the entire stencil cut out, remove the stencil from your paper. Finish cutting all of the lines and corners very carefully directly on the paper, so it pops out clean and easy. Then glue or tape your cutout to a skewer.
Then stick it on a cake, take a picture, and eat the cake. You've earned it!
I rather enjoyed this delicious vegan chocolate cake from Café Indigo after all of this :)
