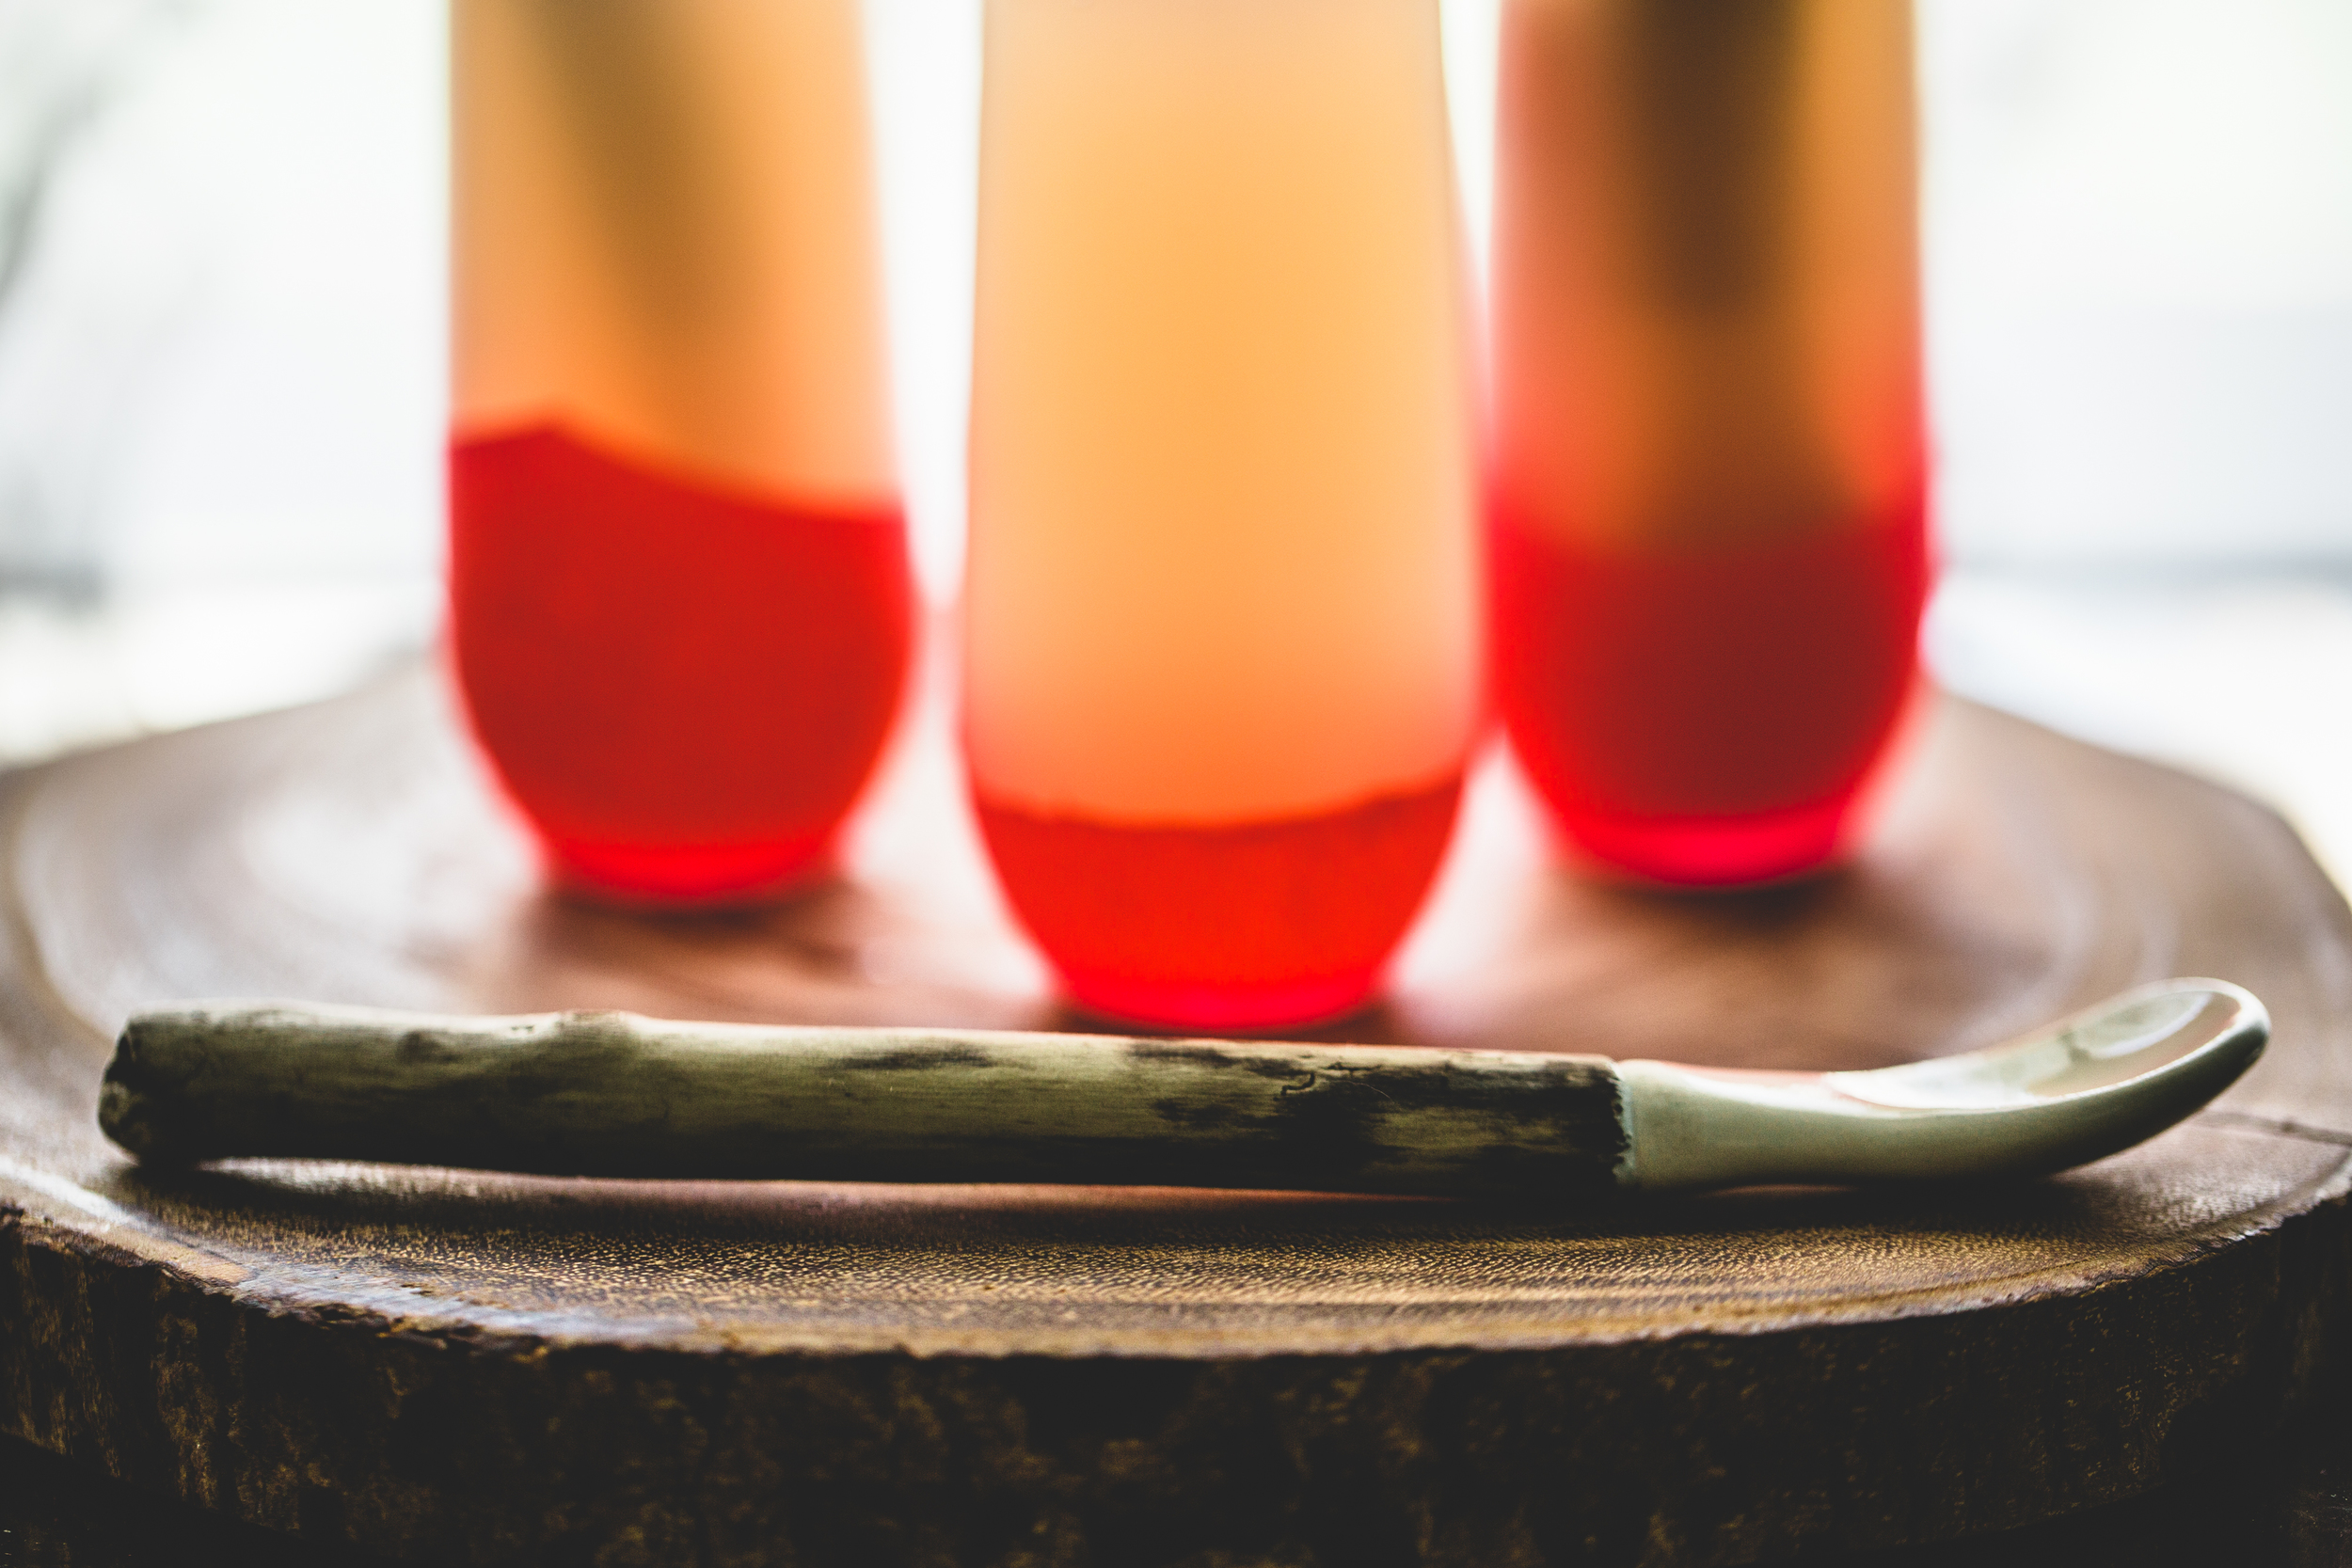
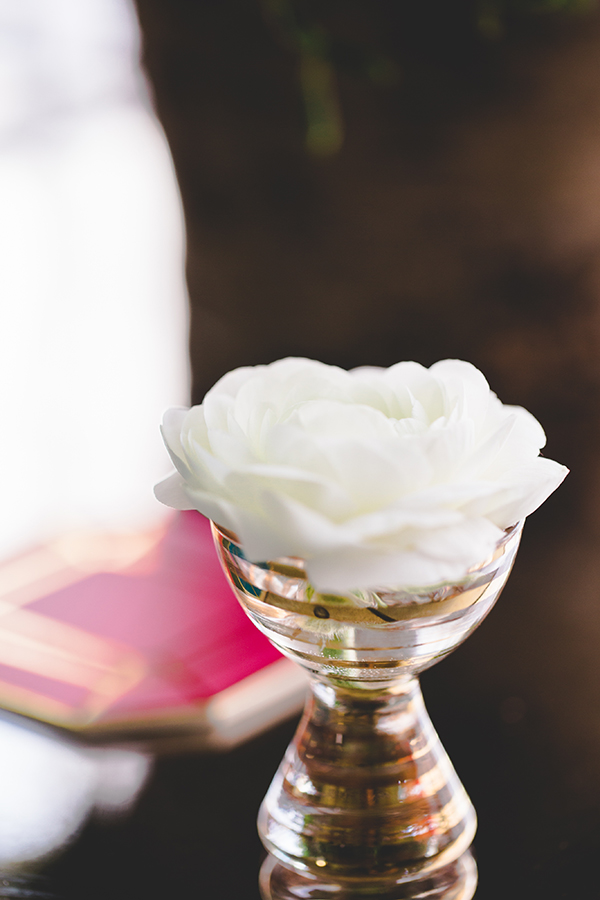
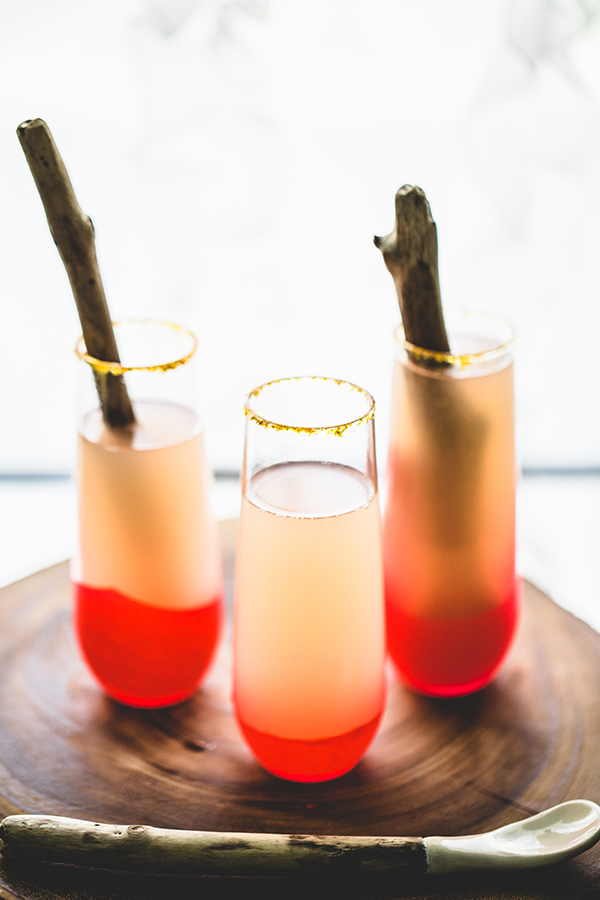
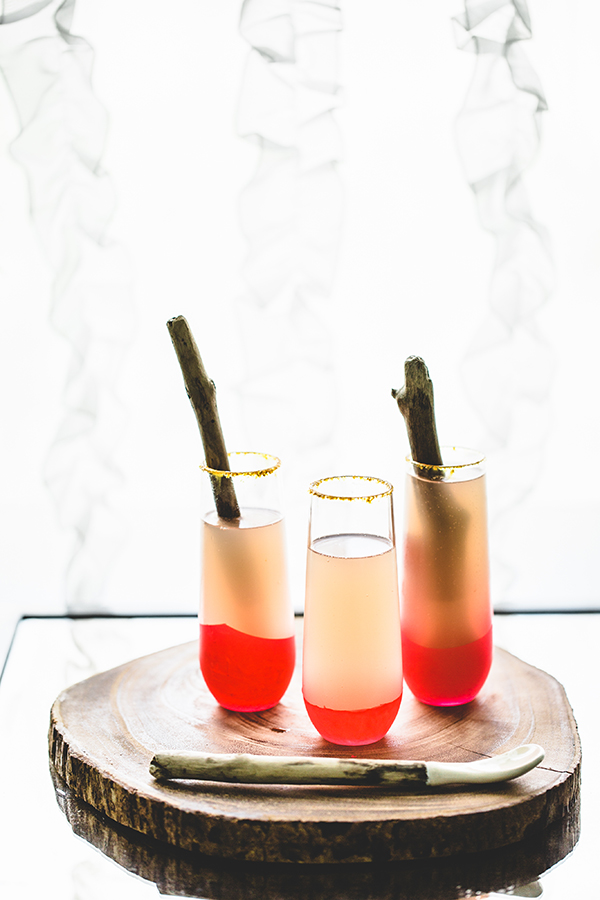
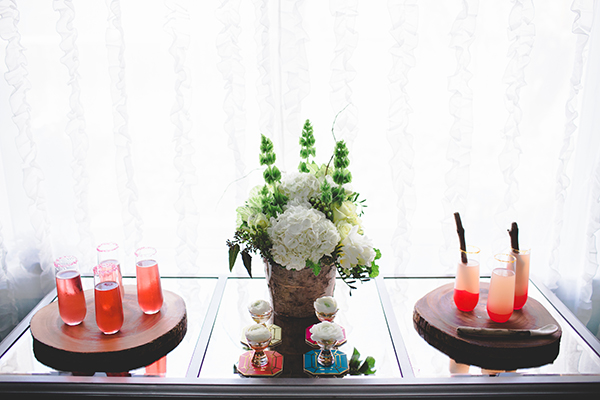
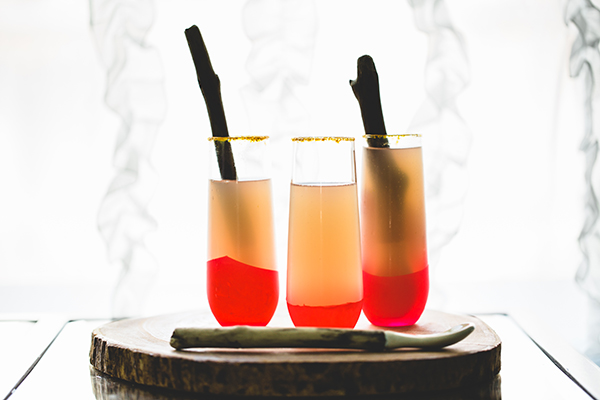
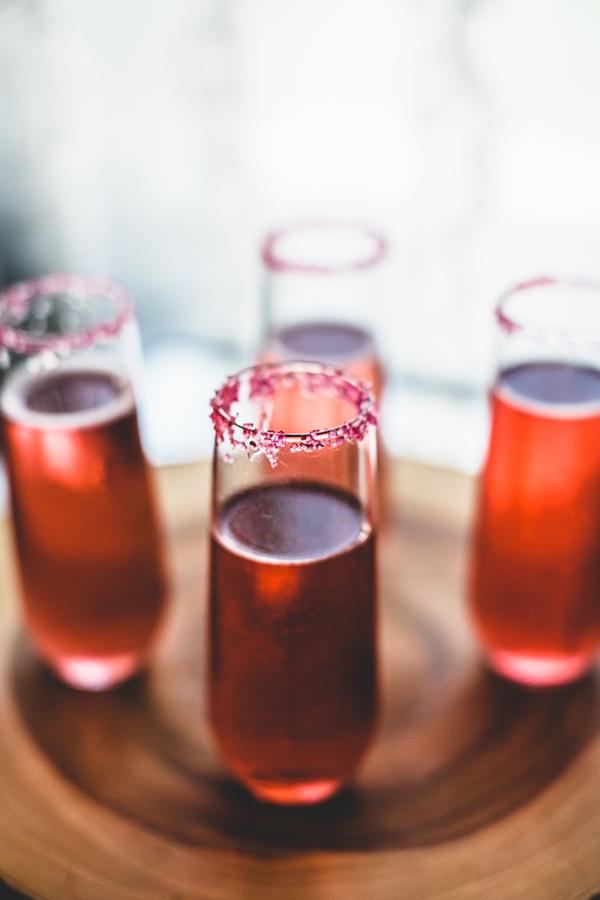
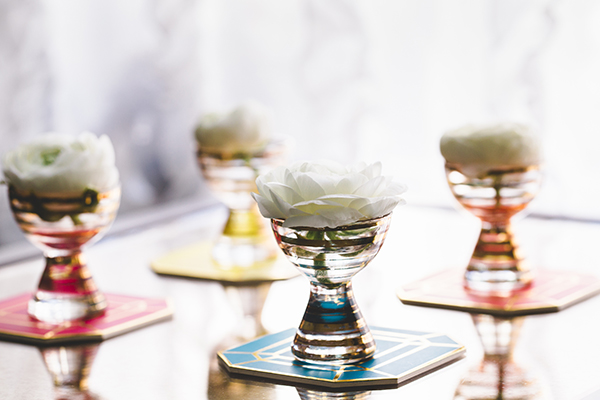
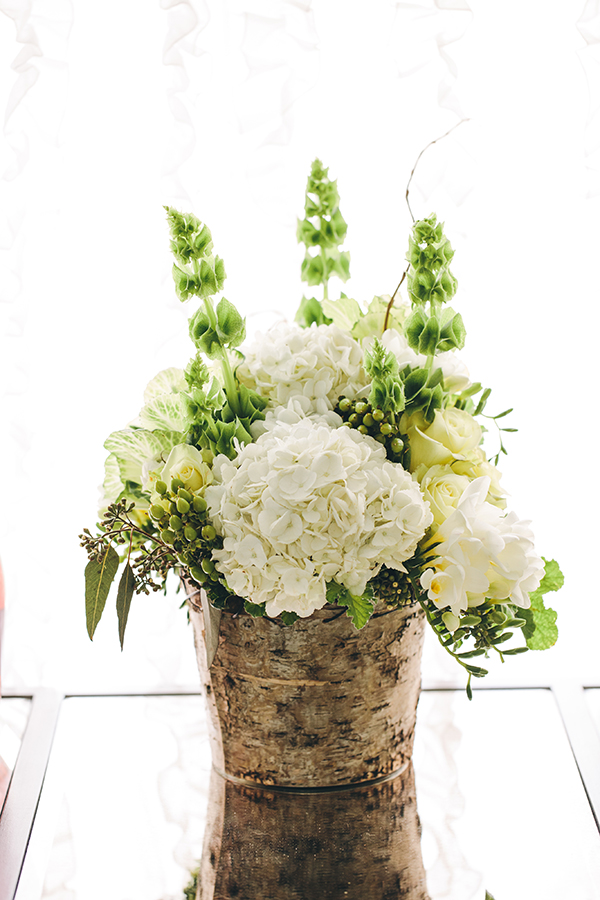
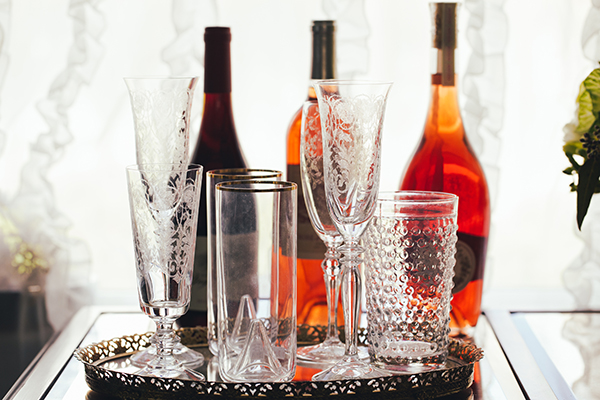
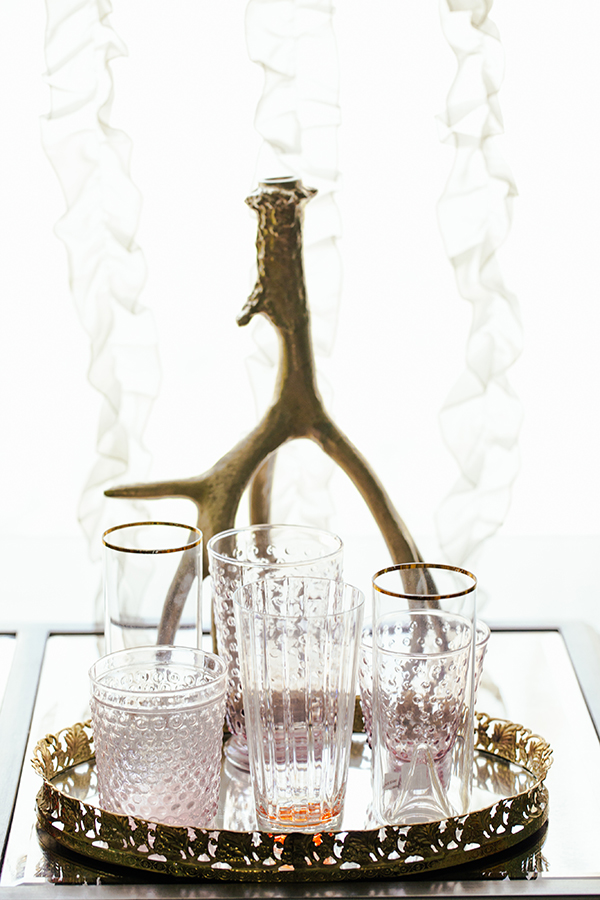
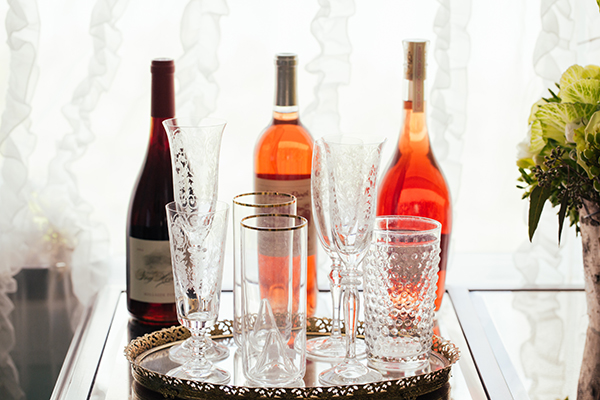
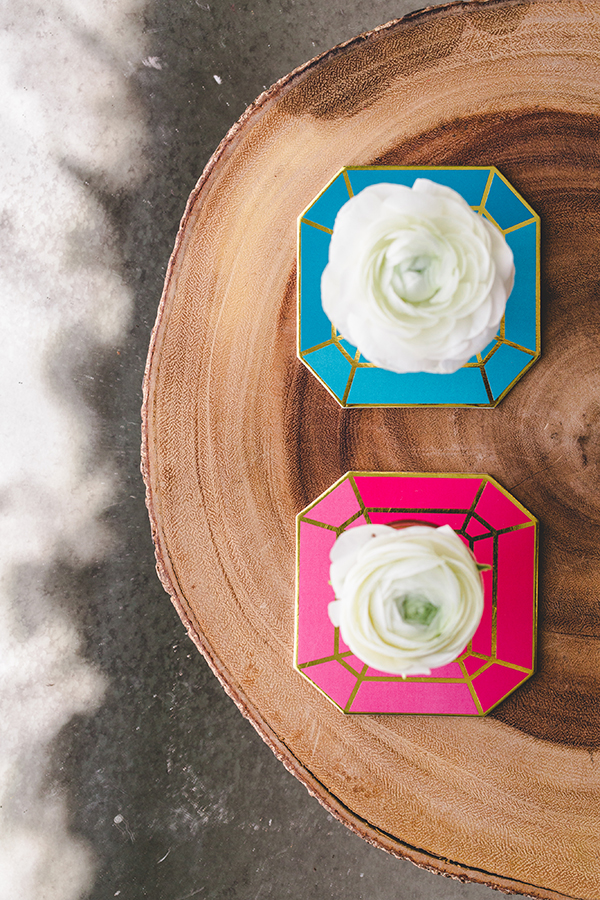
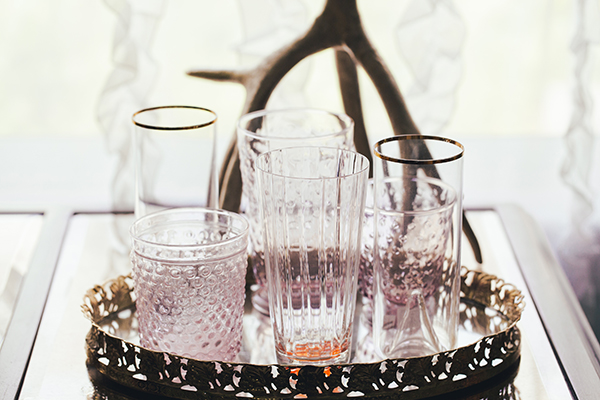
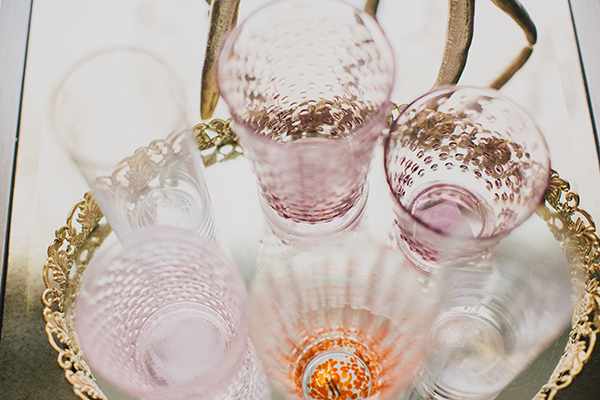
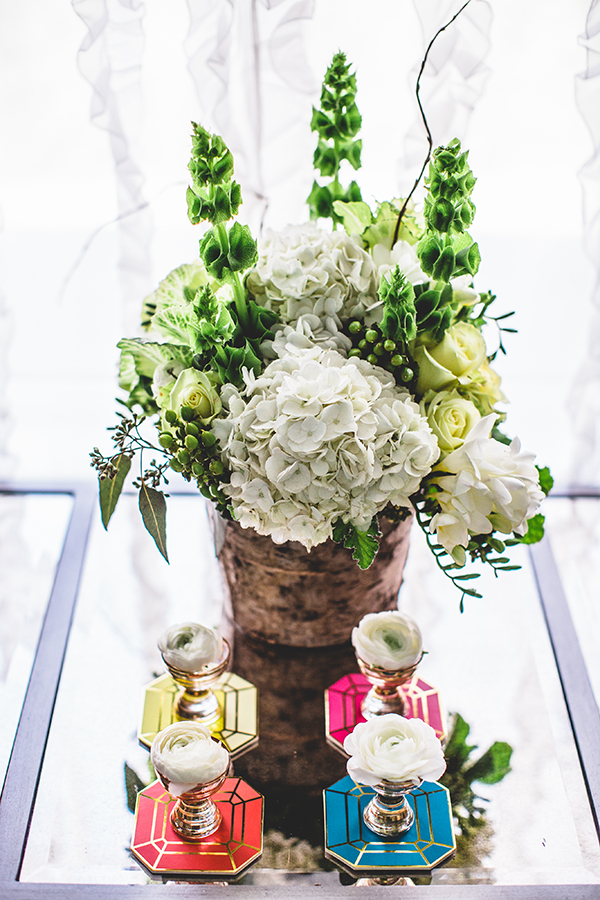
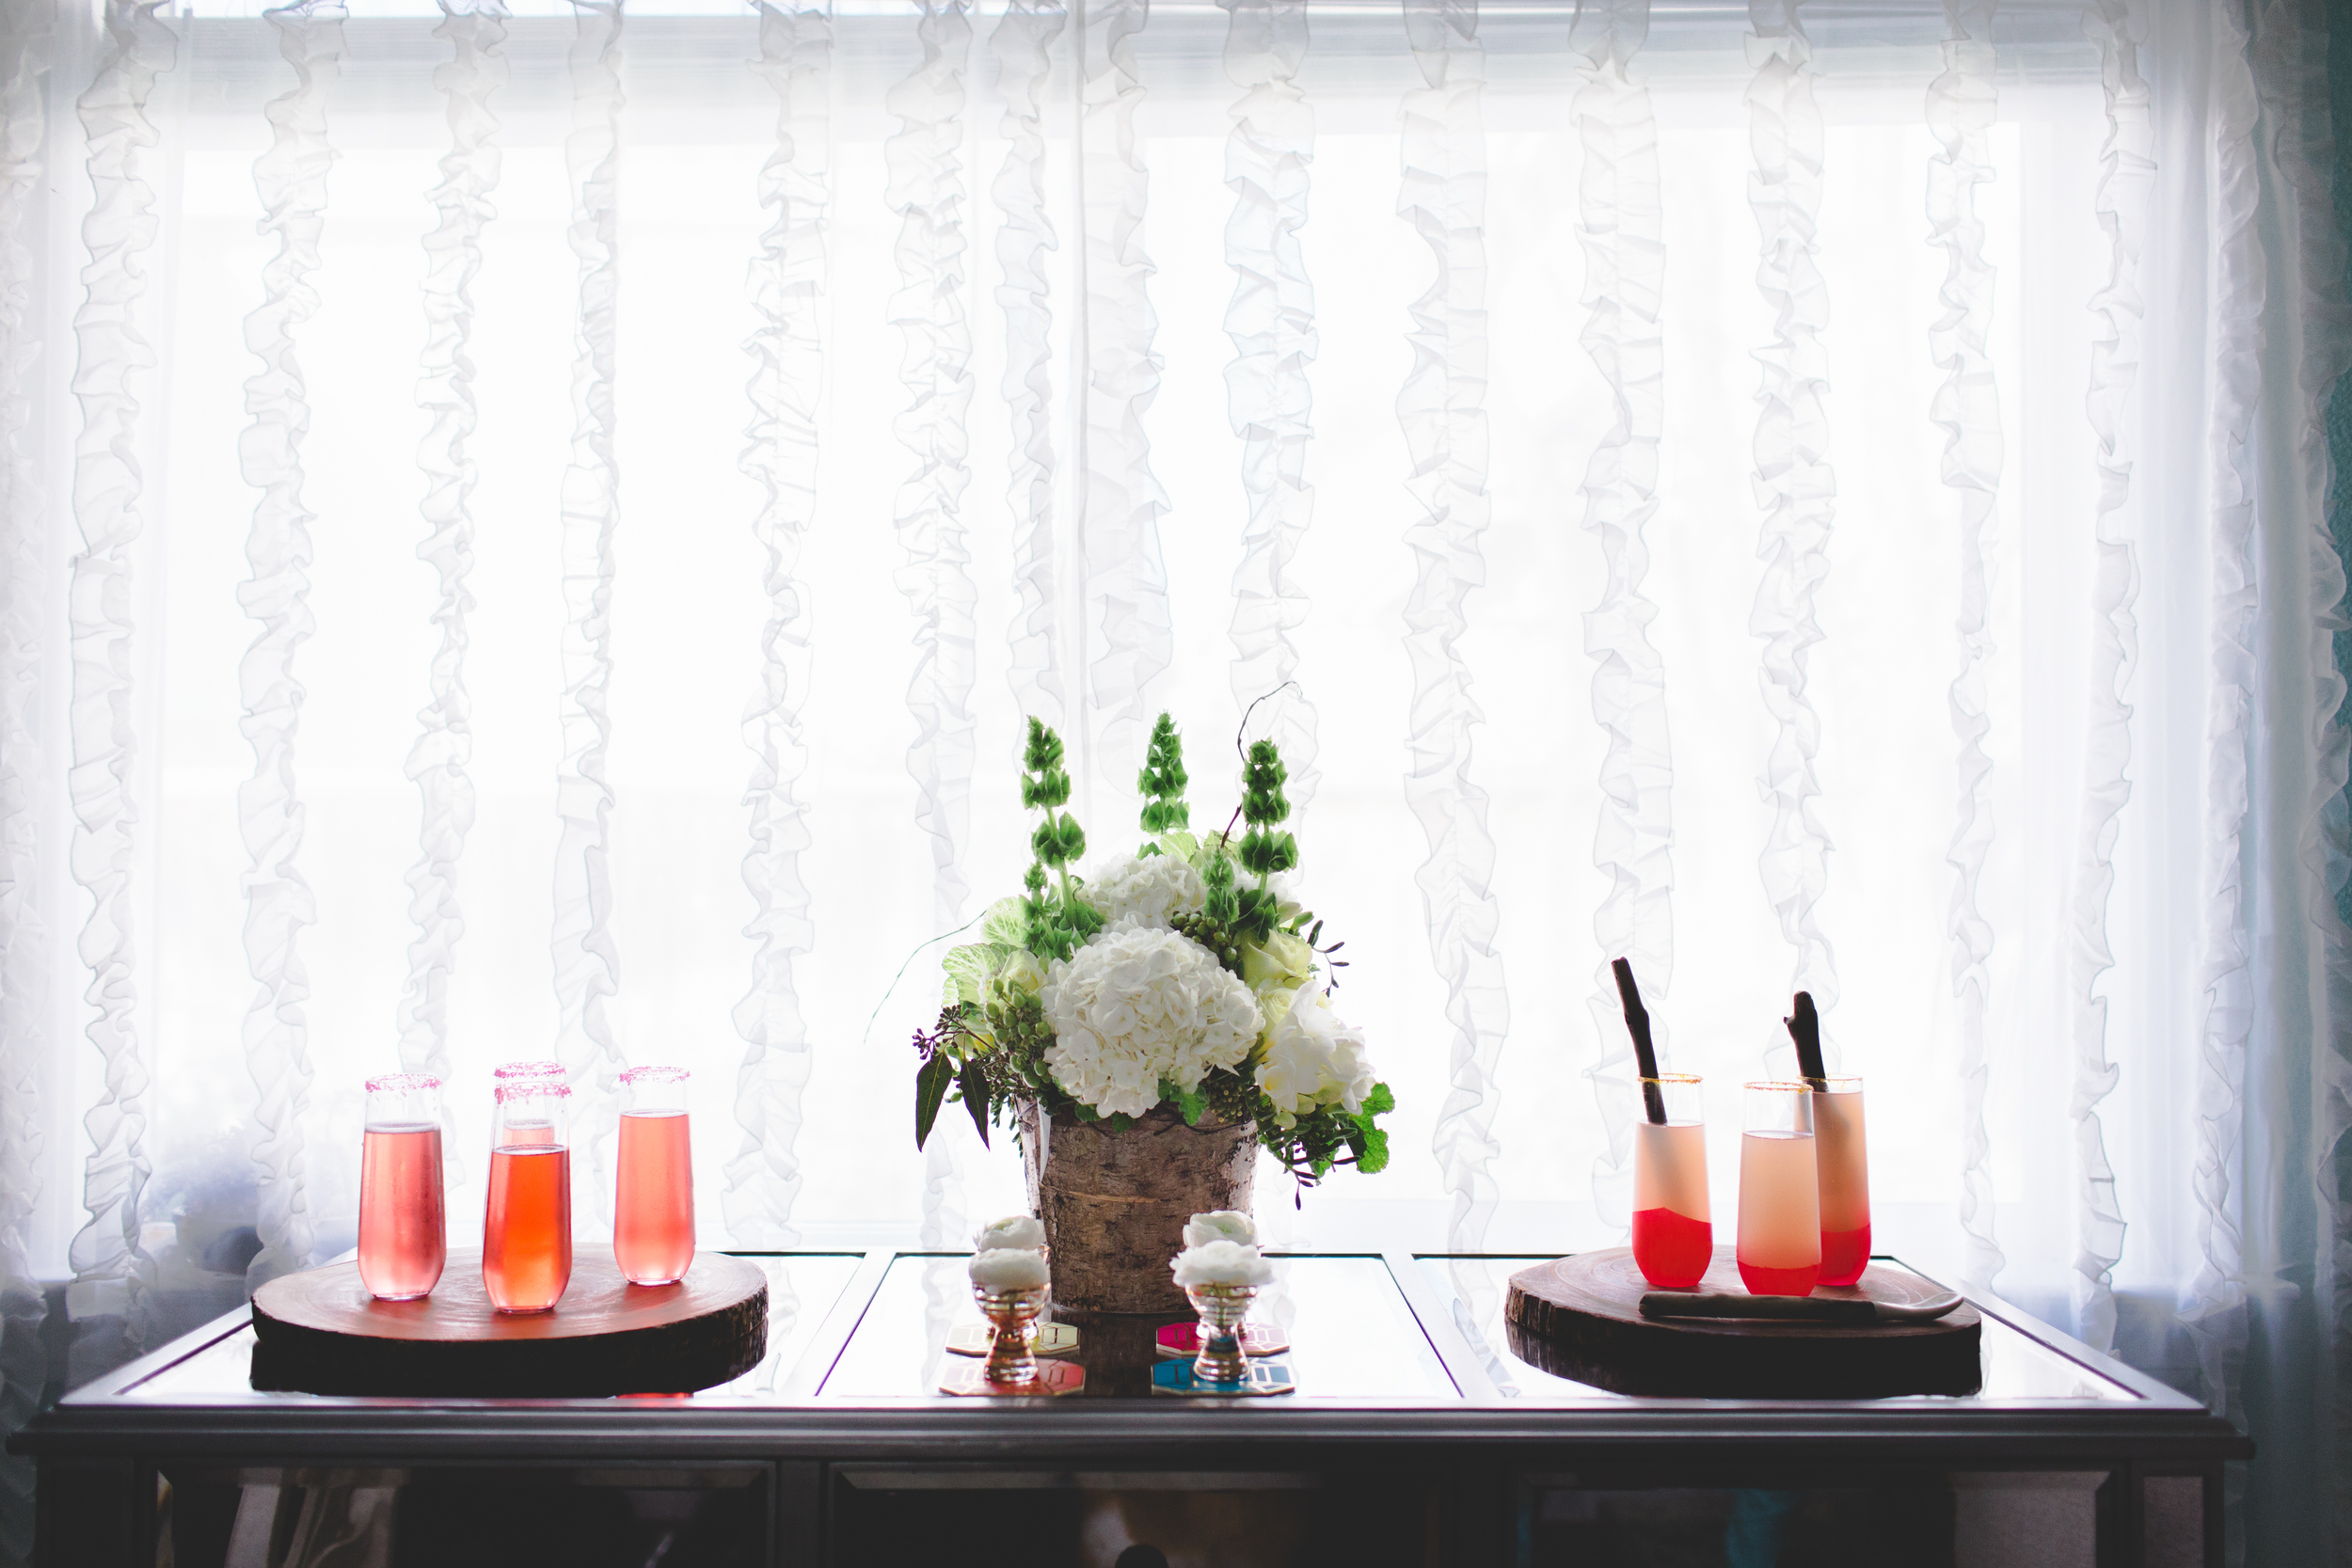
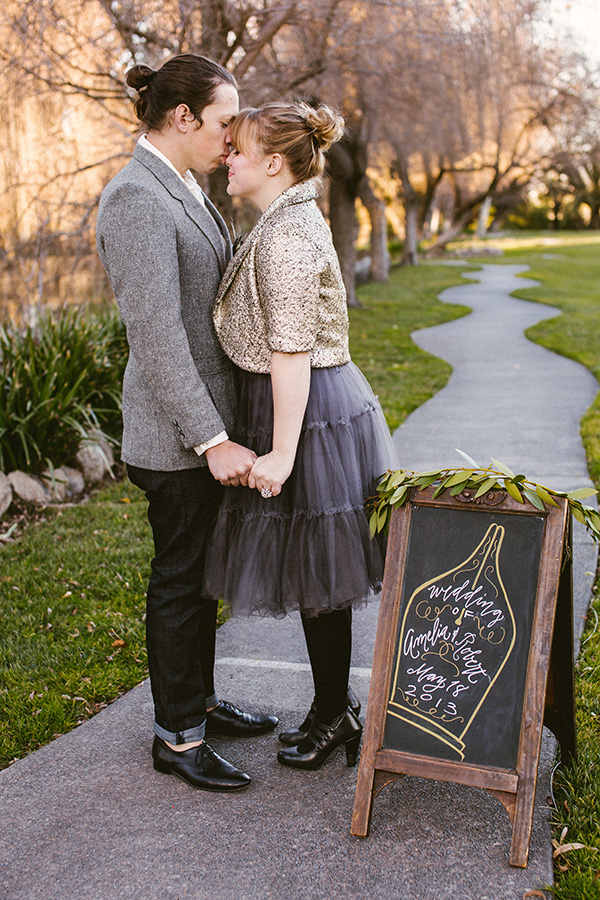
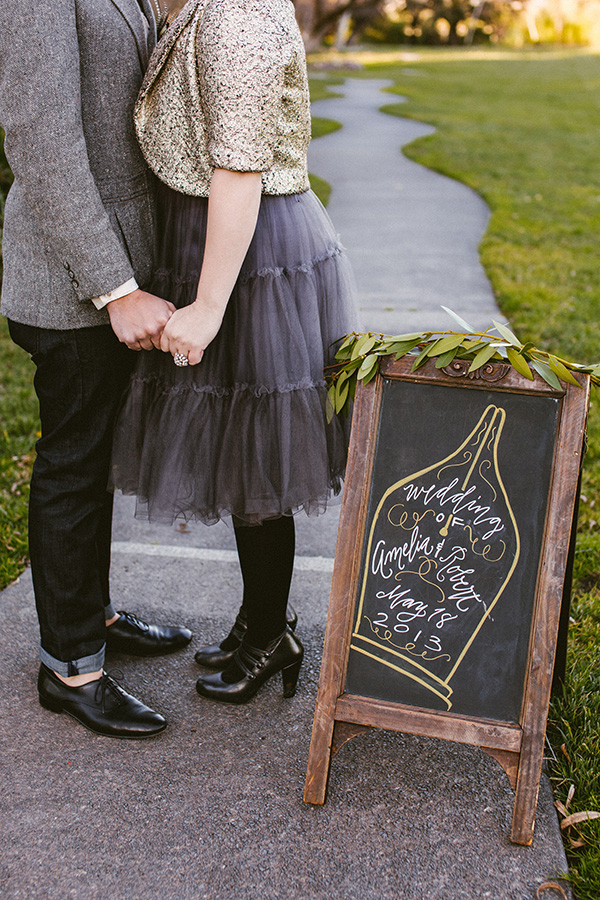
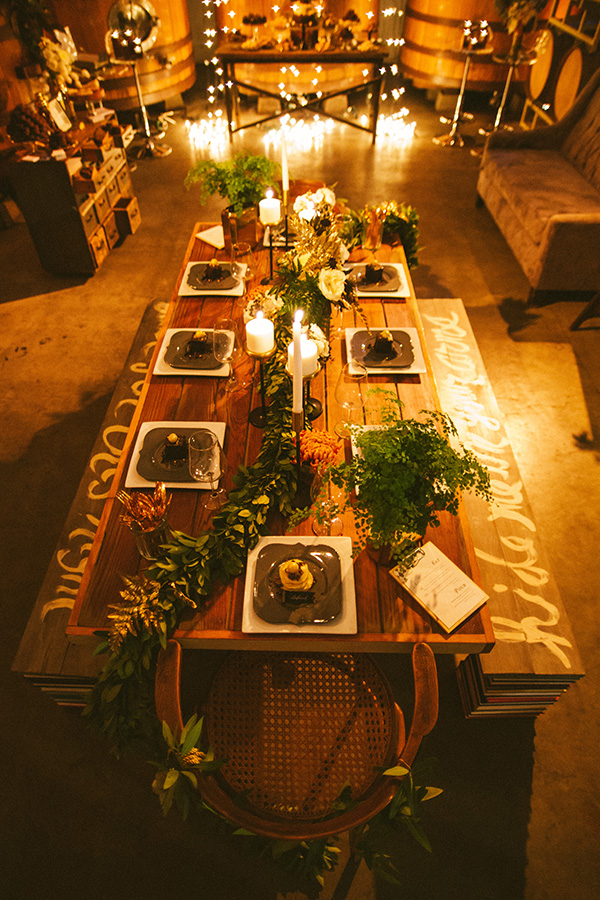
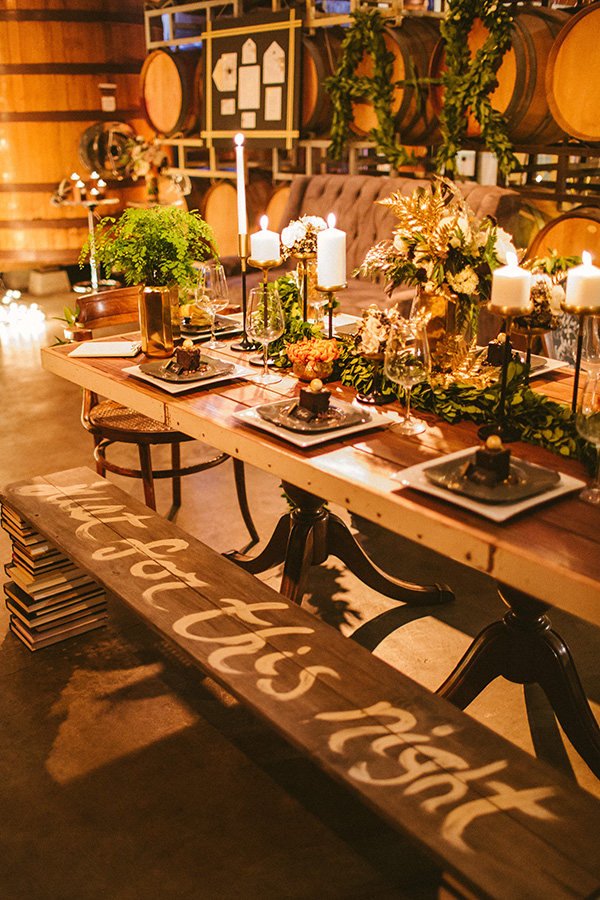
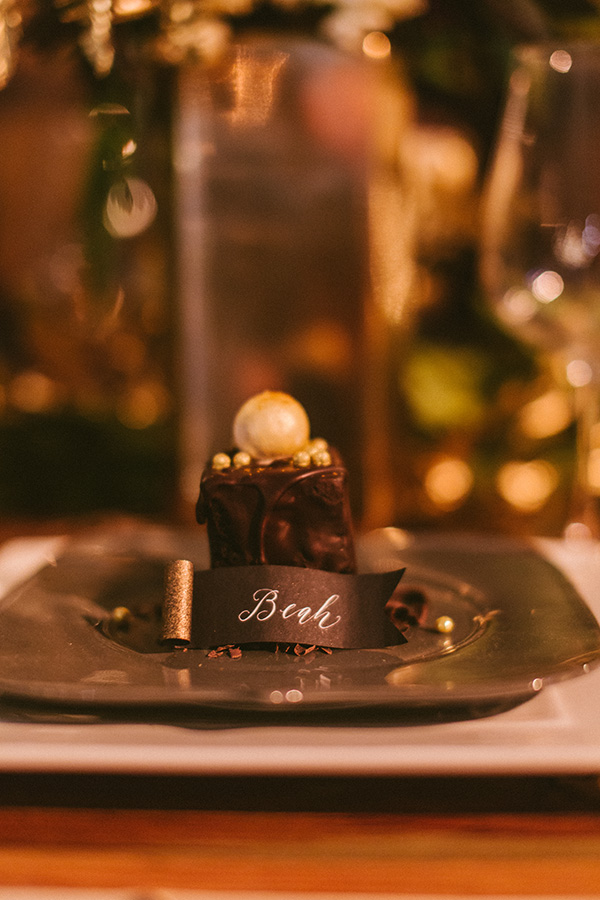
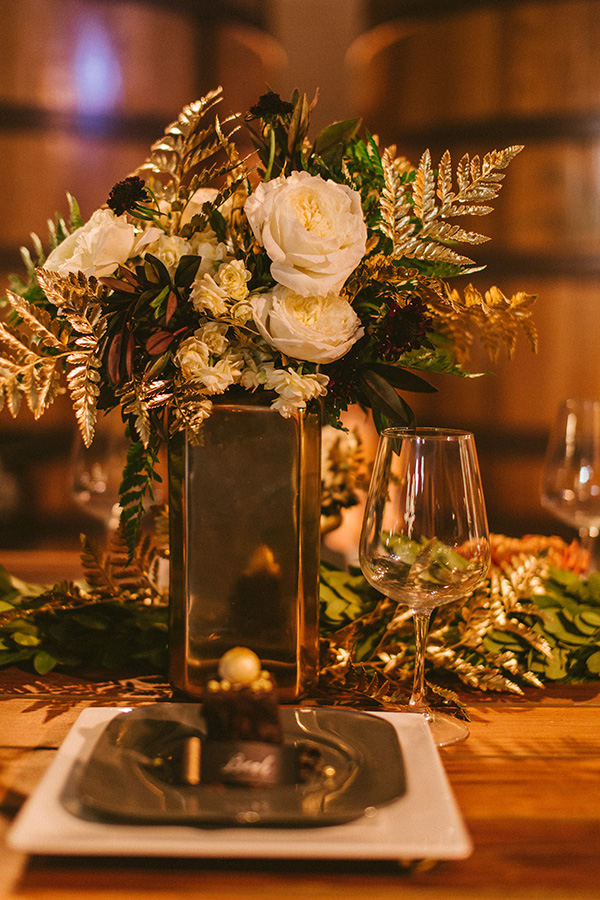
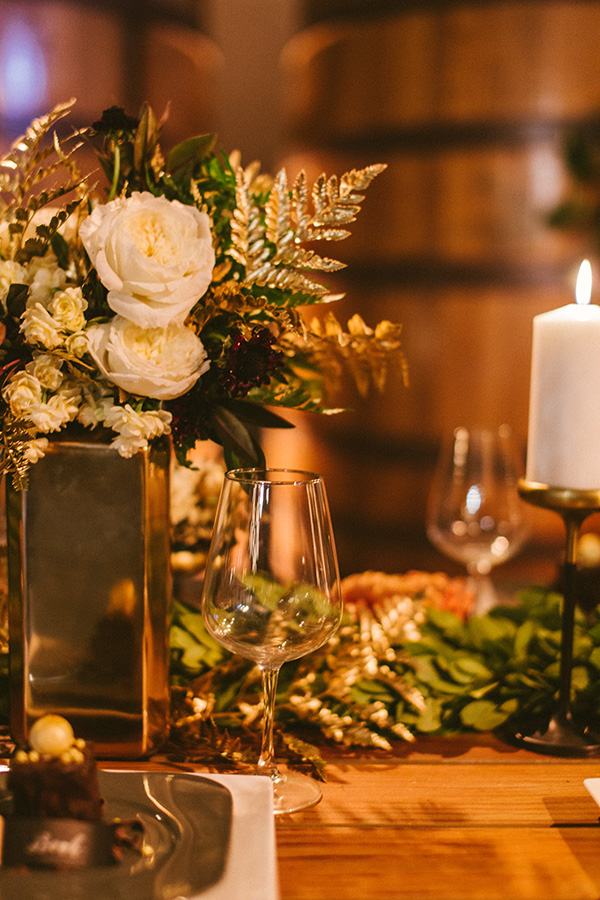
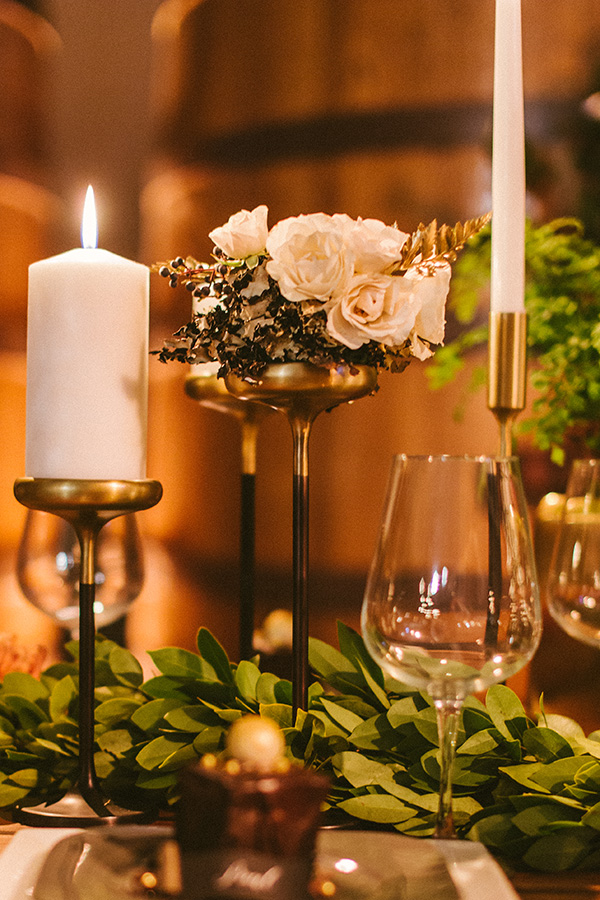
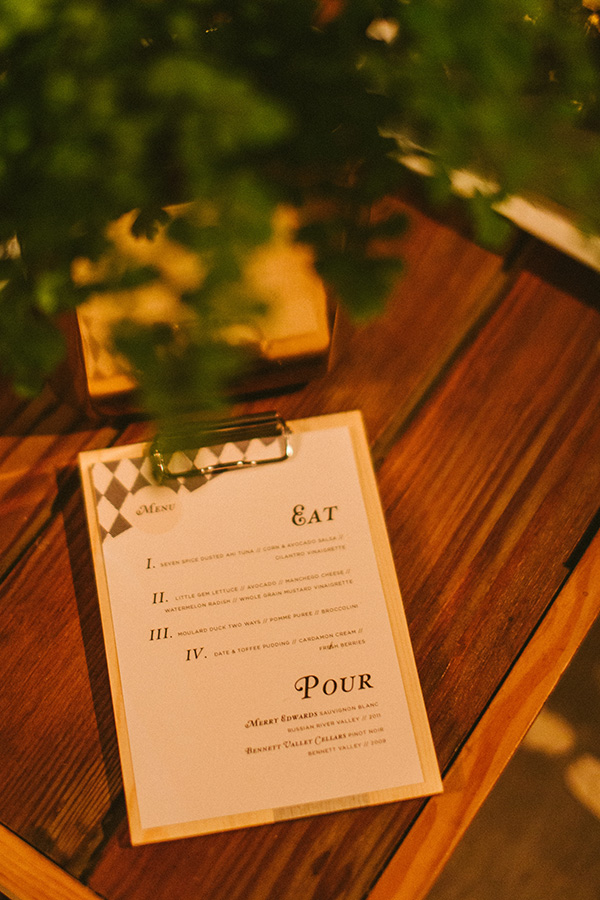
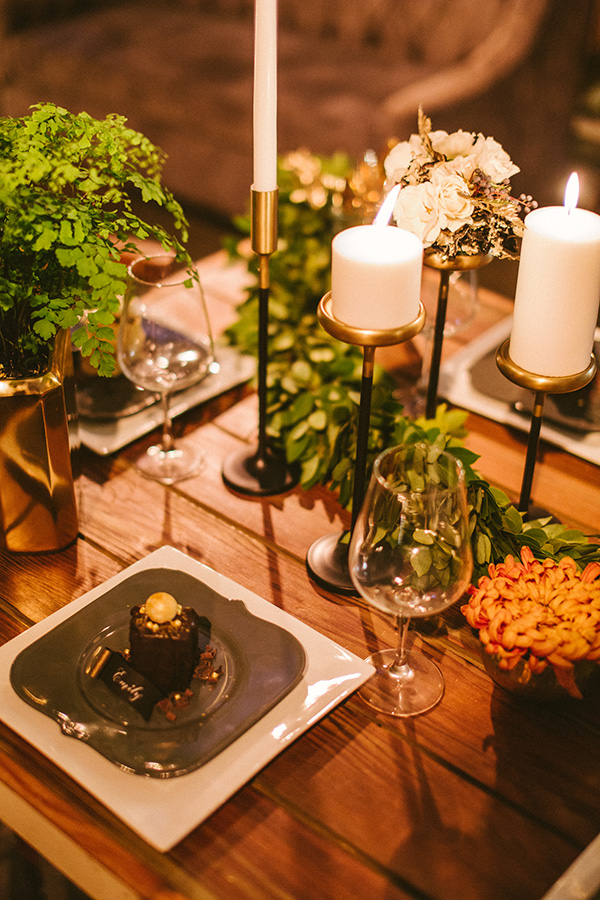
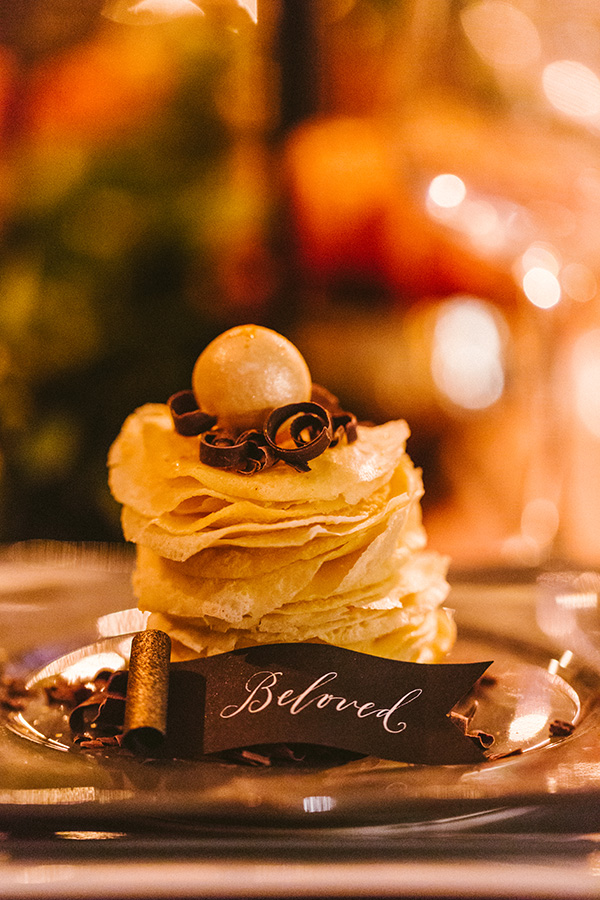
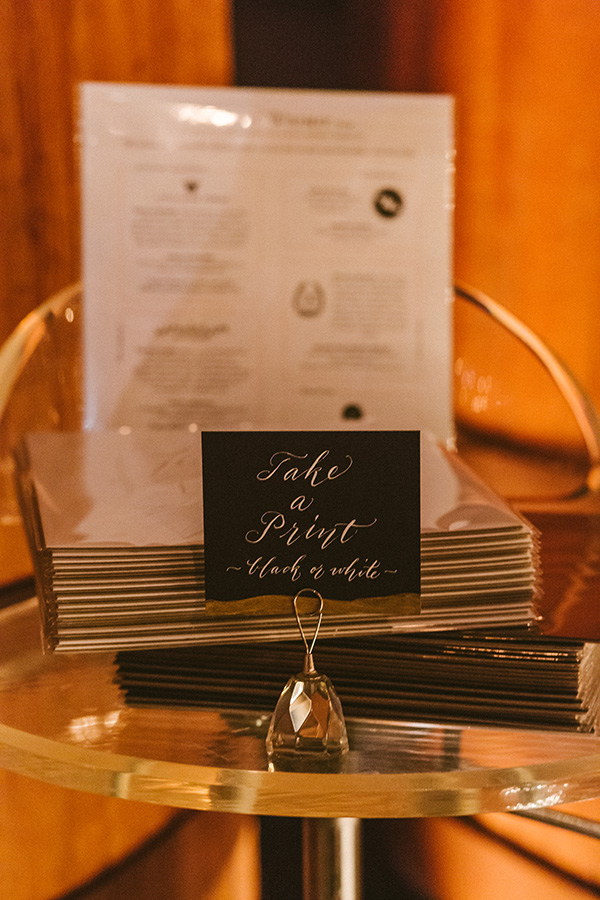
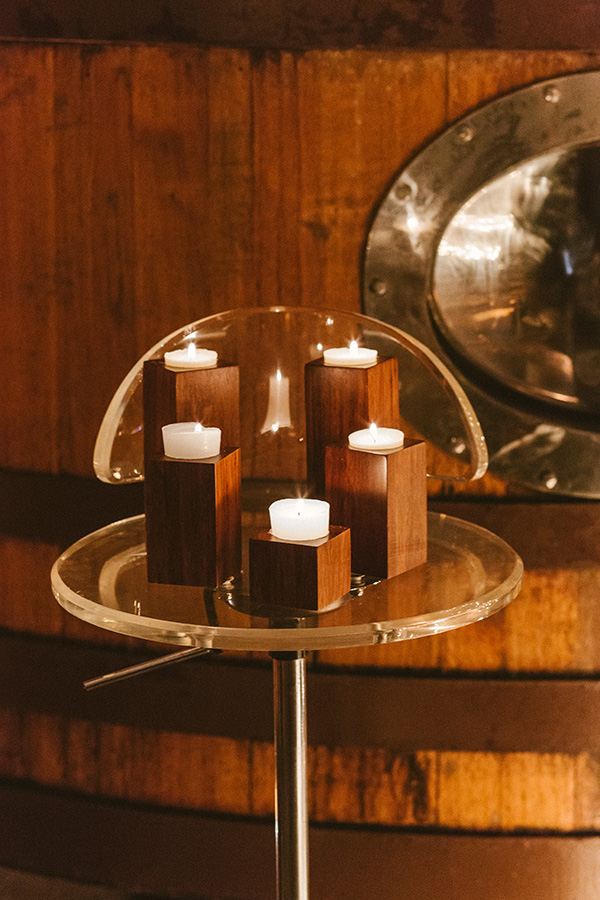
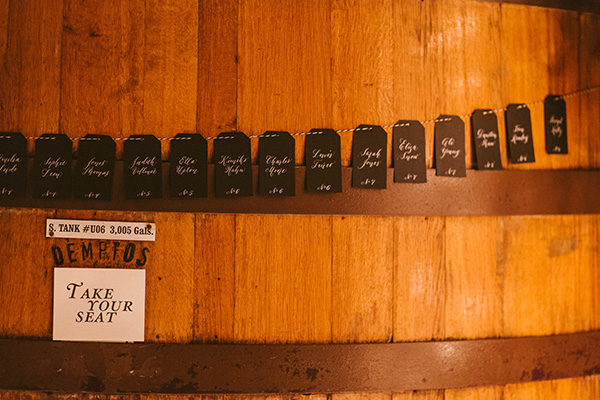
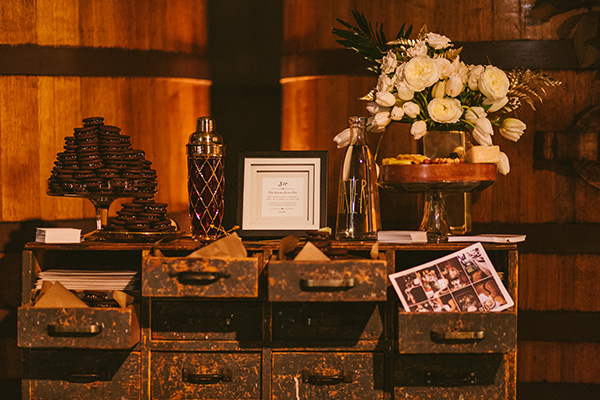
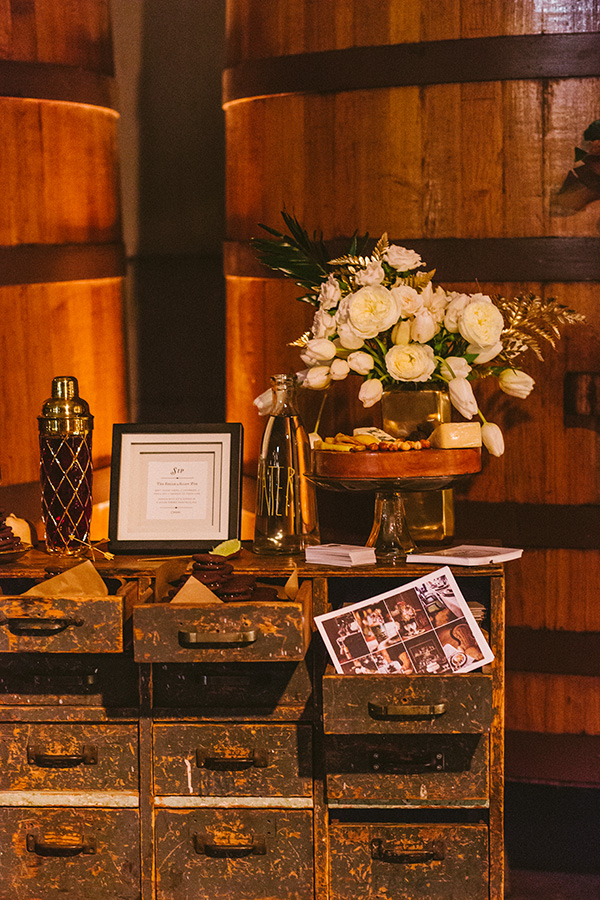
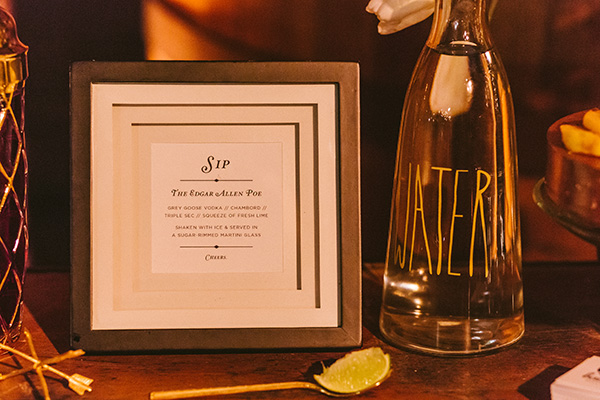
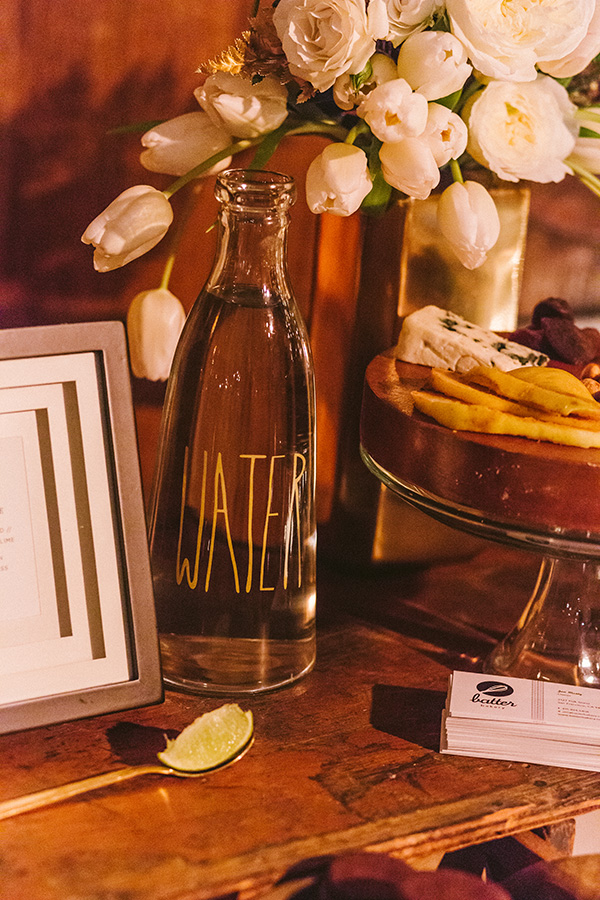
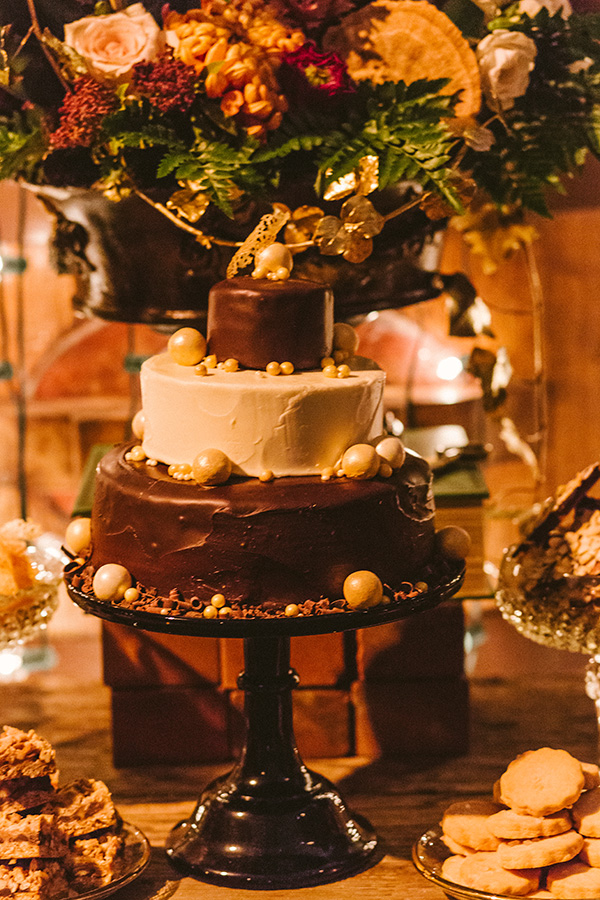
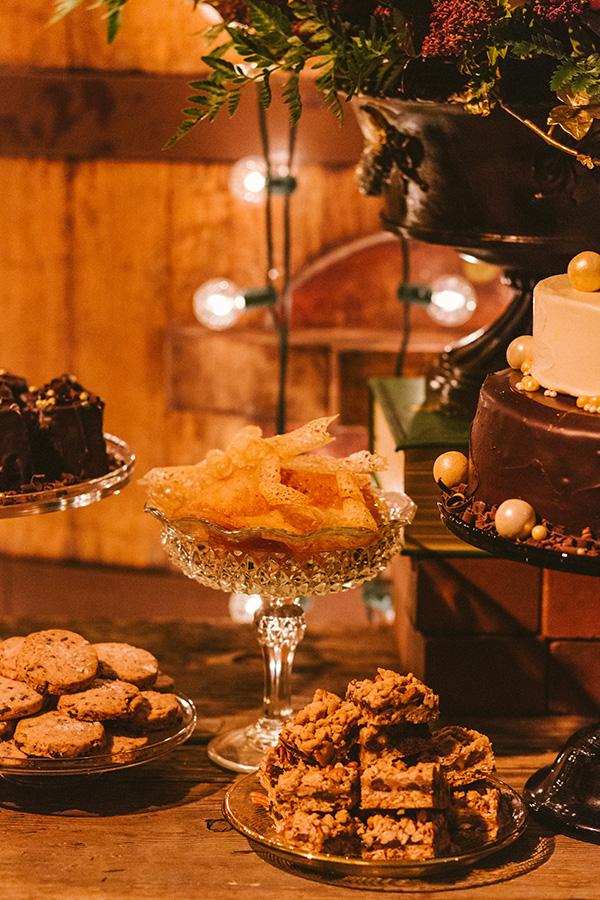
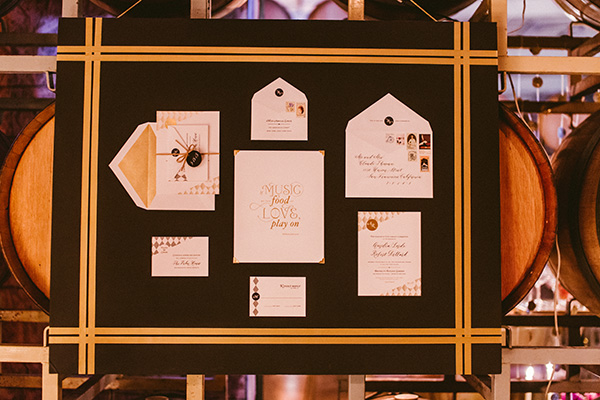
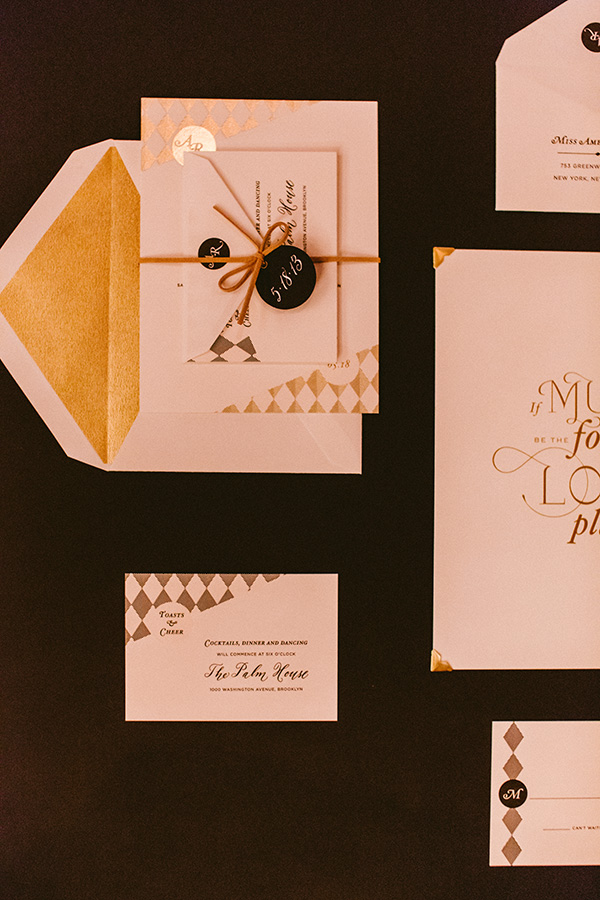
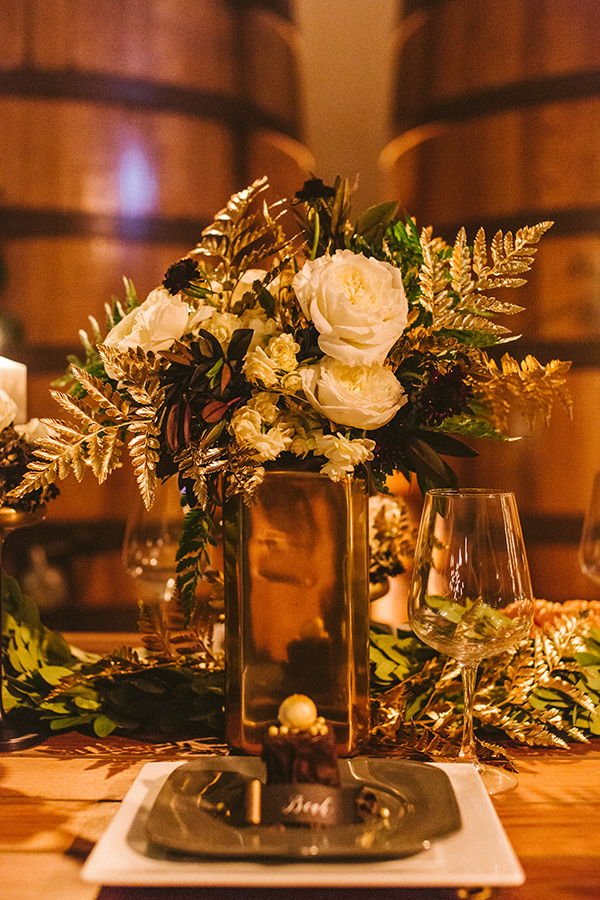
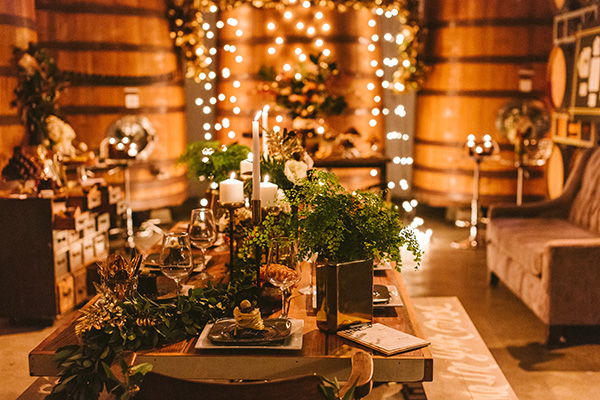
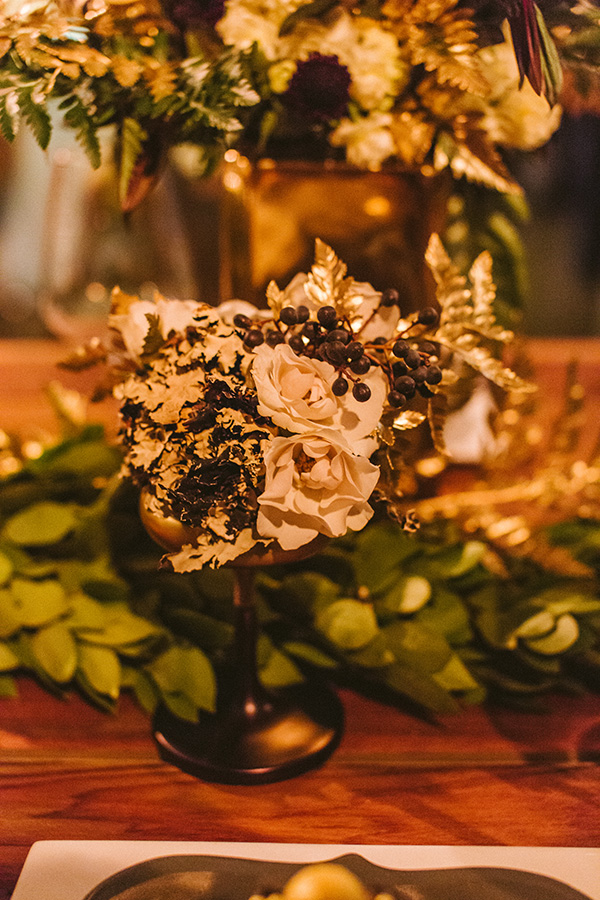
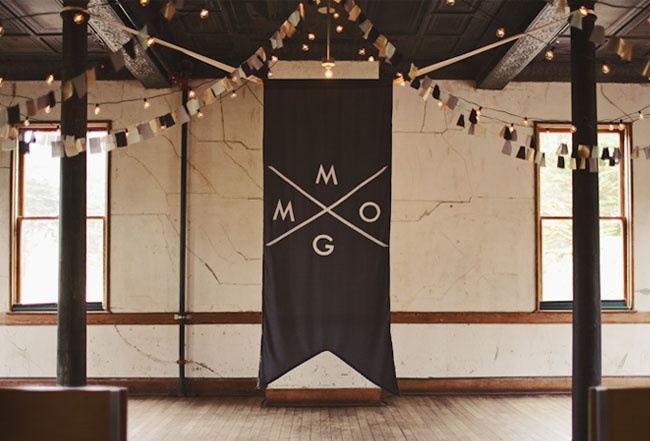
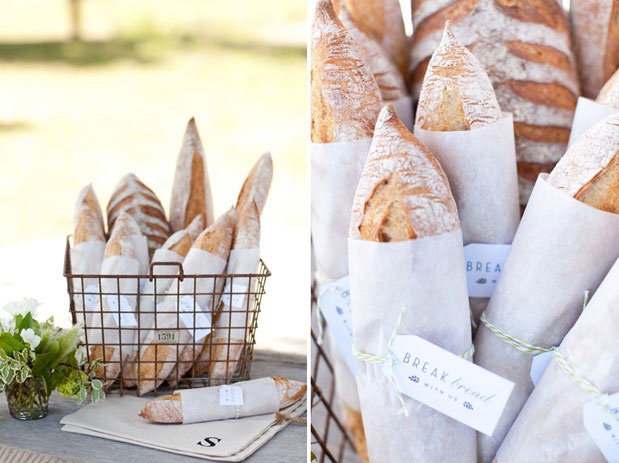
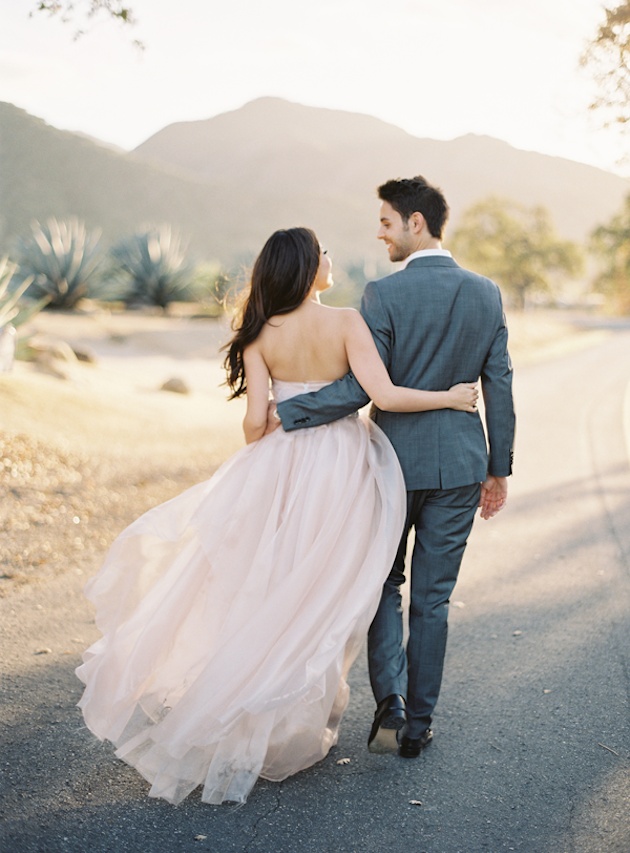
A little gold sparkle and wood detailing create the perfect bar area for a party. Thanks so much to Jason & Anna Photography for getting together for a little bar fun while they were visiting San Francisco.
Picking up details
Long engagements get sort of a bad rap. When Erik and I set a wedding date nearly 20 months after our engagement, people thought I'd be worried about losing momentum or that I'd feel like I'd be waiting forever. While there are moments of "lets just do this already", I'd say there are many benefits of having a long engagement. One of the best things has been picking up some small details for the day as I see them and am inspired. Its been fun getting a little thing in the mail here or there, plus shelling out a few dollars here and there gives me time to save up in between. Plus, you can score clearance if you time the purchase perfectly.
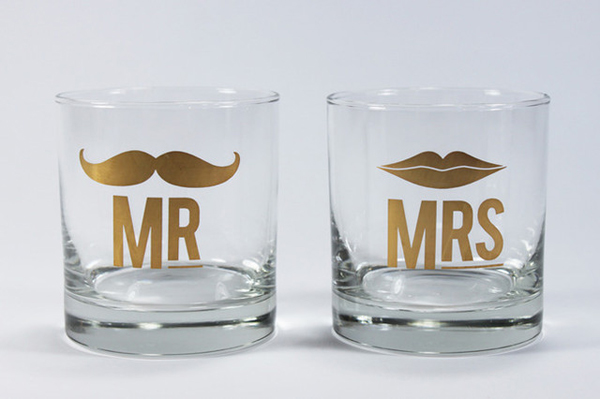
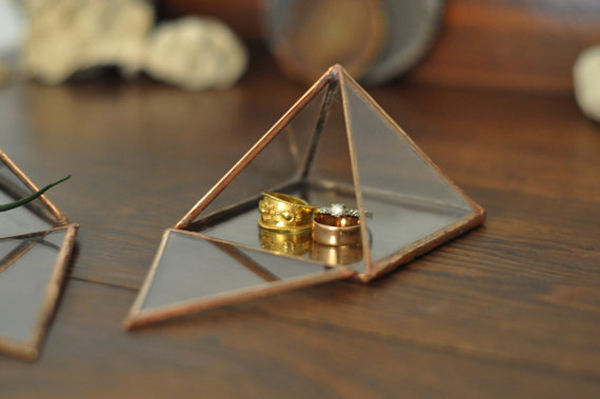
So far I've picked up these fun items:
Source: Furbish Studio
Source: ABJ Glassworks
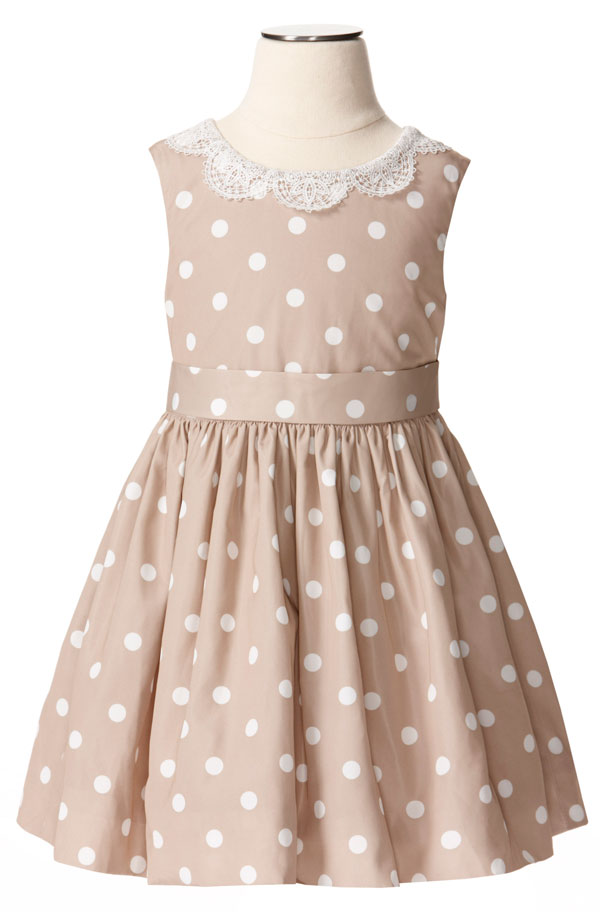
Source: Jason Wu for Target (No longer available)
Its so exciting to start gathering little details while the big stuff is still in the works. I've been using all my restraint to not get carried away with buying too much stuff we don't need, but when its something I love and a great deal (I snagged the Jason Wu dresses for the flower girls at $16 a pop), its nice to have those small things crossed off the list!
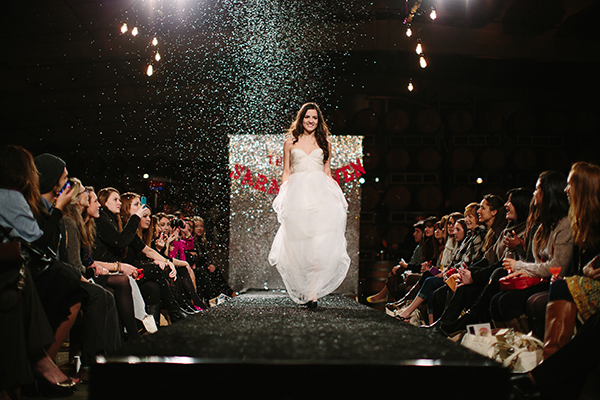
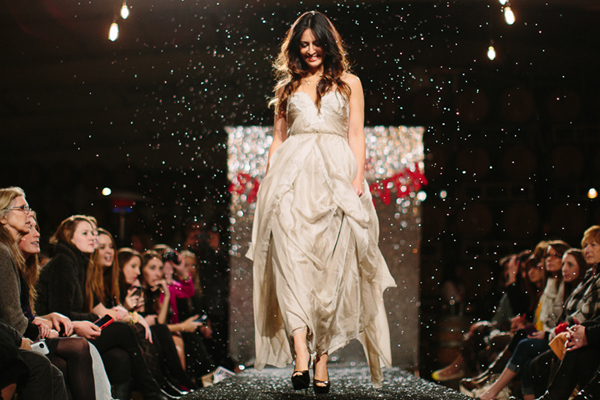
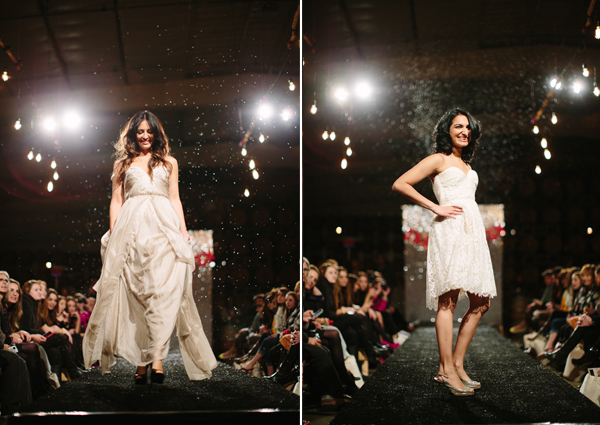
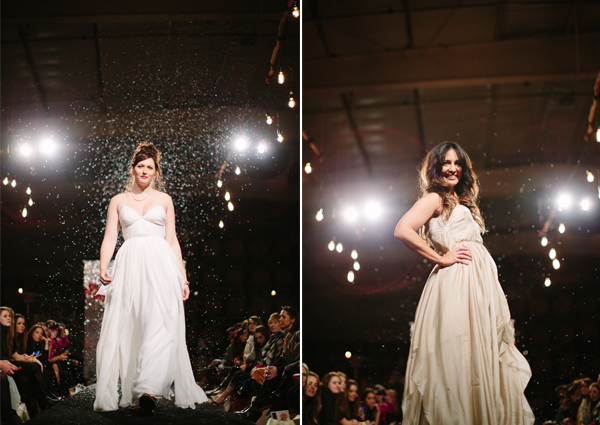
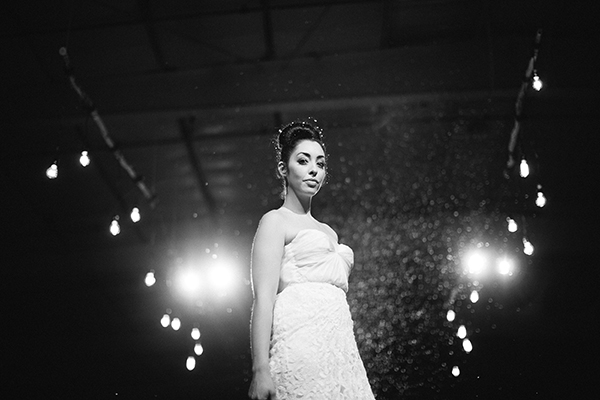
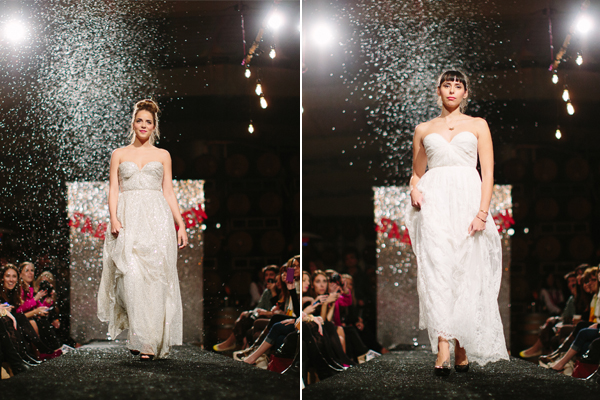
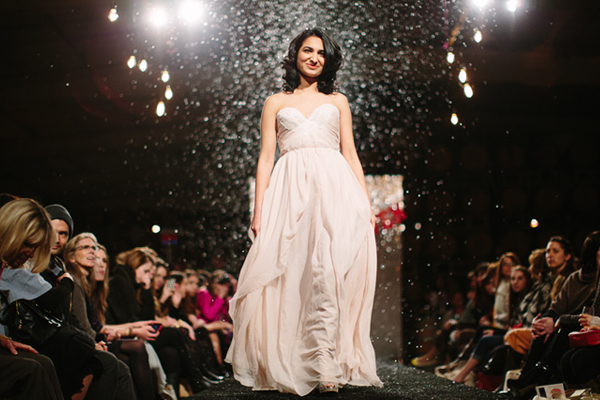
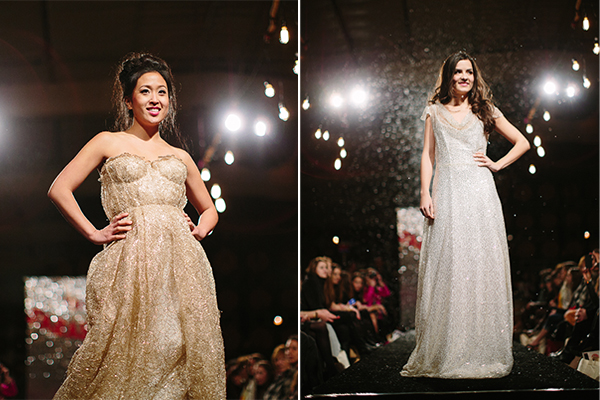
Sarah Seven Runway Show
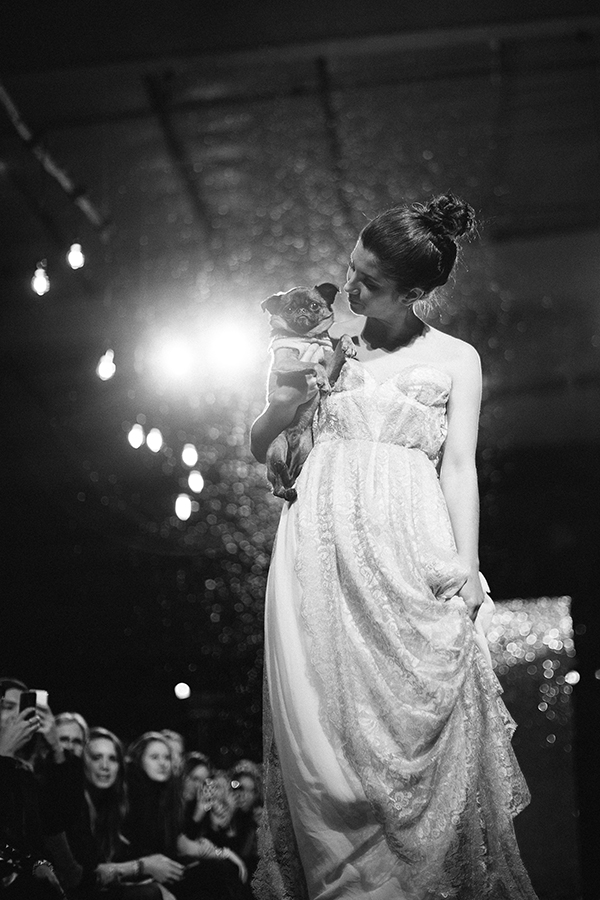
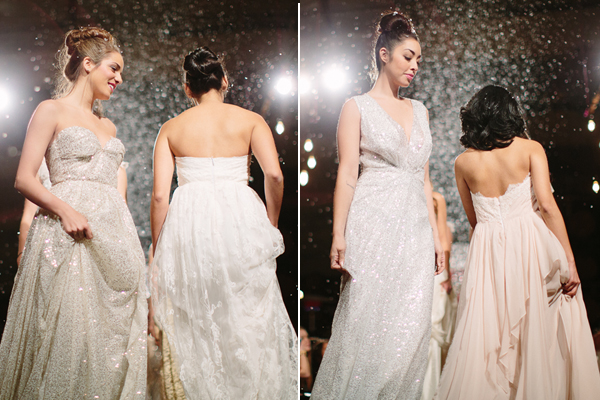
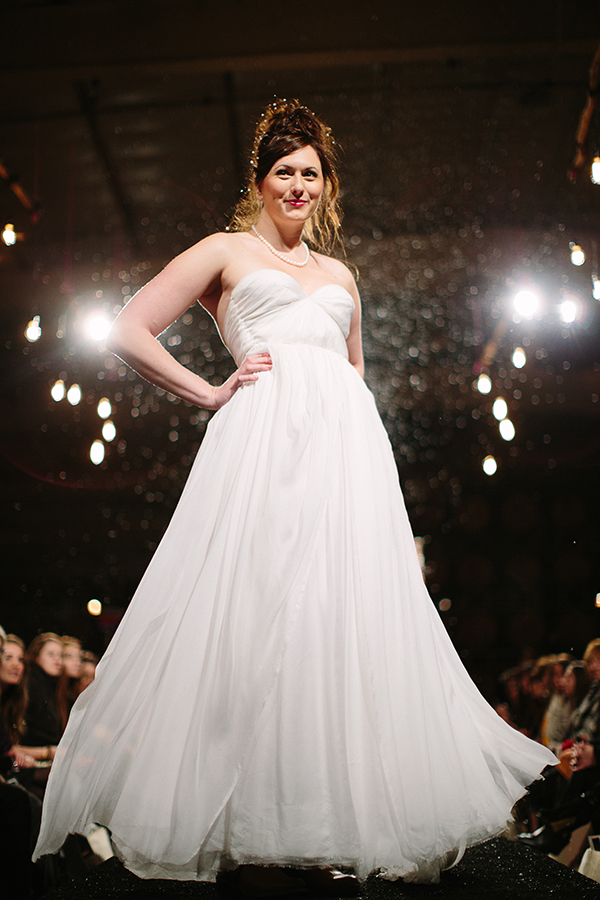
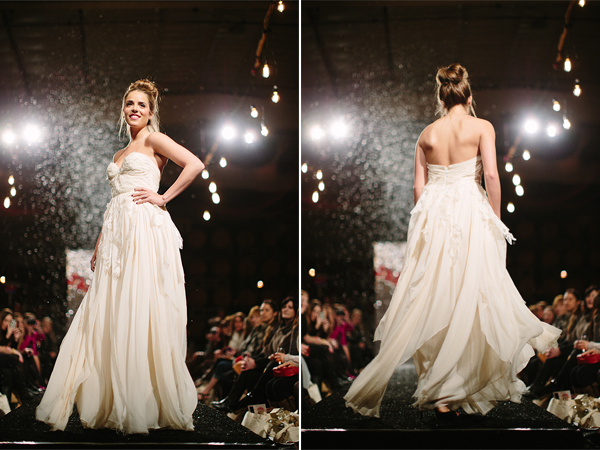
We love showcasing the latest Sarah Seven collections at The Lab Event. This year we brought in the big guns and had none other than the top fashion bloggers of San Francisco model this collection! And boy did they bring it. Huge thanks to Sarah Seven for creating so many beautiful dresses and Em The Gem for shooting!
Biggest thanks to these amazing gals for coming out and modeling in our runway show! It was a blast. (Also, if you haven't checked out their blogs just yet, make sure you do! They are all so good.)
Gal Meets Glam, Angela Tafoya of Refinery 29, City Sage, This Time Tomorrow, Natalie - Dressed, In the City With Crystalin, Pancake Stacker, Thirty Five Inch Inseam, Vmac + Cheese, Like Fresh Laundry, Britt & Whit, Kitties & Couture, Stylenik, The Drifter and the Gypsy.
Style It: Ceremony Sign
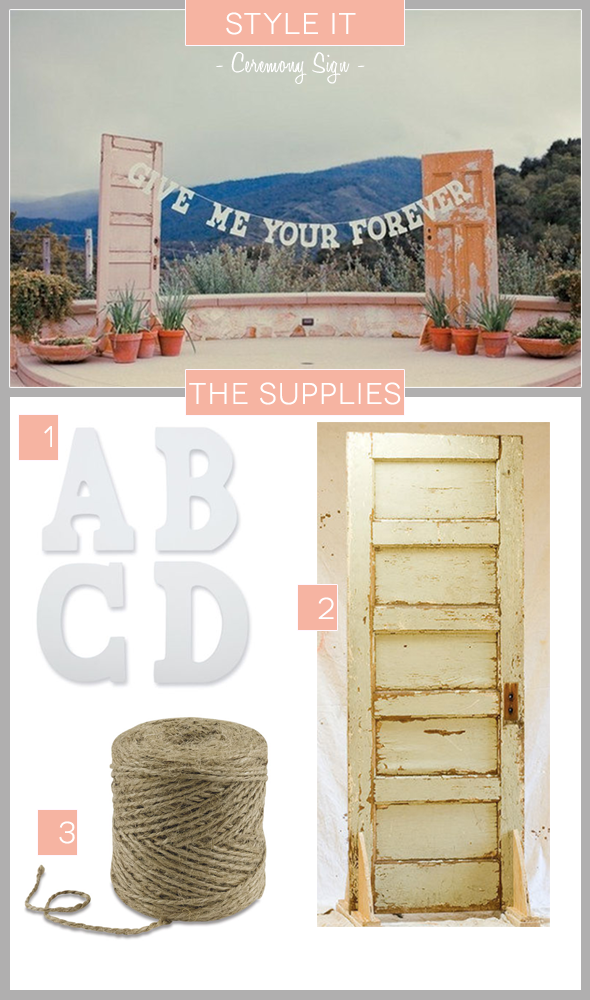
Ceremony signs are one of my favorite wedding details. I think they are one of the most special decorations you could have on your wedding day. Whatever you choose to do with that altar, make it a true reflection of you. I get lots and lots of emails about my ceremony sign, and even more emails about those fabulous doors. So how do you achieve the look? And where does it all come from? So here it goes!
Style It:
It is so easy to style a fabulous ceremony sign for your wedding day. Check out what you need to make it happen!
- Sign - $200 from Etsy. (Or make it)
- Doors - $50 each for rental from Milkglass Vintage Rentals (San Francisco Bay Area Local). Otherwise you can find them at most antique stores and faires.
Invitation Design
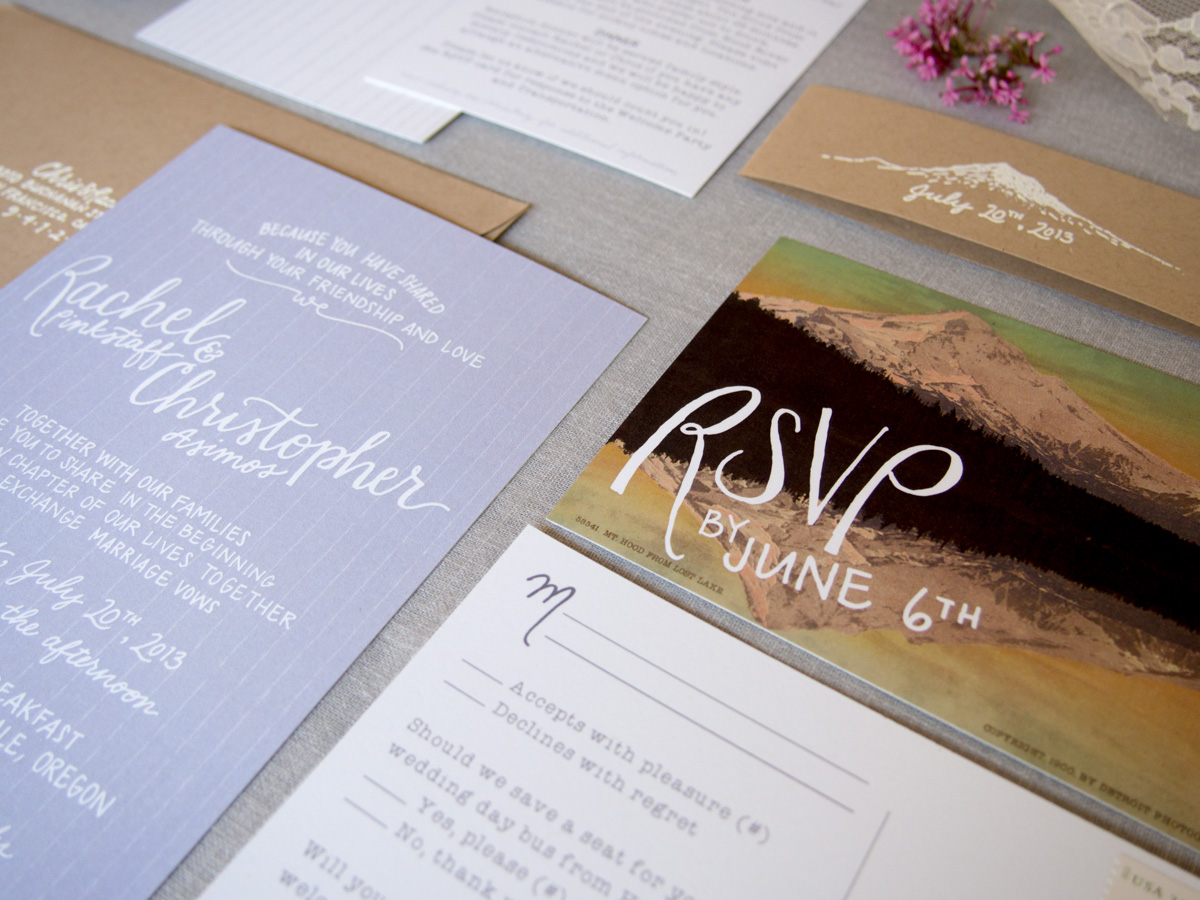
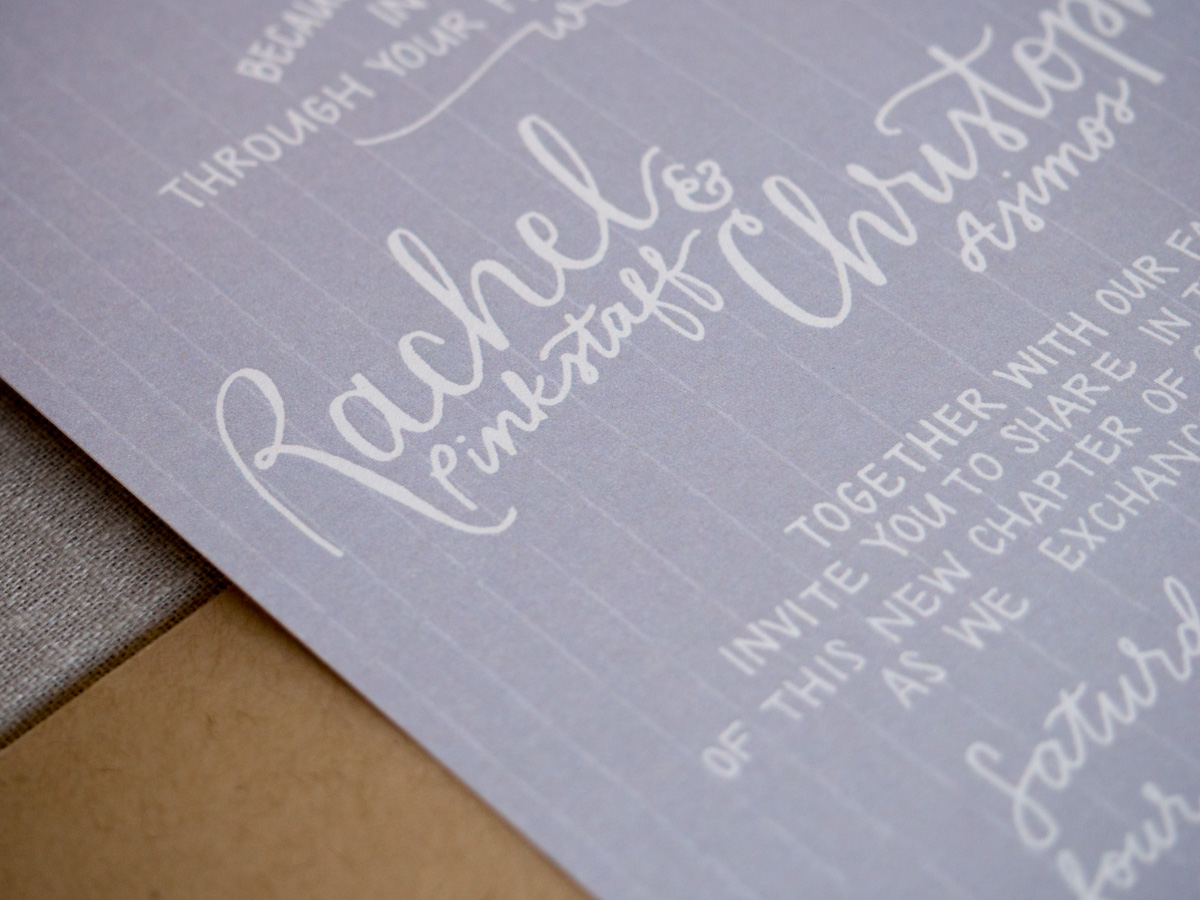
Today I get to show off my invitations! I worked with graphic designer and E&I blogger alum, Kimberly Roth, to create my invitation suite. I love how they turned out.
Along the way, I feel that I really solidified the vision I had for my wedding. We pulled inspiration from the location - Mount Hood, Oregon - by featuring the mountain, the muted lavender color from the lavender fields in the area, and the overall whimsical feel.
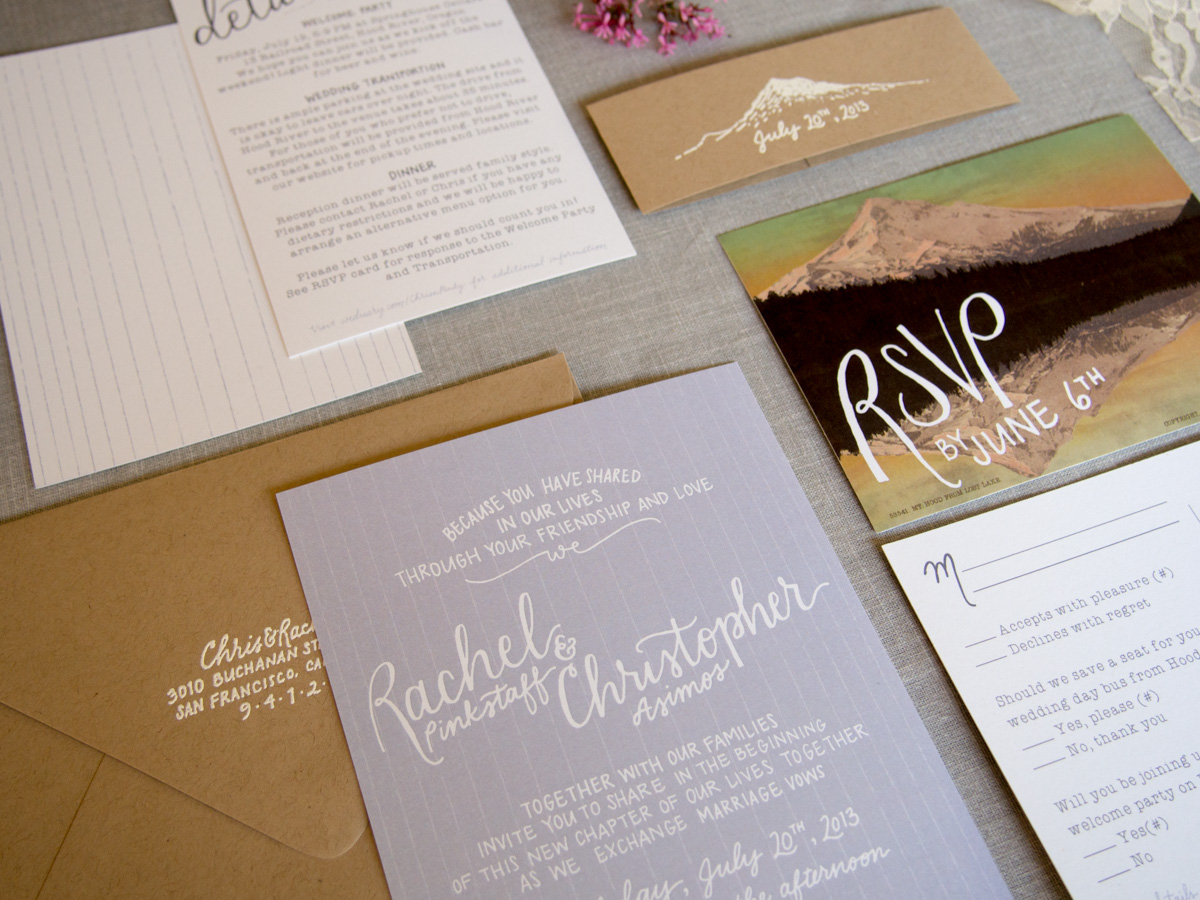 Photo credit: Kimberly Roth
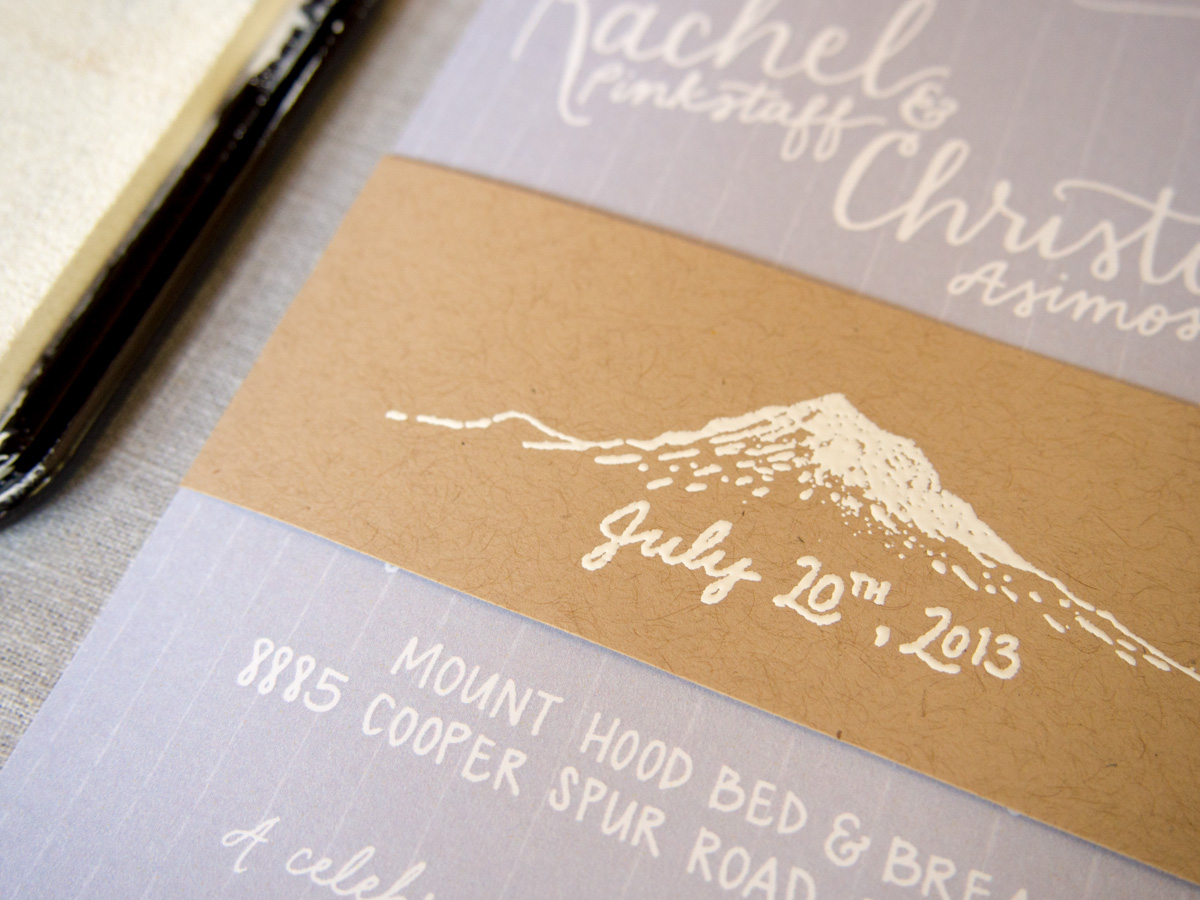
I also got a chance for some DIYing. Kimberly designed and coordinated having stamps made for our 'belly band' and return address. During a visit to Paper Source, I realized embossing with white would show up much better on the Kraft paper than just a white stamp. Embossing is really fun and easy (but time consuming when you are doing it for 100+ invitations).
Here's what I used:
- Stamp
- Stamp pad
Once I got the hang of it, it went by pretty fast. I would stamp three at a time, apply the powder, lay them out on the table (until it filled the table) and then use the heat tool on all of those. Much faster than doing the whole process for one at a time. Two of my bridesmaids came over one night to help and that really speeded things up. Note to self: make sure cat doesn't get to them before you set the powder with the heat. :-)
After embossing, I folded each belly band around the invitation and secured it with a strip of double sided tape.
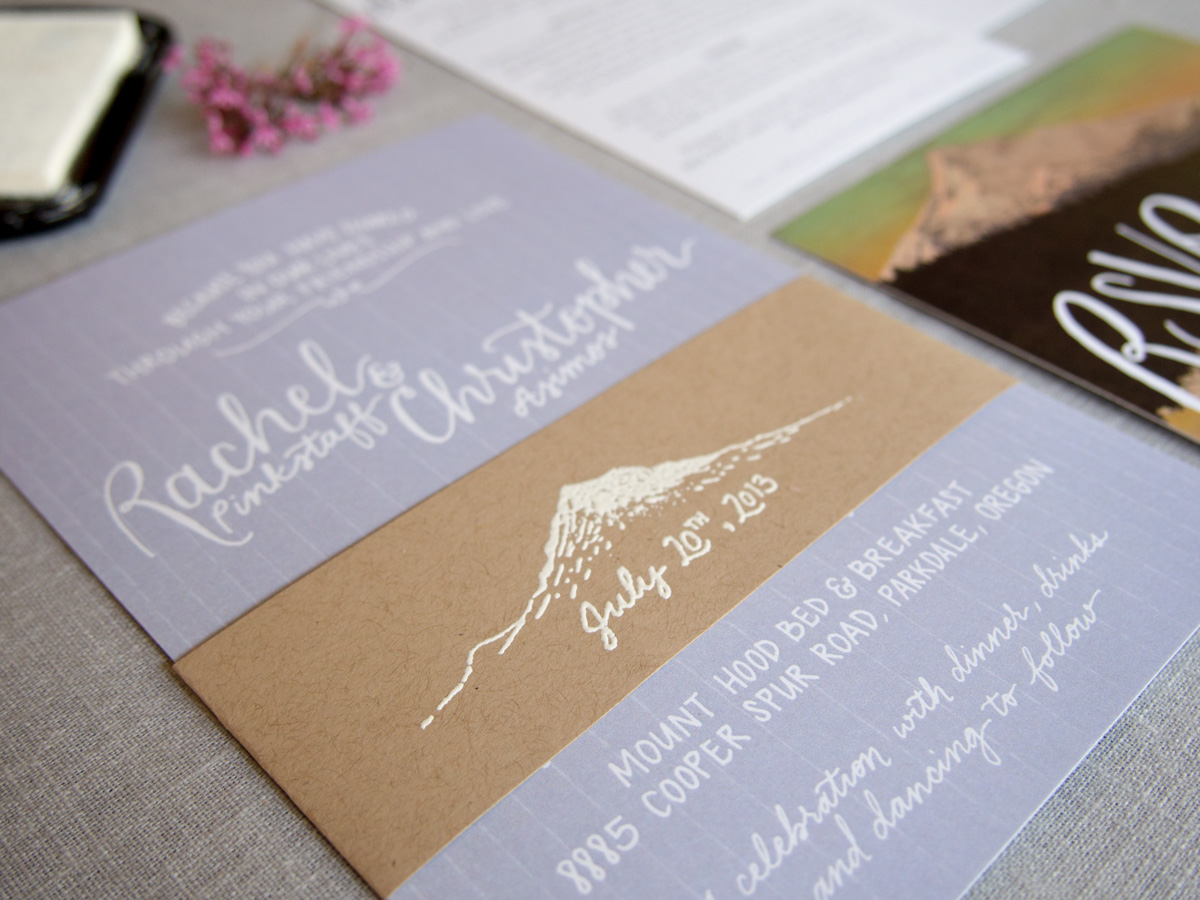 Photo credit: Kimberly Roth
A Pattern Project
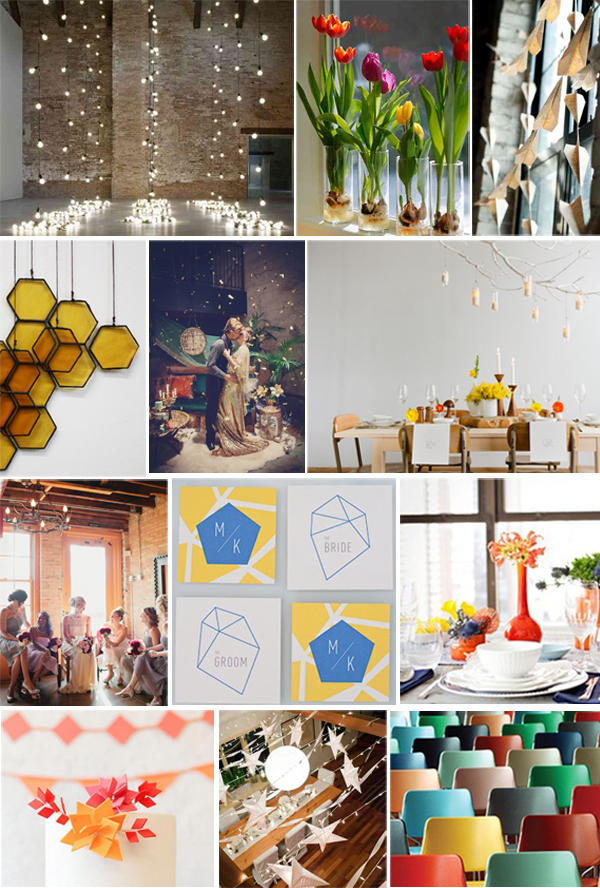
Today I'm so excited to share one of the first tangible projects I've worked on during wedding planning. A couple years ago I met an awesome surface designer at Alt Summit, and when I started wedding planning I knew she would be the perfect person to collaborate with on a visual that could help set the tone for DIY projects. We sent Tammie Bennett our inspiration board in the hopes she could design us a pattern that could be used for paper and fabric components of the event.
Source: The Ravenna Girls
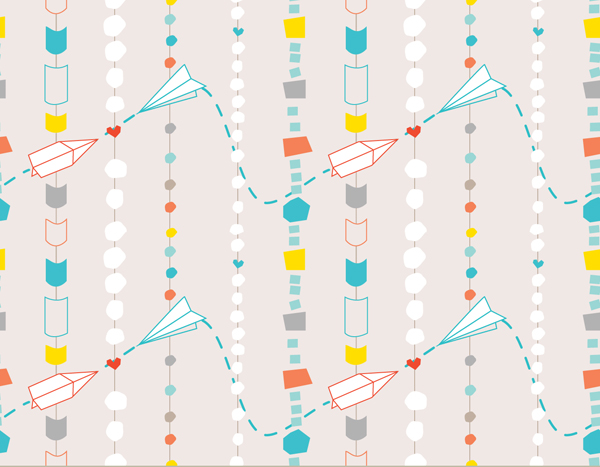
Tammie took our inspiration board and ran with it. She pulled out those colors she knew we loved the most: turquoise, corals, and orange, with a neutral backdrop. She pulled out the midcentury vibe and also some of the decor that I told her we planned to use in the space: lights and garland. After a few weeks of work on the pattern she sent me three preliminary options:
Source: Tammie Bennett Design in partnership with The Ravenna Girls
So great, right? I instantly loved them all but for different reasons. In addition to the items from our inspiration board that I thought she'd incorporate, she also added in the playfulness of the paper airplanes which are a nod to our long distance relationship. After looking at them with Erik and thinking about all the different things we'd hoped to use this for, we felt like Option 1 was a little too whimsical (I almost felt like it looks like a kids birthday party), and Option 3 was a little too bold. Option 2, with a few more revisions would be great and versatile.
We went through a couple more design tweaks, removing the hearts and diamonds which I thought were a little too "cute", and infusing more of the dark gray for a richer look. With eager anticipation, I opened the final awesome pattern that Tammie sent me:
Source: Tammie Bennett Design in partnership with The Ravenna Girls
We absolutely love it. Tammie delivered us an Adobe Illustrator file, which means that we can scale the whole pattern as needed and also separate out individual components if need be. I'm looking forward to uploading it to Spoonflower to have some fabric printed for a few projects, have some wallpaper made to use as a photobooth background, and some gift wrap to use for bridal party gifts. We're also using this as inspiration for stationery and decor pieces, including our invitations, ceremony backdrop, chairs and the reception, and cake toppers. Can't wait to show those all to you as they come to fruition!
{The Lab Event} Poetic Whimsy
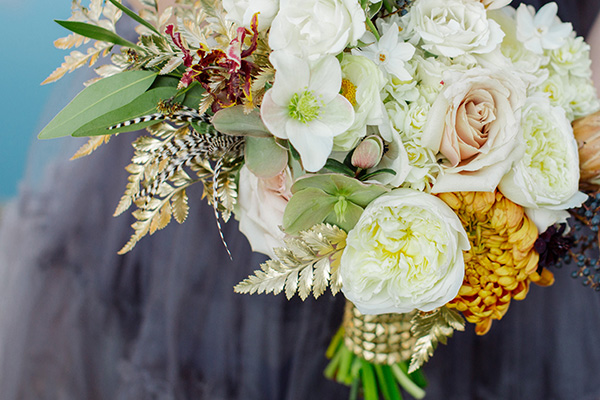 This past January the fruits of our year-long planning labor came to life at The Lab Event, a totally awesome bridal experience unlike any other. Myself alongside Erin of Bustle Events and Yasmin of Floral Theory produced an event filled to the brim with inspiration for brides. 6 amazing teams of vendors put together mock weddings showcasing the very best of their work.
This team was assigned an inspiration board entitled "Poetic Whimsy" and boy did they hit the nail on the head with their amazing ideas. Shot by Volatile Photography and designed by A & B Creative, they didn't miss a beat when it came to the details. Twigss did a phenominal job on the florals, (I mean, look at that bouquet!) and Batter Bakery brought it as always with a dessert bar is way too good for our own waistlines.
The entire shoot was featured on Ruffled Blog. Make sure to check it out!
Photographer: Volatile Photo / Event Design: A + B Creative / Event Producer: The Lab Event / Floral Design: Twigss / Event Venue: Cline Cellars / Desserts: Batter Bakery / Vintage Rentals: Milkglass Vintage Rentals / Rentals: Classic Party Rentals / Lighting: Creative Lighting Design / Paper Goods: Little Miss Press
French Honeymoon
We finally booked our honeymoon and I'm so excited to be going to France! Now, along with the final wedding preparations, we're adding honeymoon planning to our plate. Luckily my fiancé is a great trip planner and we are going to keep the agenda pretty simple so we have plenty of time to relax.
First stop: Paris!
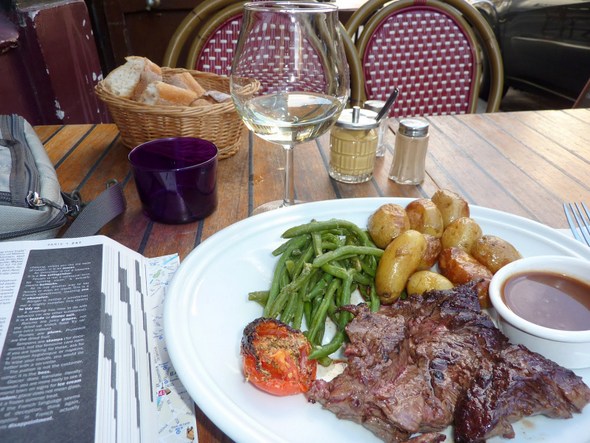
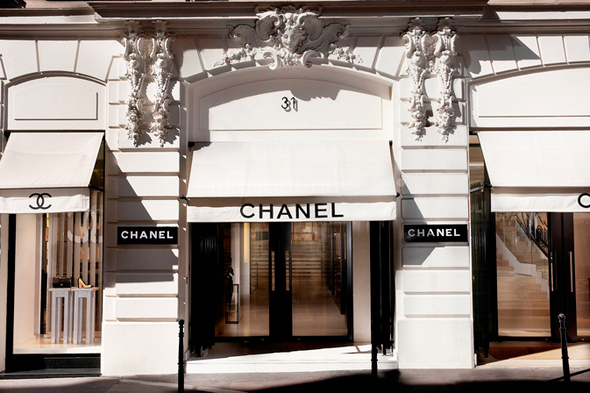
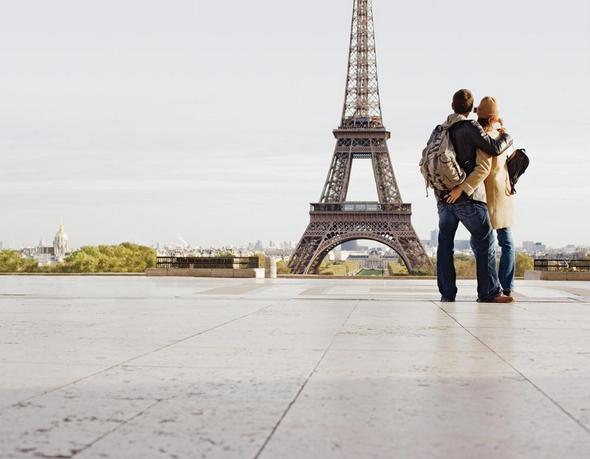 Sources: Lovers Bridge, Food, Chanel, Eiffel Tower
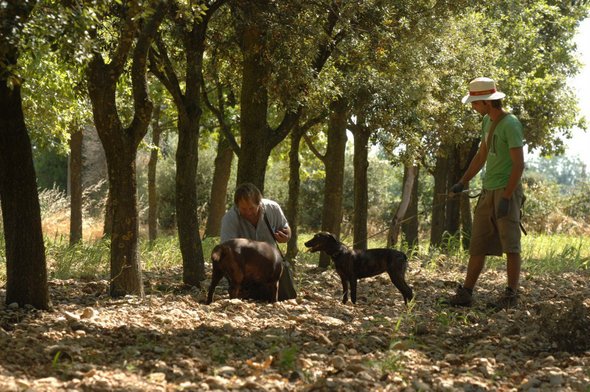
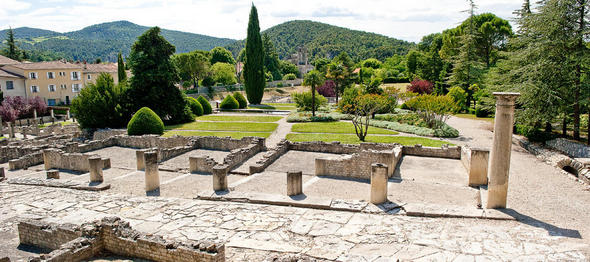
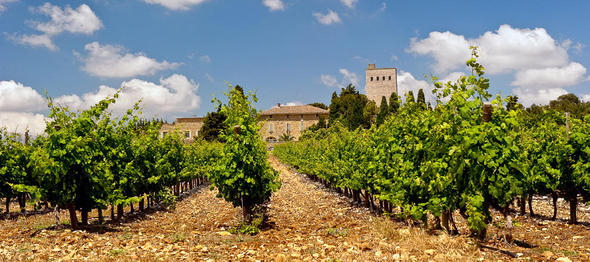
Next up on the itinerary is Provence - a few hours southeast of Paris by high-speed train. We're still researching where we want to stay in this area. The things we want to do - wine taste, eat good food, a truffle tour, see a Roman ruin or two, and relax in the beautiful setting.
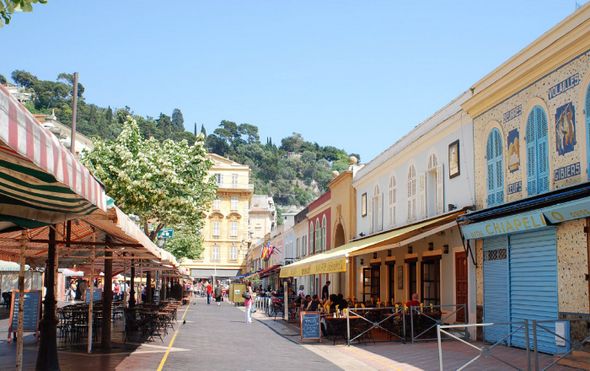
Our last destination will be Côte d'Azur, also known as the French Riviera.
This will be a first time in France for both of us. I can't wait to see what it has in store for us!
Bridesmaids Surprise Balls
 When I decided who I was going to ask to stand up next to me on my big day, I also knew I wanted to do something fun to ask them all together. So, the first day we went out to try on gowns, I made sure they could all be available, even my best friend from when I was four who lives in Utah - we skyped her in to the bridal salon. Inspired by Megan's Surprise Ball project, I decided to put together these fun little bundles, and had them all open them together. Here’s what I did:
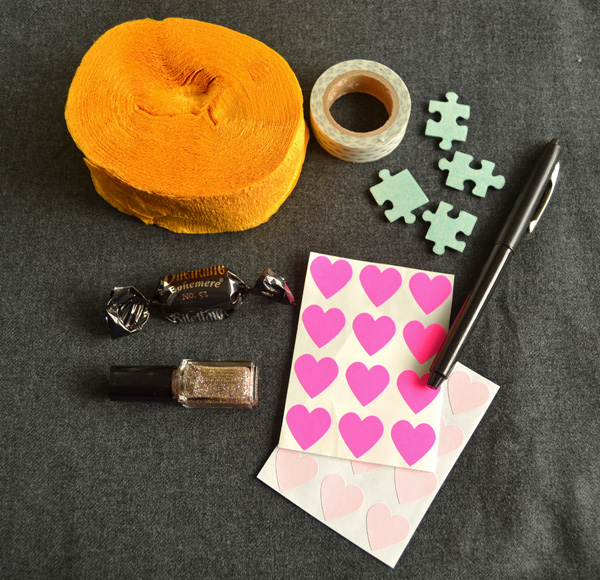
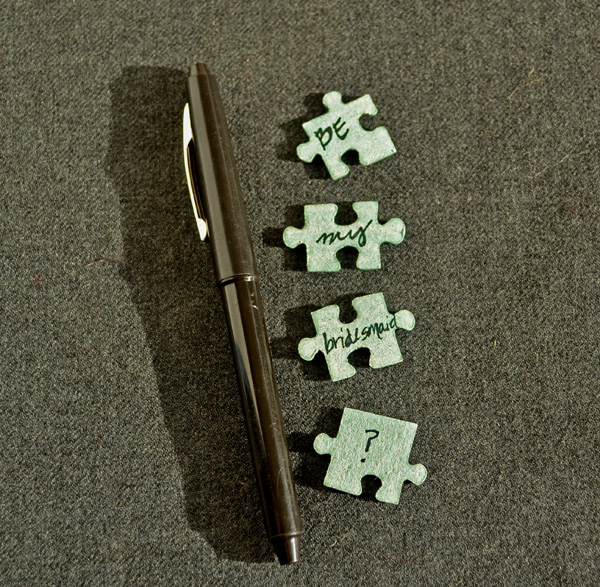
First, I picked a roll of pre-cut crepe paper streamer (different color for each girl), an assortment of small trinkets, and a couple fun things to write on (I chose puzzle pieces). Plus a pen, some washi tape, and stickers.
I wrote the important question on a series of puzzle pieces.
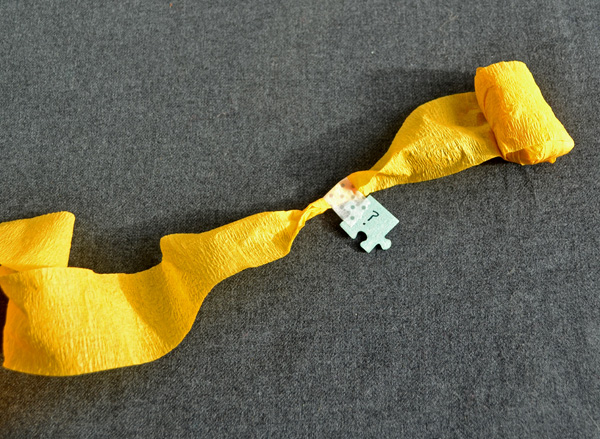
Then comes the fun part, you get to start rolling everything together. I chose to alternate the fun trinkets with the puzzle piece question marks. Wrap the crepe streamer tightly around the first object until its completely concealed. Then, use a piece of washi tape to attach your puzzle piece (or whatever else you're using). Remember that the girls will be opening in the opposite order that you wrap, so you need to insert the words in backward order.
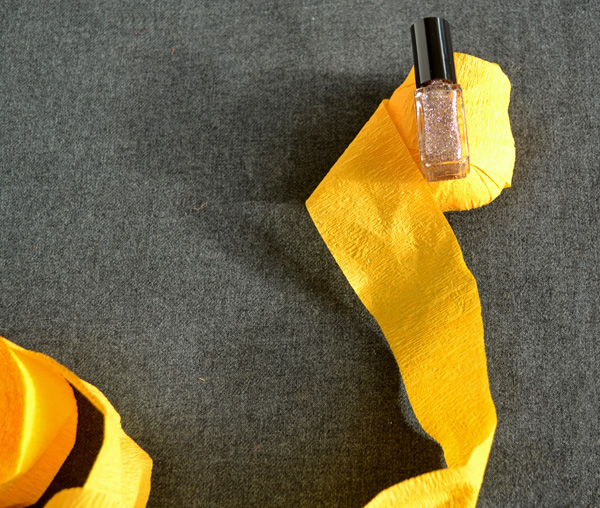
Keep on wrapping, adding fun things and your question as you go
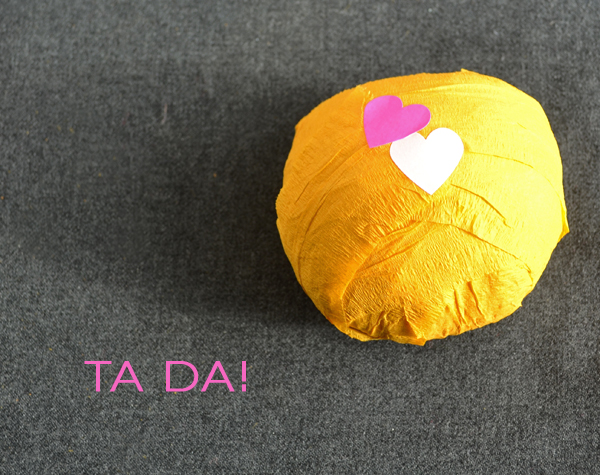
I found that one full streamer roll was perfect length for the items I showed above. Once I got to the end, I finished it off with a couple cute heart stickers from Knot + Bow.
I handed out each one of these to each girl (I had pre-mailed one to the gal out of state), and had them all open at the same time. By the time they got to the last question mark, everyone was buried in streamers and laughing, it was a riot! They all said yes (I'm a lucky gal!) and it was a fun moment to remember, certainly.
Tips For Being A Good Bride
I always thought I knew what I wanted for my wedding, so I figured I wouldn't turn into those crazy brides you always hear about. And while this was sort of true, I found myself getting a little crazy at times! I mean, where does that come from? I've come to realize, after going through this myself and dealing with so many brides, that this phenomena is ok, and actually rather normal, sort of.
And here is why. You are faced with the fact that your wedding day needs to be the best day ever. You tend to obsess over things you would have never thought mattered and you can't help but picture the day over and over again to the point where you know exactly how every move is going to go.
Likely this is going to happen, at least to some extent (I have worked with so many wonderfully calm and awesome brides who seem to handle the pressure so very well). So here are a few tips on how to stay positive and awesome while planning your wedding:
Choose your vendor team first:
Before even thinking about design, escort cards and straw choices, get your vendor team in line. Trust your gut and choose a team that is willing to work with you, bring up suggestions and offer advice when needed. You don't have to be alone while planning and you'll realize that your vendors actually have a lot to offer if you ask.
Work through the wedding day:
The easiest way to plan a wedding is to work through it. It is much easier when you realize you don't have to do everything at once. Start with the ceremony. Pick the songs, altar decor and chair selections, then move forward with the cocktail hour. You'll define your style as you go and won't have a todo list the size of your leg!
Don't sweat the small stuff:
It is all in the details, we all know that. But focus on the details that matter before you obsess over which color straw is the perfect fit for your drink.
I blame Pinterest for a lot of the newfound stress that comes with wedding planning. A lot. The options are endless, as are the budgets. It is fun, but sometimes it isn't real. We all love a good Pinterest board, but realize what can and can't be accomplished and focus on the good. Choose a few awesome things and leave the other ideas for parties you'll be planning in the future.
You can have something cool and detailed at every turn but I promise that most of your guests won't even notice it all. Things like floral, place settings and ceremony decor will make the biggest difference to your guests. The best way to spend the money is to focus on the personal experience each guest will have then move forward on some of those awesome tidbits you'd love to see at your wedding.
It will all be alright:
Here is the thing that no one tells you. Your wedding day will be even more amazing if you aren't so stressed. I was so involved and concerned about how everything turned out that if anything was a little off, I was upset. Relinquishing control and not knowing exactly how the final product is going to turn out will allow you to be pleasantly surprised on your wedding day. Who cares if people didn't sit in the exact spot you wanted them in or if your throw pillows weren't placed on the exact chair you wanted them on. You'll be much happier if you leave a little bit of chance up to your very talented vendor team. They know what they are doing and will make decisions to make your wedding day look its very best. Trust in your team and let the small things go.
You will have the best wedding you've ever seen because it is yours. No one can take that away from you except for you. I wasn't a very good bride but it was no one's fault but my own. My team did an even more amazing job than I could ever have imagined but my own stress and "this shouldn't be there" made me obsess way too much over the small stuff.
Lesson learned. Too little too late, but hopefully you won't make the same mistakes I did!
