Will You Be My? {A DIY}

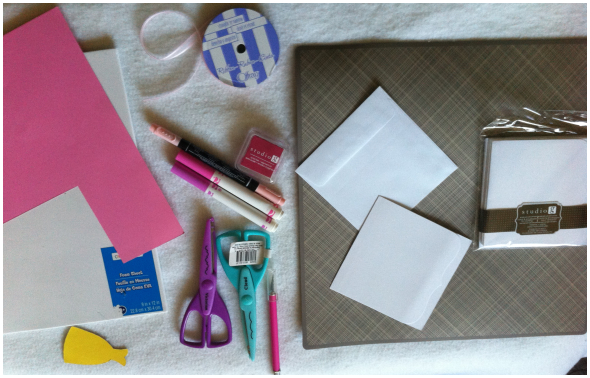
Hello engaged lovelies and wedding lovers! I'm here this week to share two simple DIY's with you. The first is a dress stamp that you will use in this DIY and on various wedding things. The second is a easy and sweet card to use to ask your girls to stand next to you on your big day or any other occasion you may see fit. Before we get started, here's what you'll need!

Stamp:

  • Foam Sheet (Michael's $1.99)
  • Xacto knife or pair of sharp scissors
  • Dress template (download here)
  • Clear Block (Optional)

Card:

  • Dress Stamp
  • Card (your dimensions from cardstock or premade card pack from Michaels, $1 for 8)
  • Colored cardstock ($0.49 -$1.50 per sheet)
  • Ink pad, colored marker, or paint of your choice
  • Glue stick
  • Scalloped scissors or other design scissors
  • Cutting mat or cutting board
  • Envelope (if not using the premade cards, template download here.)
  • Ribbon

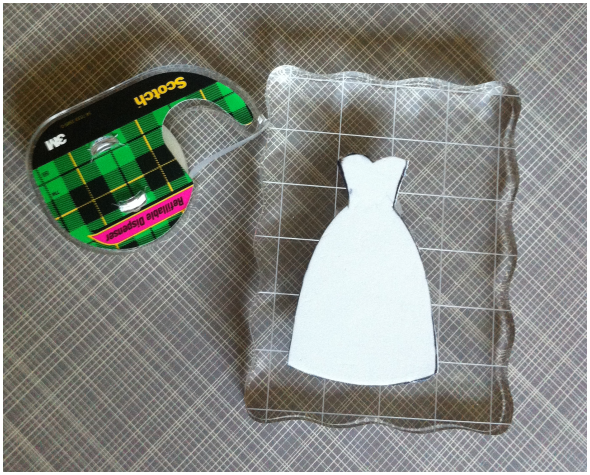
So lets start with the stamp! You'll want to print out your template or free hand a dress sketch if you're awesome. Then place the template over your foam sheet and start cutting with your preferred tool. We  didn't have any problems with movement of the paper, but if it worries you you can just tape the paper to the sheet. (I say we because I have zero luck on cutting things out with the xacto, so the Mister did this for me.) Then, you're done! You can use as is or make tape loops to secure it to a clear block.

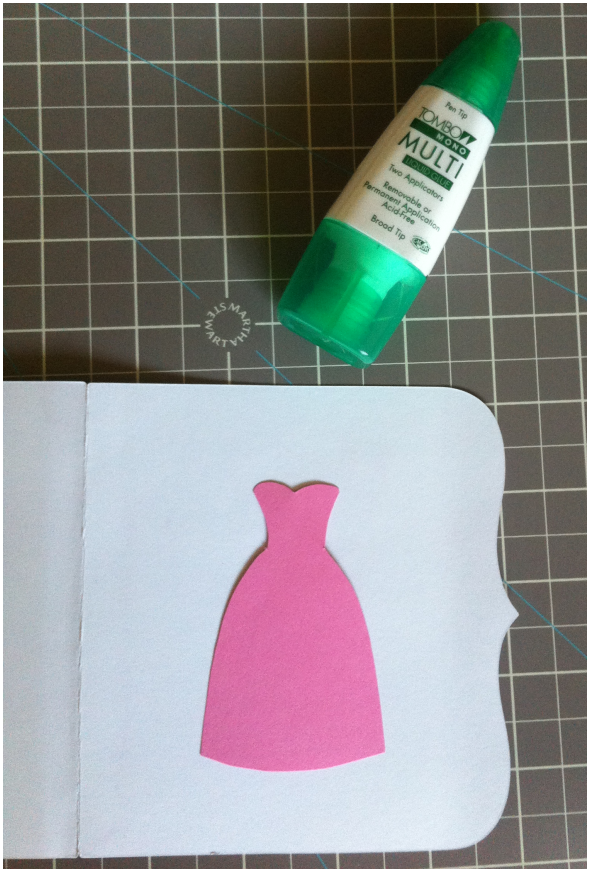
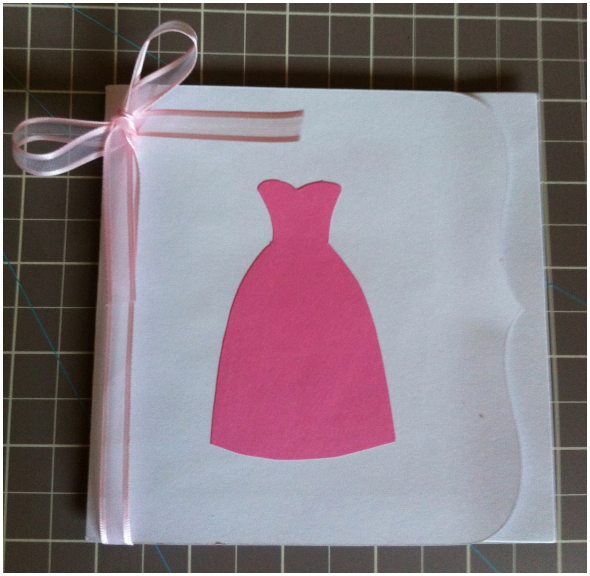
Now for the card. Chose what sort of paper you'll be using and once you have the card base ready, lay it down with the front on the card ready to be decorated. Now cover your newly made stamp with your desired paint or ink and stamp on to the front. (If you're not in to stamping, cutting out the dress from a pretty paper works just as well. This is what I did for this DIY. Just take a glue stick and glue it down.)

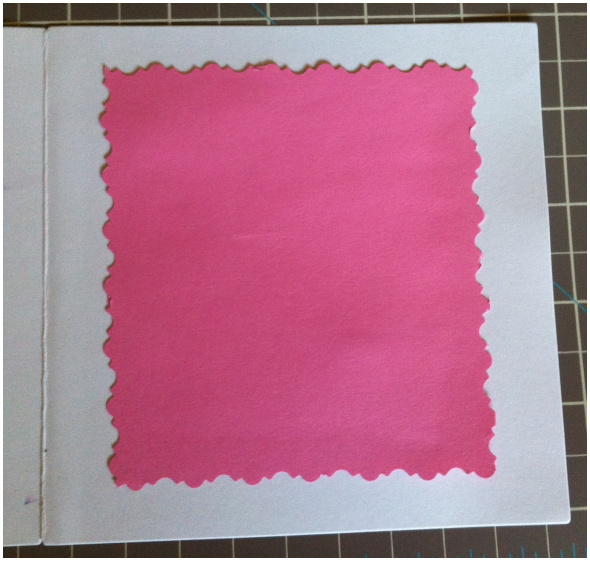
Next you'll want to open the card up and size up the area in which to put a piece of colored paper, this will be where your message goes. Now add your message in writing or print it out (I left out mine because my handwriting is atrocious). Then take your fancy pants scissors and cut around one, two, three or all of the edges of your inside paper. Now just center your paper and glue down.

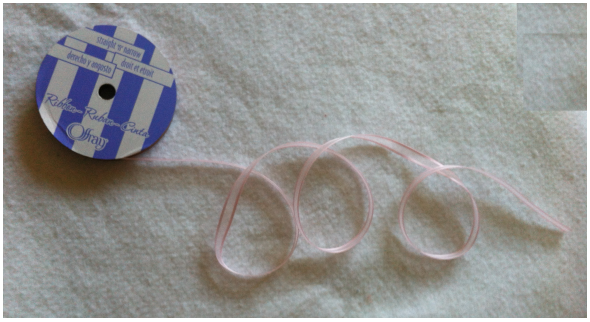
Last step is adding ribbon. While keeping it attached to the rest of the spool, measure out how much you'll need to make a pretty bow (do this but wrapping it around the front page near where the card folds), or to cover the width of the front of the card it you just want to glue it down and snip. Tie your bow and you're in business! Here's how mine turned out.

If you're feeling extra crafty, you can always add crystals to the dress or maybe draw on a sash. I think they are super cute as is, but you could always gift them with a little something as well. Next week I will be sharing the actual cards that I made for my girls since I have two more to ask!
Connect with me elsewhere! Twitter | Pinterest | Blog

Getting Crafty {Ideas & Resources}

It is SO hard to believe but I'm just over three months away from the big day. So crazy! That means pretty much all the big things are checked off the list and I get to enjoy being crafty and creative! Before I dive in to the projects, I've been doing my research on supplies. Who has the designs and colors I'm looking for, what are the prices like, etc. I thought I'd share some of my findings with all of you!

I started with cutetape. They have some cute stuff (hence the name :) ), though not a massive selection and seem to be out of stock of a lot of things. I ordered a few bags, some twine and washi tape and everything was great in person. It was a good start to my collection.

Before picking exactly what I want to get in bulk, I went to my favorite site--Etsy. Etsy may be known for handmade and vintage, but they also have a whole section of "supplies". Here you can find pretty much any craft supply you could want and some really fantastic prices!

On my crafty shopping list, I have craft bags, washi tape and ribbon.

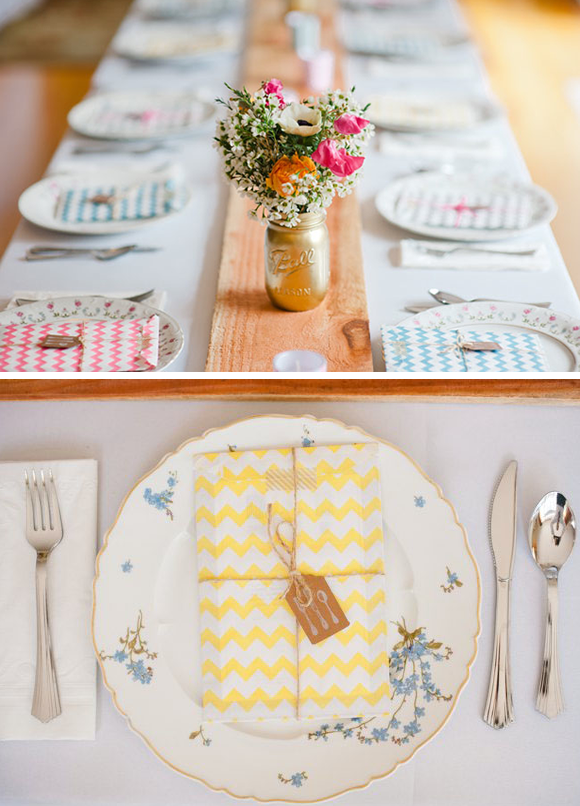
I'm going to have favors on the place settings, similar to Allison's sister's wedding. I love the multi-colored chevron, but I'm leaning more towards the mix and match patterns of the white-printed kraft paper.

Sources: Chevron Wedding, Chevron Bags, Kraft Bags

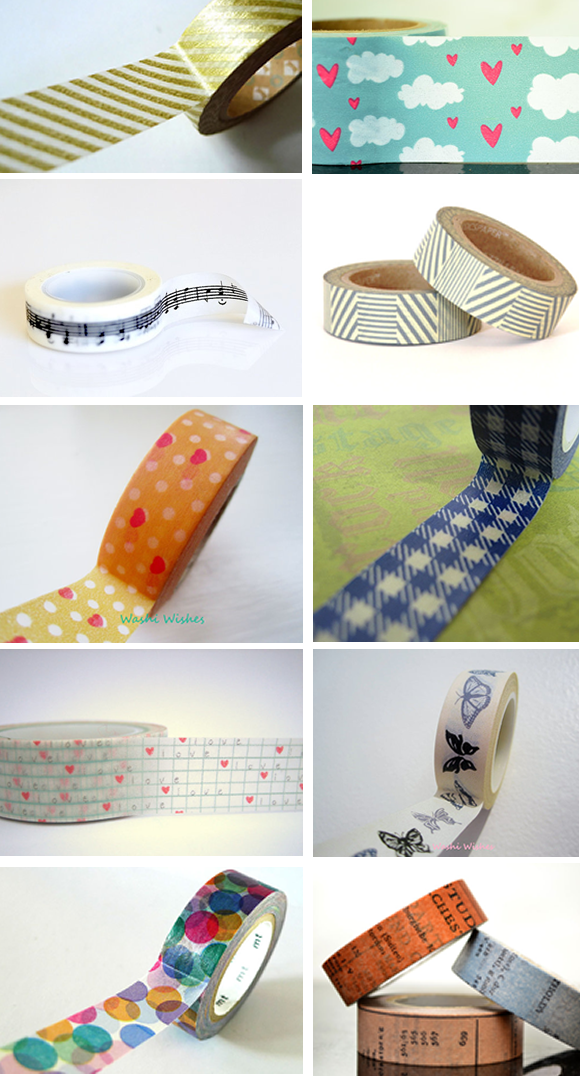
I've shared my love of washi tape with you before, but I don't think I really understood how much you could do with washi tape. Etsy seriously have every pattern of washi tape under the sun! Stripes and polka dots are classics, but how about hearts, music notes, newsprint, gingham, or butterflies. You could make a whole wedding look around one of these rolls and put them on anything from your invitations to your escort cards. So simple yet so stylish!

Souces: Gold, Clouds, Music, Stripes, Orange Dots, Gingham, Grid, Butterfly, Confetti, Newsprint

I also discovered today that Target sells washi tape! Great for when you need some quickly and don't have time for the Etsy order (they called it printed paper tape).

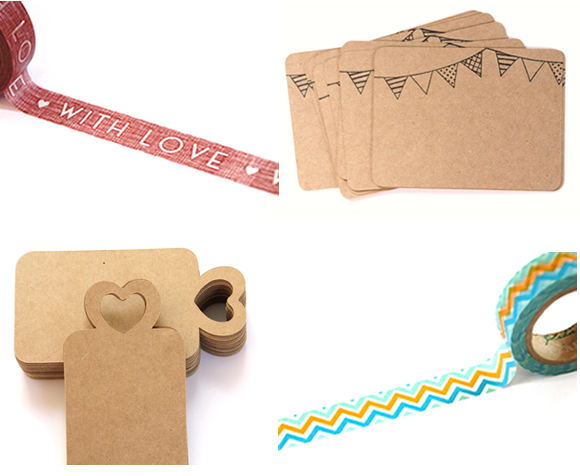
In all my searching, my favorite Etsy seller of craft supplies has got to be Bahana Splits. Her bags and tape are very cute, plus she has some really fun tags and stamps. You could do so much with these!

Sources: With Love, Bunting Card, Heart Tag, Chevron Tape

Do you have a favorite resource for craft supplies? You can never have enough so please share!

DIY Letterpressing

Most of you out there have probably at one point or another during your wedding planning process (or life?) drooled over some beautiful letterpress. The printing technique is quite luxurious, with that hand-pressed feel, intricate designs and often hefty price tag. It takes some large machinery and a skilled printer to execute this gorgeous printing technique.

Source: 1, 2, 3

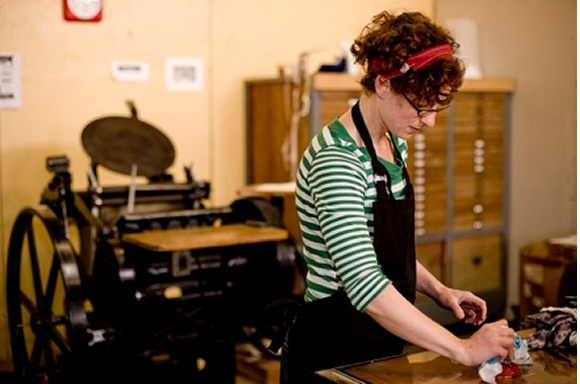
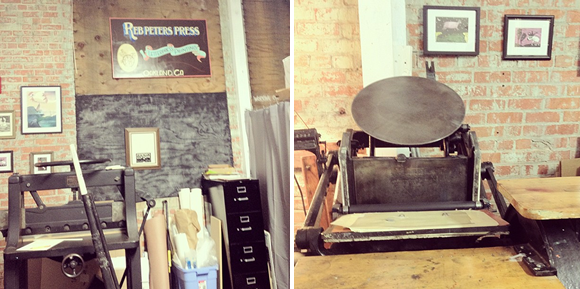
Once I had decided to design my own invitations, I started looking around for how to print them. I started where I often do--Yelp--and was so lucky to find Reb Peters Press, located not far from us in Oakland. In addition to creating her own beautiful art and letterpress printing, she offers letterpress workshops. That's right--DIY letterpress! In her workshops, she guides you through the entire letterpress printing process, you do most of the work yourself, and you leave with a stack of hand-printed wedding invitations! It only took reading through a few Yelp reviews and I was sold.

Reb Peters Press

I sent her my design a few weeks ago, she made a few suggestions and it was off to be turned in to a printing plate. We arrived Friday morning and were off to the presses!

The cutting machine and printing press in her studio (personal photos)

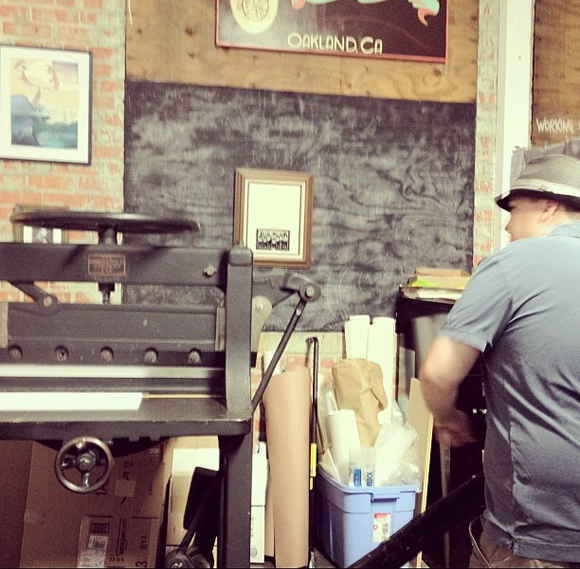
First, we trimmed down the paper to size. She has a GIANT 100 year old paper cutter. Dan loved throwing the lever that brought down the large blade. Very manly. :)

Dan cutting paper (personal photo)

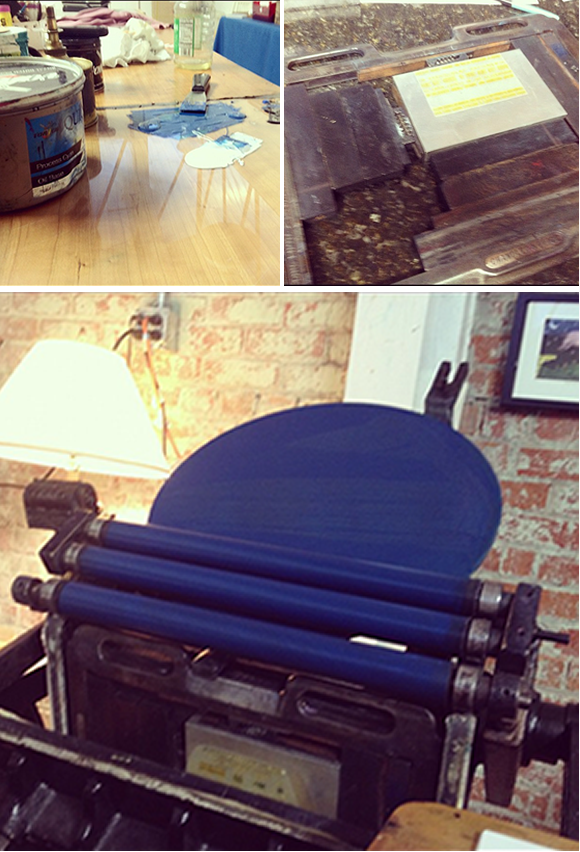
Then we prepped the press. This involves mixing the ink to the perfect shade, inking the press, setting up the plate on the press and doing a few test runs.

Mixing Ink, The printing plate, Inking the press (personal photo)

It didn't take too long until we were printing! We were feeding the press by hand, and pulling the lever to print. It was definitely a little nerve-racking, but it wasn't long before we were in the rhythm.

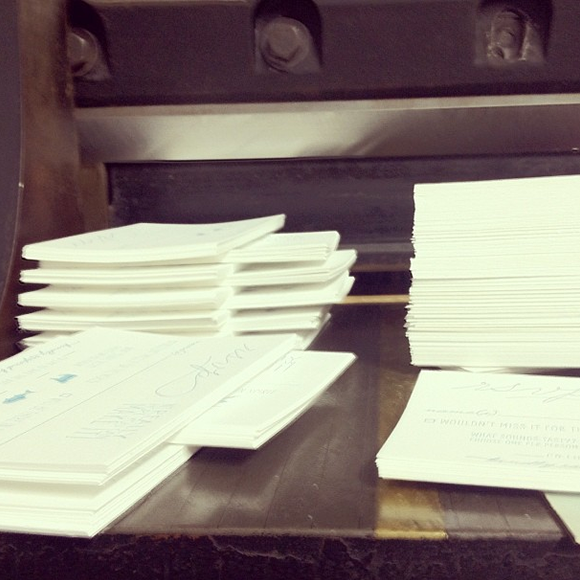
300+ pieces of paper fed in to the printer later (we did both RSVP cards and invitations, and you have to run the invitations through twice for two different colors) and we had a stack of invitations designed, cut and printed by us. We learned a ton and had a lot of fun. One thing checked off our to-dos plus it was a very fun date!

Stacks of printed paper! (personal photo)

I highly recommend  this for printing your invitations, saves the dates, thank you cards or anything else! If you don't have the design chops to make your own, Rebecca can help you out (or, I'd LOVE to help you design your invitation--add a comment and I'll reach out to you personally). It was a super economical and fun way to get some really gorgeous and personal wedding invitations.

Photos of the final invites to be posted once they are sent out!

How did you print your invitations?

{E&I Work} Haute Bride Grand Opening Celebration

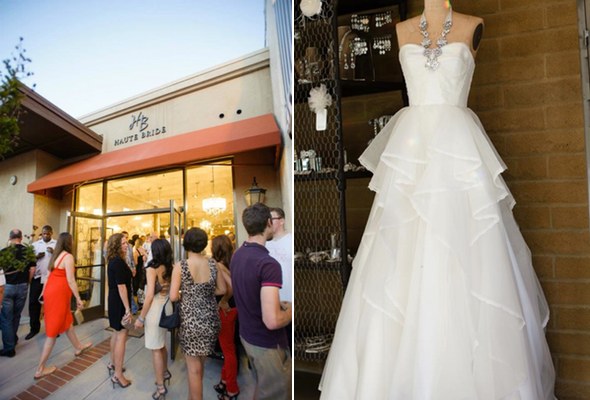
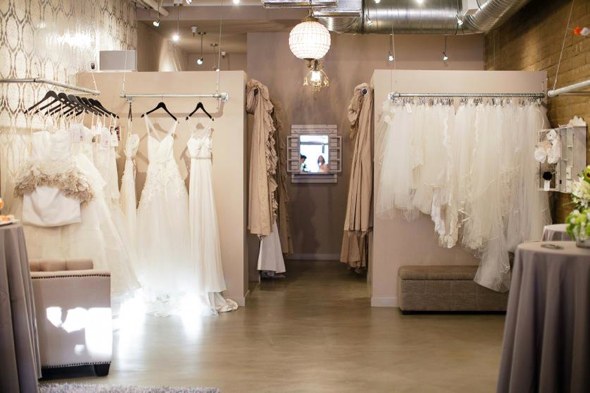
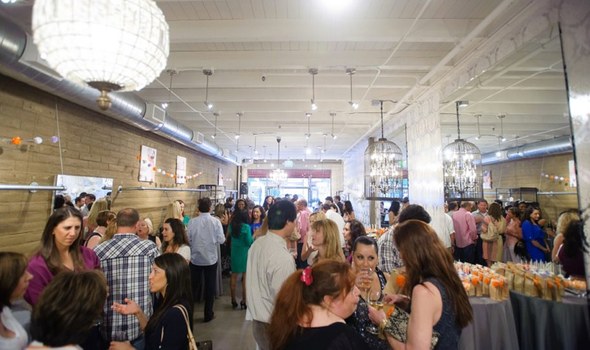
The brand new Haute Bride salon opened in downtown Los Gatos a while back, and I was lucky enough to help plan the Grand Opening celebration. I have never been as excited for anything to happen in this industry as I was when Haute Bride opened in Los Gatos. Why? Because down here there just isn't as much going on, and I am happy that we now have one of the most amazing bridal salons in the area, right here where I live! SO EXCITED. In fact, one of my brides already went and picked out her dress there, and she just loved the whole experience.

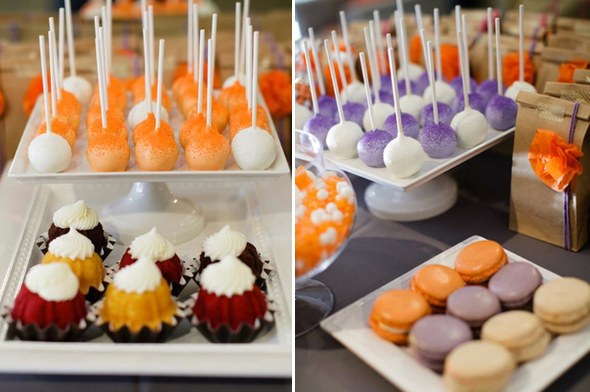
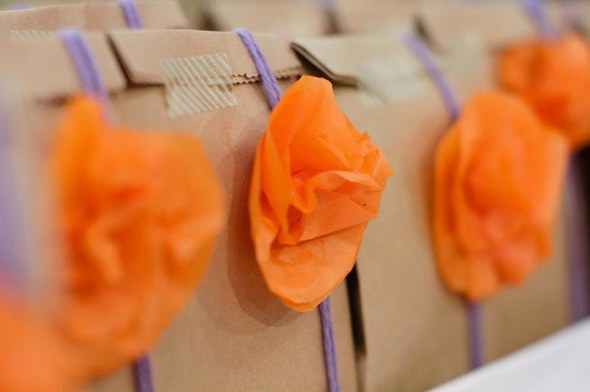
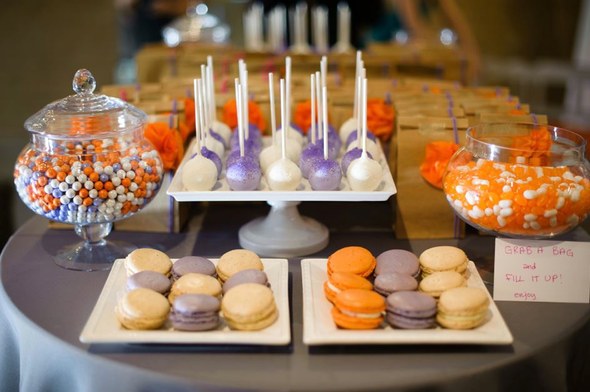
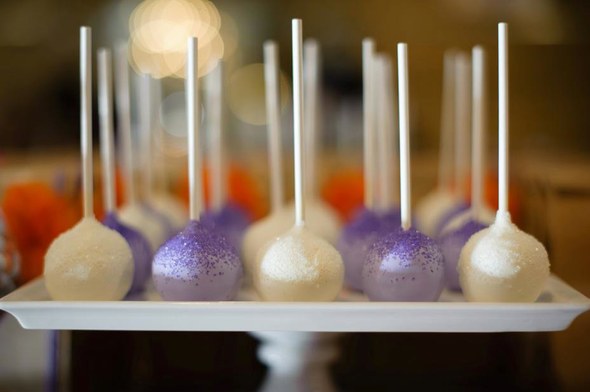
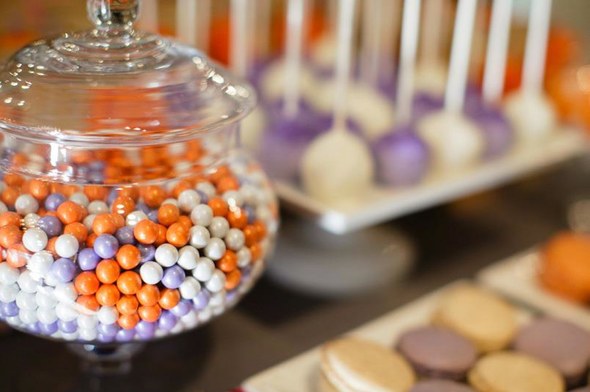
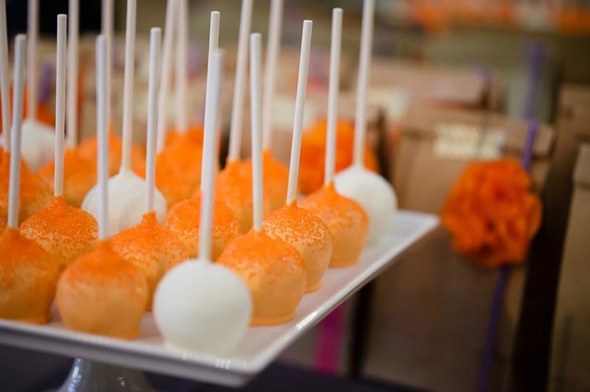
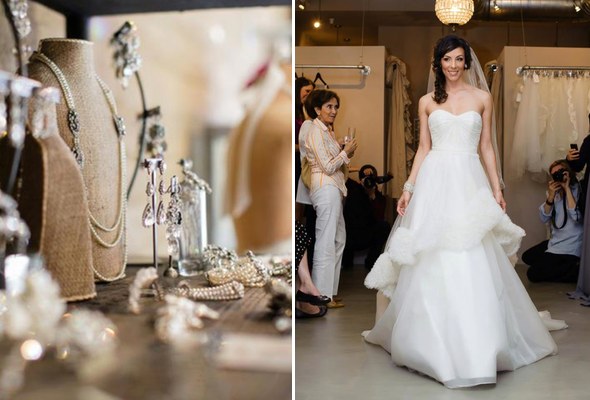
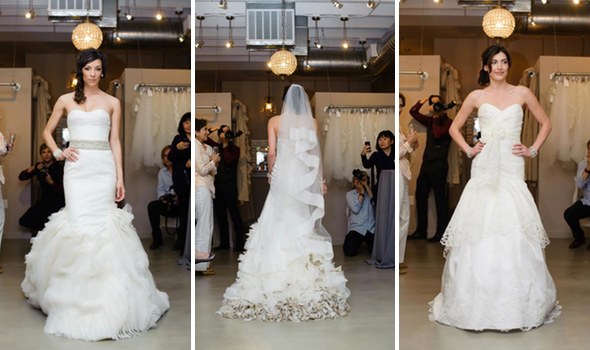
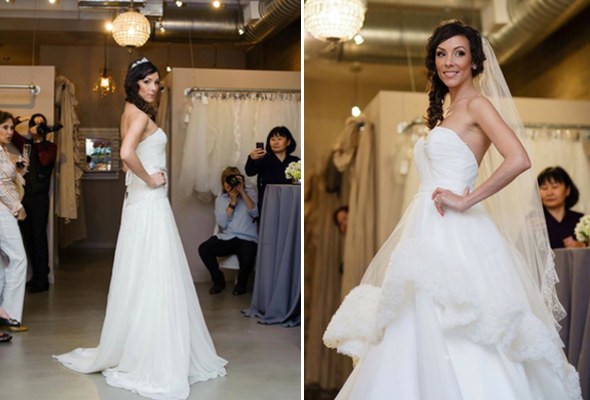
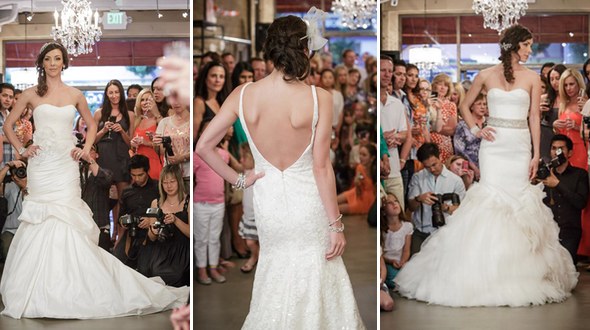
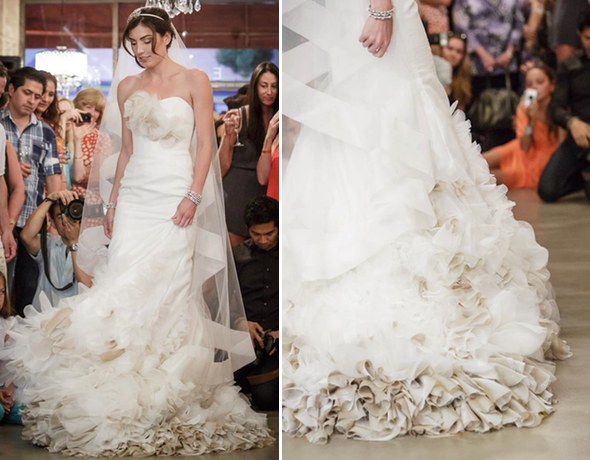
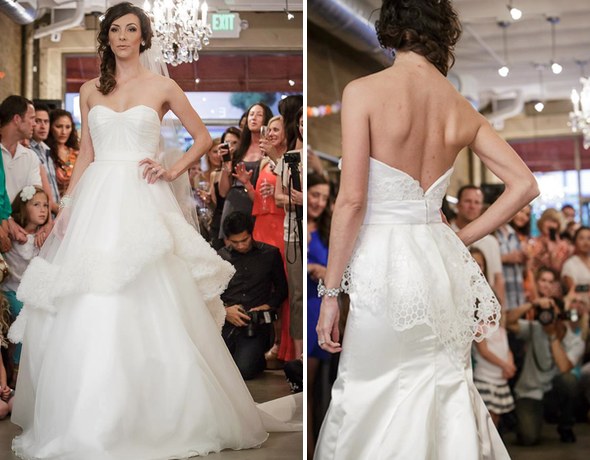
Back to the Grand Opening! The space Lindsie has created is to-die-for gorgeous, that it really didn't need too many extra details, so I created a dessert table, takeaway bags for guests and one killer photobooth backdrop. The evening commenced with yummy drinks featuring Devotion Vodka, plenty of wine and a great time. Hayley Paige, a new bridal designer, came and we had a runway show featuring her first and current collections. Seriously, she has created so many gorgeous dresses, it is way too hard to choose a favorite.

Check out these fabulous photos (shot by U + ME + US Studios & Gavin Farrington Photography) documenting the entire night, and see if you can spot some of my crafty goodness in the mix!

All photos above taken by U + ME + US Studios :: All photos below taken by Gavin Farrington Photography

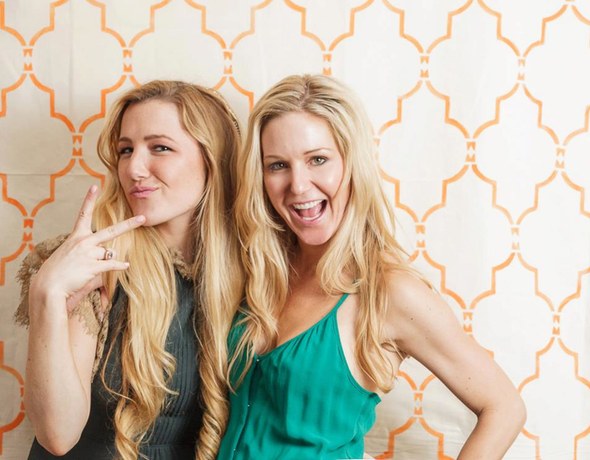
Love this photo of dress designer Hayley Paige and Haute Bride owner, Lindsie Jones! They look pretty awesome against that backdrop, right?

Check out the Grand Opening film shot by Frame 44 with a glimpse into the event as well as the fabulous Hayley Paige Runway Show!

Overall, the event was so much fun. If you are in need of a dress or some killer accessories, make sure to make an appointment with Haute Bride for your fashion needs. They are located right in downtown Los Gatos across from the movie theater in a fabulous shop. 40 N. Santa Cruz Ave. Los Gatos.

Videography & Coordination Deal + Dipped Kitchenware

I've got an awesome offer to present to you fabulous brides today! If you are looking for someone to coordinate your wedding the month-of, and you are still on the hunt for a videographer, this is DEFINITELY for you :)

The Details:

Month-Of Coordination: From the timeline to the floor plan and set-up to clean-up I'm there to ensure your day goes off perfectly from beginning to end.

Videography: Matt of Frame 44 will come shoot your big day and edit a 5-9 minute highlights film. And if you are anything like me, you will be watching that film ALL the time throughout the years to come.

By booking the two of us together you are able to save $1,000. E-mail for details & pricing: allison@engagedandinspired.com

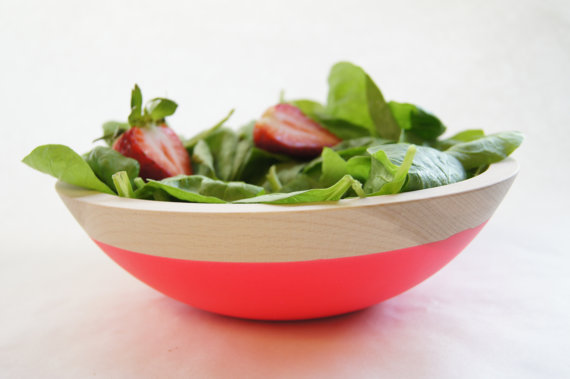
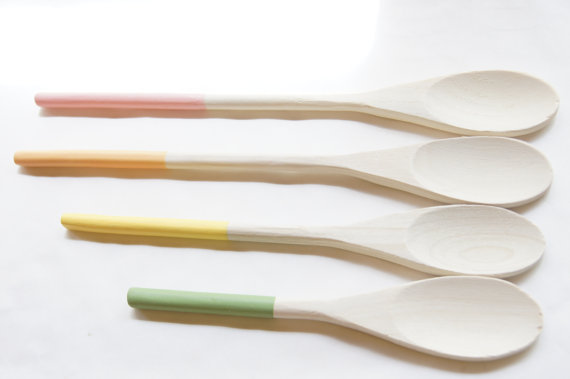
I recently found this Etsy shop Wind & Willow, and I just love all the pieces! Everything is wood dipped in paint (with some awesome colors). Seriously, how awesome would it be to eat a salad out of this bowl!? Perfect wedding gift :)

This week has been all around nuts. I thought when I finished planning my wedding that I would be good to go, but all I ever do now is design weddings! I'm not sure how I got here, but I love it.

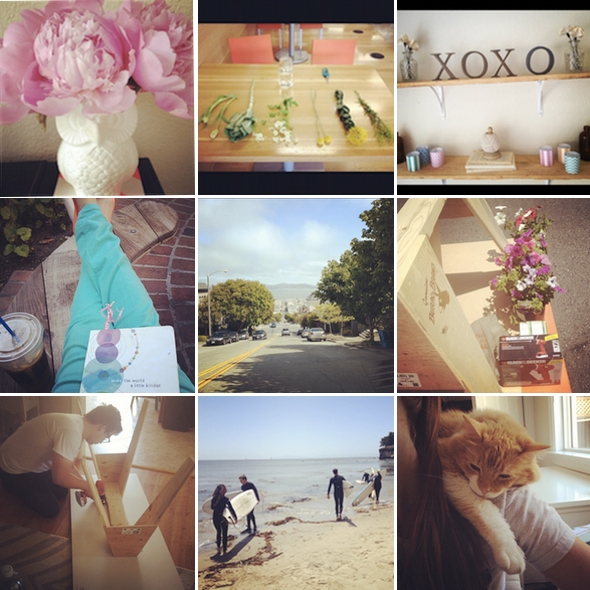
I do this weird thing the day before a huge wedding where I start cleaning out my house. I'm not sure why, but I guess I have so much energy that I need to direct it somewhere :) So in the past week I have cleaned out my garage as well as my crafting closet. Two huge projects if I do say so. I'm actually really excited to take and post photos of my newly decorated office, but until then I wanted to do a little iPhone dump! Here is my week in 9 photos apparently. It might just be easier to follow me on Instagram!

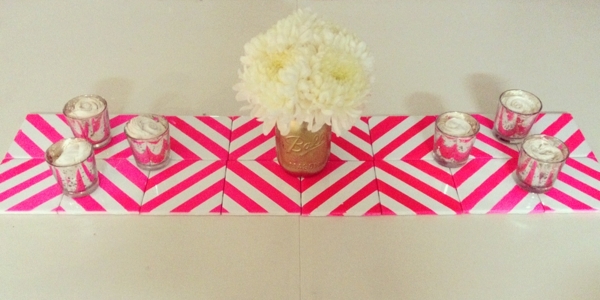
Not sure if you have seen it yet, but I am the new DIY Blogger for The Knotty Bride! You can see my first DIY accomplishment over on her blog right now :) A Neon Chevron (ish) Table Runner. I'll be showing up each week to do something new, so make sure you stay tuned for that.

I'm loving this logo! Seeing as I am embarking upon a site redesign, I have been looking for inspiration everywhere. This is so pretty and funky. Love it. Design by Breanna Rose Design.

In way of the blog:

Kalista talks about how he proposed this week! (Super awesome story)
Ashley talks about decor and asks the age old question, to or to not have a coordinator.

Heather chats about wedding favors. I JUST LOVE wedding favors :)

Taya is getting to the details. We are talking table settings, that's right!
Kim posts a bachlorette photo shoot. Just you and your girls, how about that!

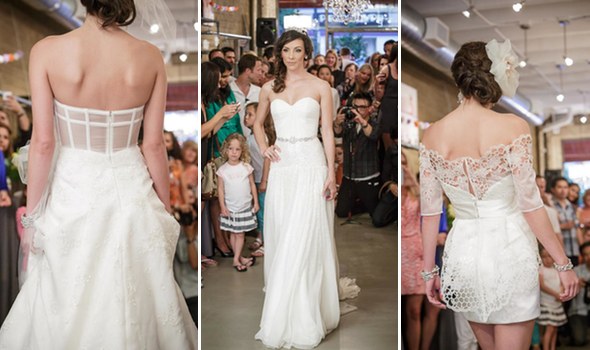
And Rachel, well Rachel is playing dress up! With some fun WHITE dresses. See her pics.

And there you have it! Our girls are busy busy planning their weddings and posting about all the awesome things they come across along the way! So spill it, what are you loving right now? Anything awesome that you have come across that you are definitely using for your wedding? let's spill the beans!

Bridesmaid Asks :: DIY

I've heard that you are supposed to be a few months into the wedding planning before you ask your bridesmaids. But I don't think I'm alone when I say that I got excited and wanted to ask them right away! While people may have different opinions on the exact time you are supposed to ask your bridesmaids to be a part of your wedding, I think we can all agree you should be asking not telling. Being a wing woman to a bride these days can be a big commitment (both with time and money) and while it is a fun experience for most ladies, not everyone is in the position to take on the responsibility. With that said, I don't think you can go wrong with asking your bridesmaids, whether it's over the phone, in-person or sending a little note, but for those who want to do something extra crafty, I found some great ideas.

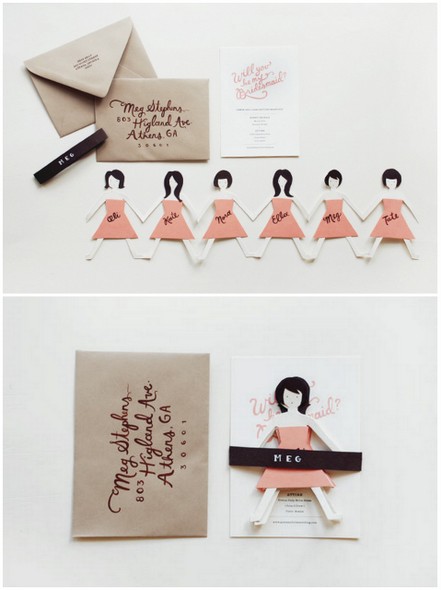
Remember paper chain dolls? Well, they grew up and got a lot more stylish!

Source and Instructions

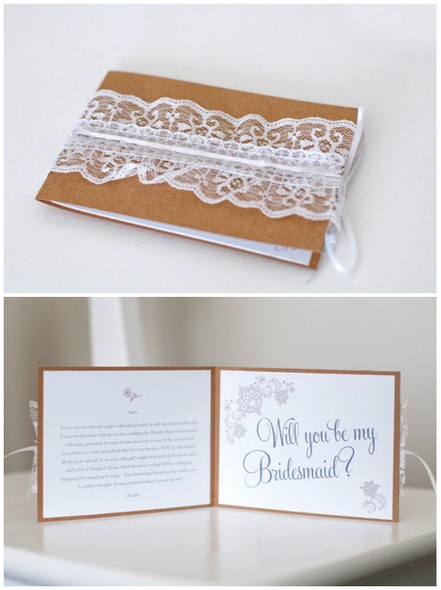
Love this card with the lace:

Source and Instructions

Or you could play off the little engagement ring box with something like this...

Source and Instructions

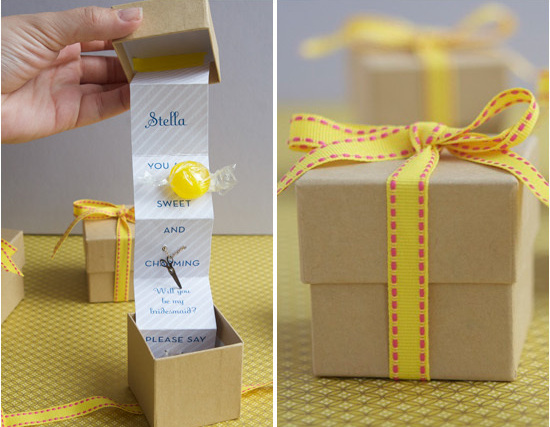
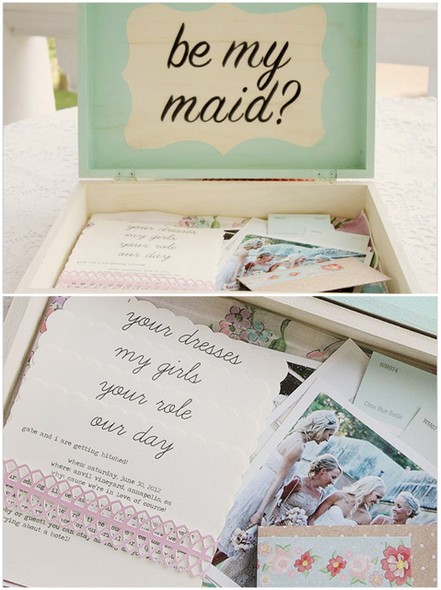
If you want to go big and are a little further along in the planning process, you could make a box like the one below with details about the wedding party and wedding. It sounds surprisingly simple (and fun) to make!

Source and Instructions

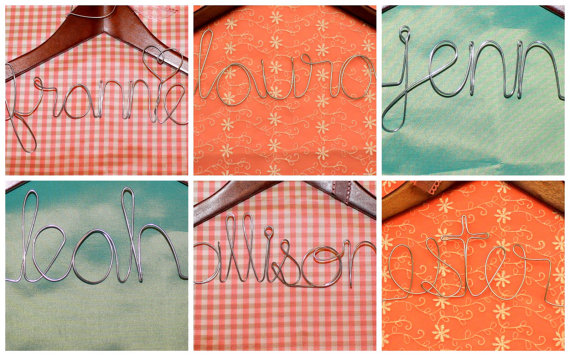
If you are more into letting others craft for you, there's always Etsy! I have seen these hangers used for pictures of the bride's wedding dress, but they would make super cute bridesmaid asks by adding a personal note to each of your ladies. It would even make for cute pictures on the wedding day with all the bridesmaid dresses (and your wedding dress) hanging together.

Source

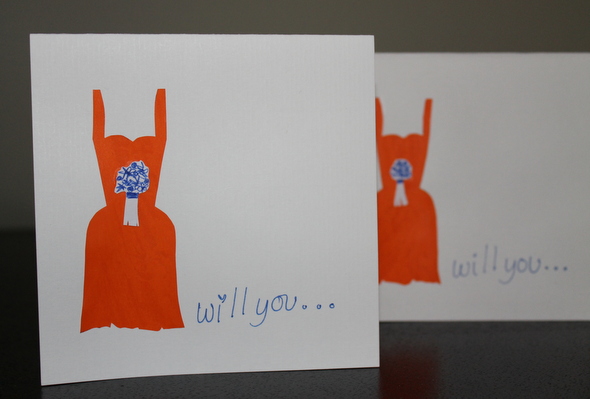
Here are the cards I made, ...

Supplies you will need:

  • Pre-made cards and envelopes (I used Square)
  • Colored paper - mine was an opaque orange color
  • White scrap paper
  • A pen - I used navy
  • Elmer's glue gel
Instructions: draw a silhouette of a dress that you can use to trace the dresses. Trace the number of dresses you are going to need and then cut them out (cut inside the line you drew so it's not visible). Glue a dress onto each card. Then use your pen to free-hand draw the little bouquets and cut them out. Once the dresses have dried, glue the bouquets on top. I made a special version of the card for my sister (my maid of honor) by cutting a wedding dress shape out of shiny, textured white paper and putting that next to the 'bridesmaid dress' on the front.
Weigh the cards down with a heavy object, like a book, to keep everything from rippling as the glue dries.  Lastly, write 'will you...' on the front and 'be my bridesmaid' on the inside and write a little note to your friend/sister/sister-in-law to be. I tried my best on the hand writing, but these would look even more professional if you have great handwriting. Or you could use a computer and printer if you know how to do that or get some alphabet stamps. I think if I were to do this over again, I think would use letter stamps to spell the words out.
How did you or do you plan to ask your bridesmaids? Did you do something crafty or go with the tried-and-true way of just asking over the phone or in-person? 

pretty & personal {signs}

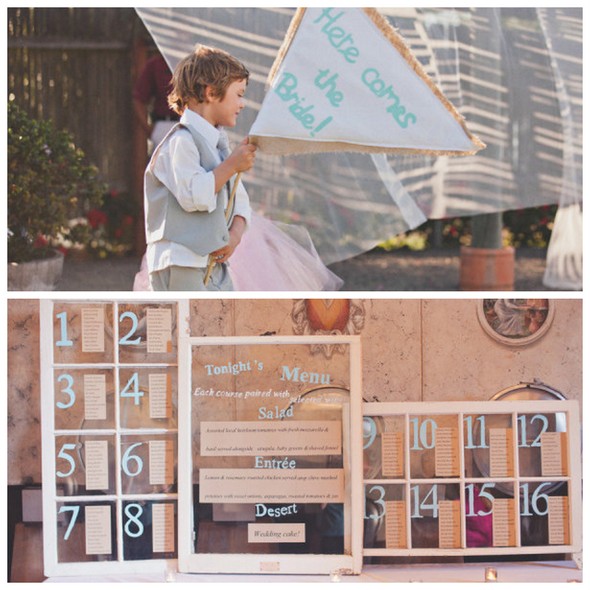
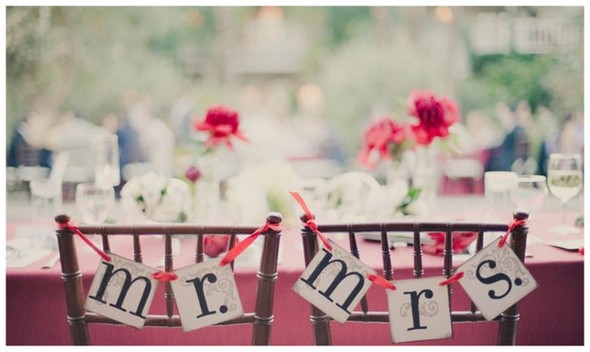
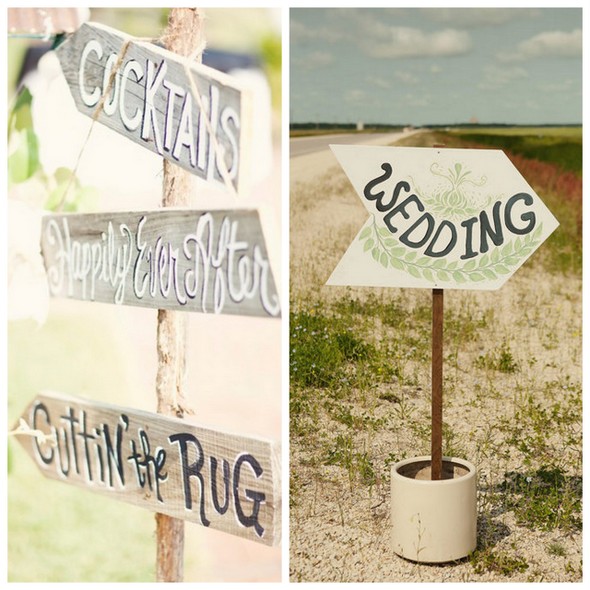
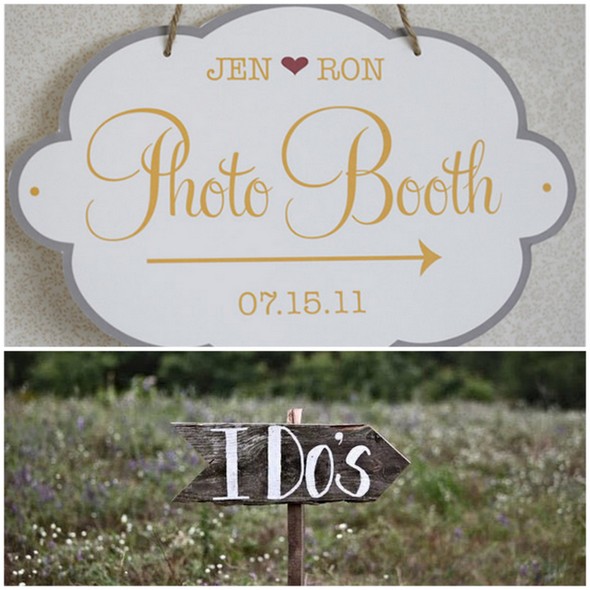
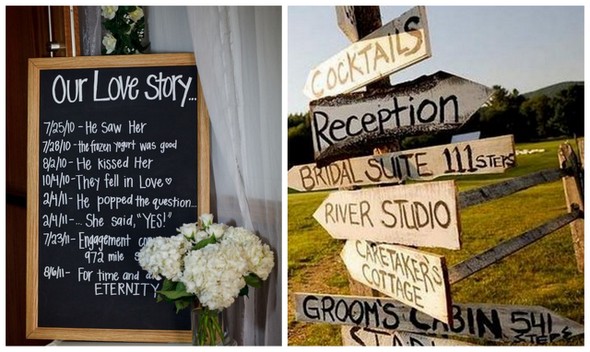
Having gone to a lot of weddings in recent years, there is one thing that always sticks out to me... the personal details! And one of the most adorable and tasteful way you can get personal with your wedding is by using signs! I happen to like a more vintage/DIY look when it comes to pretty & personal signs. Check out some of my inspiration!

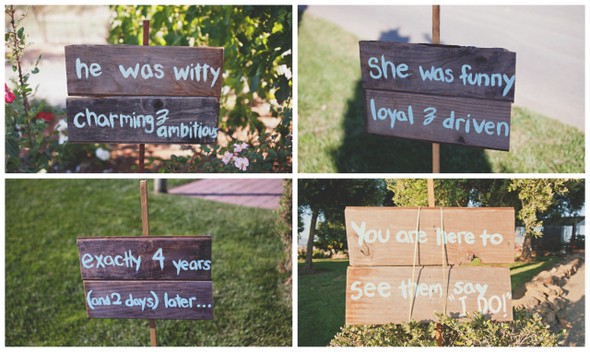
My favorites signs were hand crafted by my friend Jessica Haro at her gorgeous Sonoma wedding last year. (I've given her many a shout out on this blog, because, well, she's pretty fabulous at designing a wedding.) I loved walking up to the ceremony site and reading these heart-felt signs on the way... it made me feel so connected to how excited she and Mike were to say "I do!"

Here are some other sign ideas that I may use- with my yellow & grey mid-century motif, of course!

Source: The Loveliest Day

Source:  Rustic Wedding Chic & Design Sponge

Source: 1 & 2

Source: 1 & 2

Will you be adding signs to your wedding decor? If so, what's your style? What are you envisioning? Any tips on how to easily create something ala DIY? Please share!!

Oh, and a side note: as far as my planning goes, I got A LOT accomplished this weekend! DJ & officiant- CHECK!!!

See you next Tuesday :)

{welcome bags}

Let's talk about welcome bags. Since we have family and friends traveling from all over the country to be in Long Beach on our special day I think it's appropriate to leave a welcome with a personal note & bag full of goodies to show our appreciation. I found a helpful list from The Knot that gives suggestions on what to put in your welcome goodie bag. I am all about the personal touches. Here are some ideas I think I may incorporate into my welcome bag:

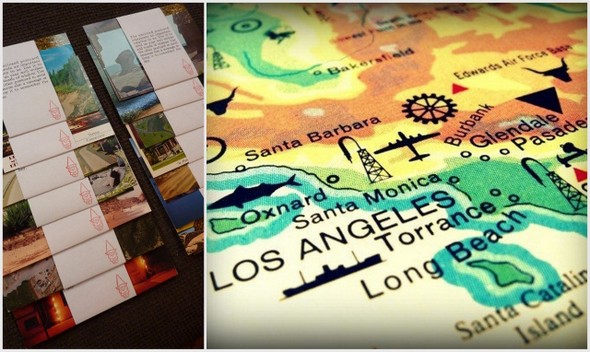
Local postcards & a vintage map of Los Angeles! (I like how a personal welcome note was wrapped around the postcards!)

photo credit: Intimate Weddings & Etsy

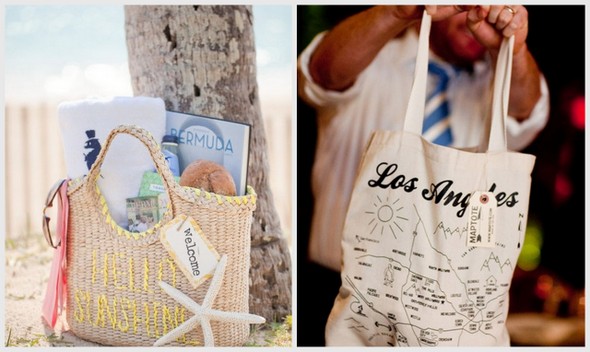
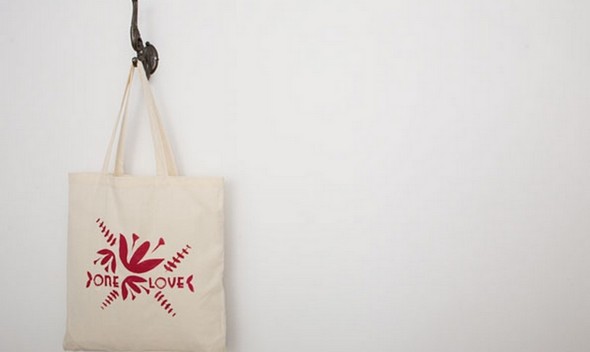
I'd also like to have custom totes that our guests could reuse. I'm envisioning something with a map of southern California, or perhaps something sweet and simple like these:

photo credit: Intimate Weddings &  Style Unveiled

photo credit: Wedding ChicksEtsy

This tote (above) can be custom made! Photo credit: Ruffled Blog

Here's the tutorial on how to DIY!

Some other items I plan on adding to this bag are Advil ;-) snacks, magazine, transportation info, wedding itinerary, bottled water, and perhaps a burned CD of our favorite tunes.

What are your thoughts on welcome bags? Are you planning on giving one to your guests, or are you going to keep it simple and just leave them a sweet welcome note & itinerary? Feel free to comment and leave tips/advice!

{DIY Tutorial} Kinda-Calligraphy

I've been talking a lot lately about calligraphy, invitations and wedding papers, so today I'm sharing a little DIY tutorial for what I like to call "kinda-calligraphy." This is basically a way to get the look of calligraphy without being a professional and even without all the fancy calligraphy tools. While this certainly does not replace what a real artist can do, it could be a great budget-conscious option. It's also a good way to do hand-lettered signs because you could do this on just about anything, from a rustic piece of wood to a vintage window or mirror! This little trick took a little practice for me to make it look just right, but it is super easy to do. It's not a science by any means so just have a little fun with it and see what you like!

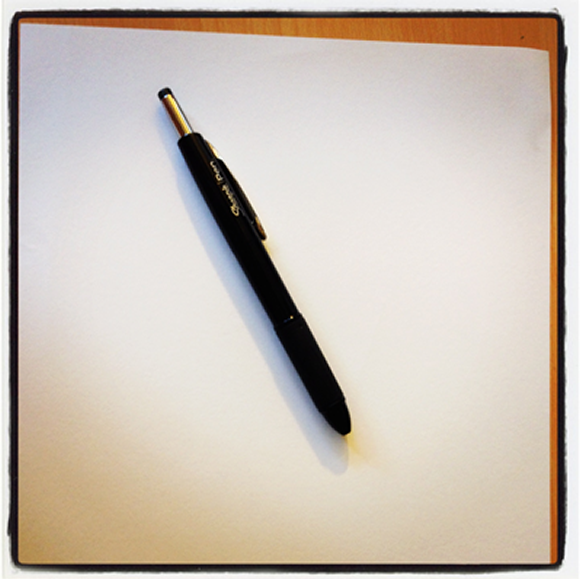
What you need: *Pen (I recommend something with a thin tip but that is a bit inky--I really like the Sharpie ball point pens, but whatever you have will work great as long as it isn't too thick) *Paper *Someone with nice cursive handwriting :)

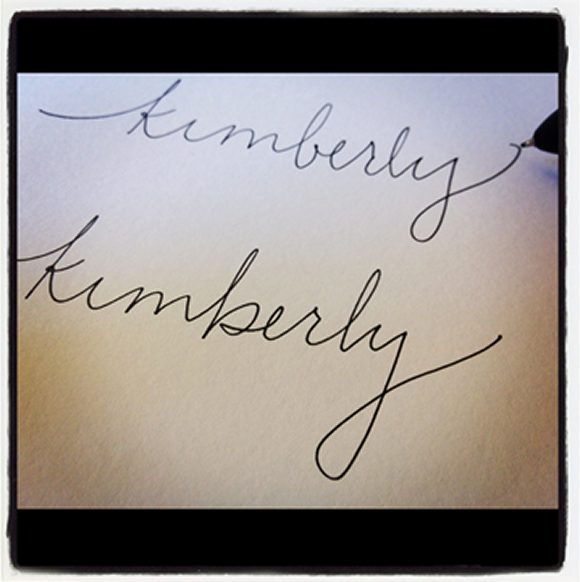
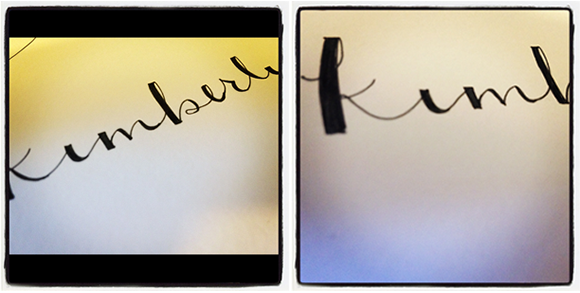
First, write in cursive whatever you want to have in the faux calligraphy (I picked my name because I played around with this quite a bit when I was designing the invitations.) Write it a few times. Try a few different styles. Get creative. Add some flourishes. You want to have some options for which to turn in to calligraphy.

TIP: Don't hesitate to look at photos of calligraphy online. For example, I really didn't like the way my lower case 'b' looked so I found some photos and borrowed their style. You can get good ideas for shapes, swooshes, etc. from just a Pinterest or Google Image search (or my post from a few weeks ago with some fun calligraphy inspiration).

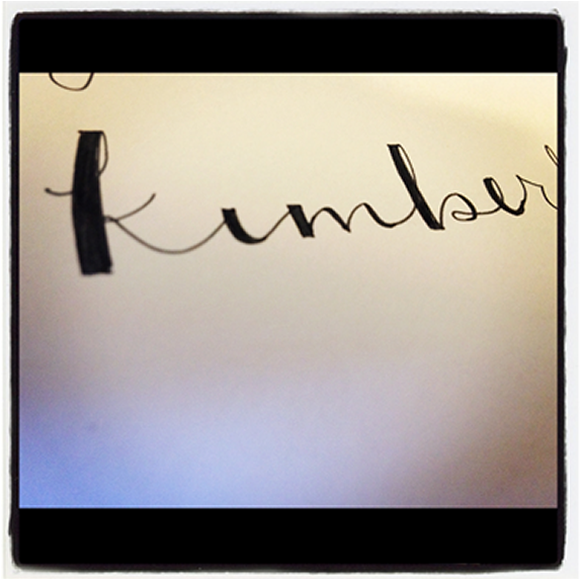
From your writing, pick your favorite--one where you like the shape and the spacing of the letters as well as any ornaments you've added. Now, you will essentially be building out the lines where you pen drew downward. This is how you mimic the look of using an actual calligraphy pen, which often has a wide tip and is drawn by angling the pen. I've just outlined them here you so you kind of see what I'm talking about.

Again, if you are ever unsure what to fill in, check out some photos online. Play around with it and see what looks right to your eye. This definitely does not have to be perfect, but it gives a nice feeling of calligraphy. I found that the flat top on the thick line gave a nice look as well.

Once you've filled in all the letters, you have your kinda-calligraphy word complete! At this point, you're all done if you're using it for a hand-lettered sign or address.

If you want to use your new masterpiece on something that will be printed such as an invitation or program, you should now scan the image so you have a file of it on your computer. From here, I brought the image in to Adobe Illustrator and basically traced the word so I had a digital vector file (or have a graphic design savvy friend help). To be honest, I'm no Adobe pro so there's probably a much better way to do this. Please share if you have any tips!

Full disclosure: I am not a calligraphy expert by any means, and just making this up as I go! Has anyone tried something like this before? Feel free to share any tips, tricks or other ways to use this!

for crafty brides {DIY thank you cards}

Ever since I was a little girl, I've always been creative and artistic. I actually almost majored in art when I was applying to colleges! Even though I took the journalism & sales routes in my career(s), creating things is still in my blood. Throughout my planning I have had my hands in everything! For example, we are hiring a DJ and I plan on giving him a specific list of songs to play. And as you read last week, I am working with an invitation designer to create a unique & custom invitation that suites my style! In my opinion, crafty and creative weddings feel more personal and unique!

In this week's post I'm deterring from my timeline and sharing with you some inspiring DIY thank you cards! I'm looking forward to tackling this task when the time comes :)

The photo below is of an ADORABLE thank you card for your bridesmaids. Click on the picture and you'll see the entire tutorial. I think I'm going to make these for my maids :)

Martha Stewart's website has a TON of ideas for DIY thank you cards any other cool crafts for weddings! Here are some of her examples below that inspired me.

Recently-Updated128.jpg
Recently-Updated125.jpg

You can never go wrong with a thank you card that has a photo of you and your hubby holding a sign that says "thank you." So simple and sweet.... I think this is the direction we're going in.

What kind of ideas did you explore for thank you cards? Did you do something simple? Something crafty or unique? Please share your ideas!