A Little Planning and A Lot of Everyday Life

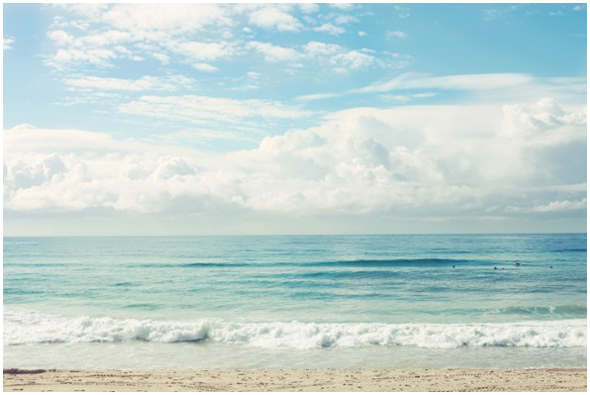
Source: A Beach Cottage

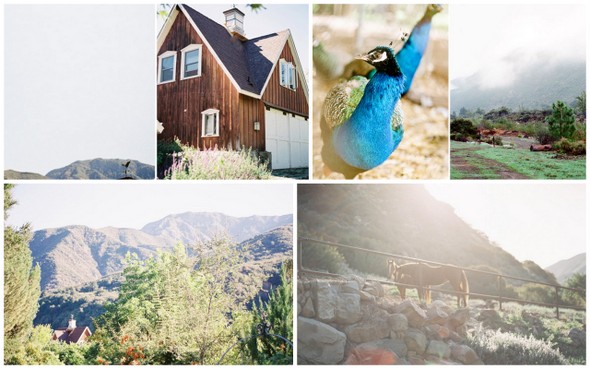
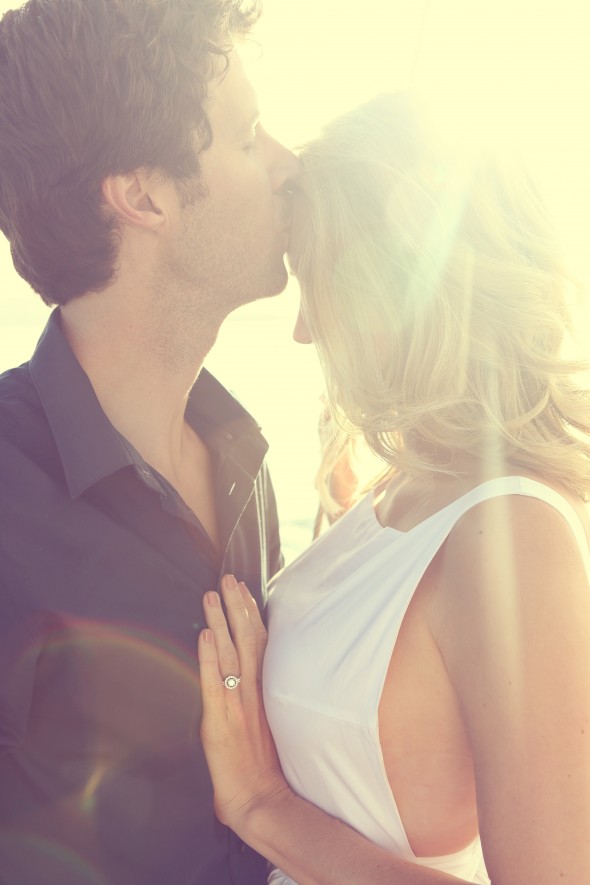
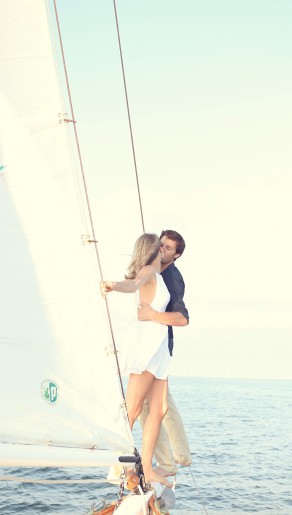
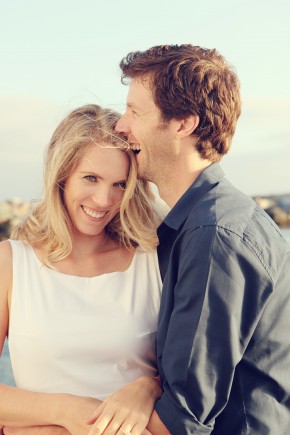
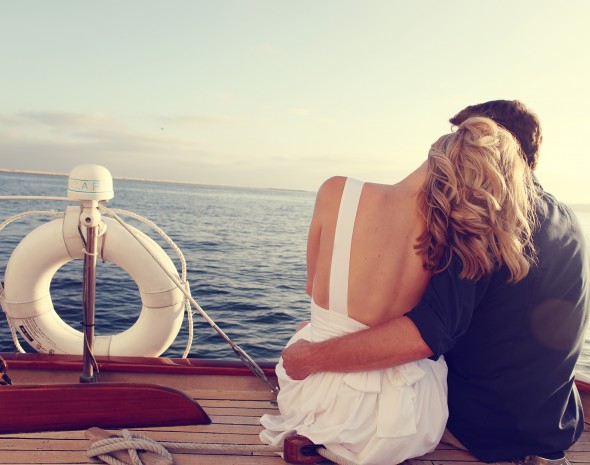
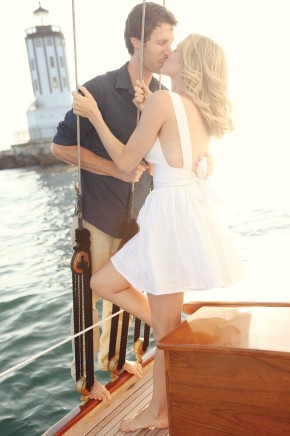
I've discovered a flaw in our thought process in choosing an all inclusive venue and DIY-ing the rest...the lull between doing the big stuff. Lately life has been filled with many non-wedding things and the days with wedding planning is a bit of time for the small stuff life making a list of DIY's to complete and setting reminders (way in the future) for things that have to wait to be done.. It's funny because I really wanted to embrace this time and while I appreciate one less thing to worry about each day, I kinda wish I had it as a distraction.  In fact you see that beach up there? I'd very much like to be there right now with my lists and new issue of Martha Stewart Weddings. Between a new schedule for the Mister and I, side jobs and planning where we're going to live together, I'm a bit overwhelmed.

Did any of you experience this? Did you worry about getting behind or did you soak up the time spent away from your weeding Pinterest board and endless lists of "must get done right now"? A huge part of me wants to just fast forward to the good stuff (you know the I'm so busy with wedding things" part right before our wedding day).

Luckily all this extra time lets us stretch out things like creating out Save-The-Dates and slowly putting together our registry. I will just enjoy this while I can and wait patiently for the next wave of to-dos. Until then, I will be day dreaming about that beach and coming here to share my inspiration and little victories.

Connect with me elsewhere! Twitter | Pinterest | Blog

Save-the-Dates {and the 10-Month Countdown}

Right now, I'm looking at the 8 to 10-month check lists (our wedding is July 20, 2013)...and if you've planned a wedding, you will know they are serious lists! They may look small as far as number of check boxes, but, in reality, they are some of the BIGGEST decisions of all! The wedding dress, the officiant, DJ/band, caterer, photographer, the registry and so on. Two months ago the date was July 5th. I had my ceremony and reception venue and day-of planner booked, our wedding parties all figured out, our guest list lined up - I was feeling good. Fast forward two months and I now have a new job that is keeping me crazy-busy, and nothing else booked for our wedding. Don't get me wrong, we have been looking into things and thinking about things, but you can't have a wedding by thinking about it ;-). Needless to say, it's time to get back in the wedding planning zone. The 10-month countdown begins.


So, that brings me to what we need to figure out this week. A couple, seemingly-unrelated, things that all tie together. The hotels/lodging, the wedding website and save-the-dates. Because we are getting married in a small town along the Columbia River Gorge that also happens to be a destination spot for many outdoor activities, from windsurfing to hiking to wine tasting (I consider wine tasting an outdoor activity), the lodging is in high demand. In a perfect world, we would love for our guests (or even just us and our wedding party with their family's) to group together and rent a couple houses in town. There are so many within walking distance of each other and downtown and we think it would be a great way to spend time together. Whether we can figure the house thing out or not, we will still need to find a hotel for people to stay at, which leads me to the two other things on our list needing to be done ASAP - the wedding website and the save-the-dates (if we do them). I wrote this post a while back about websites and save-the-dates (just realized you shouldn't abbreviate that, yikes!). Bottom line is we need to get the word out about our lodging recommendations to our guests so that they can book soon. Our wedding still 10 months out, but time is flying and we don't want to have last picks on the places to stay.

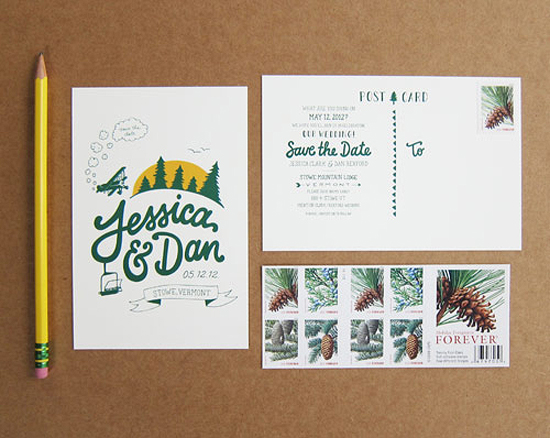
This brings me to the last thing on our list for this week - Save-the-dates. We are trying to figure out whether or not to do them. I think they are so fun and you can do so many creative things with them, but I'm trying to figure out if I can justify the time and cost for something I ultimately just want to lead people to our website where they can find the details on lodging and the weekend activities. Thoughts?!

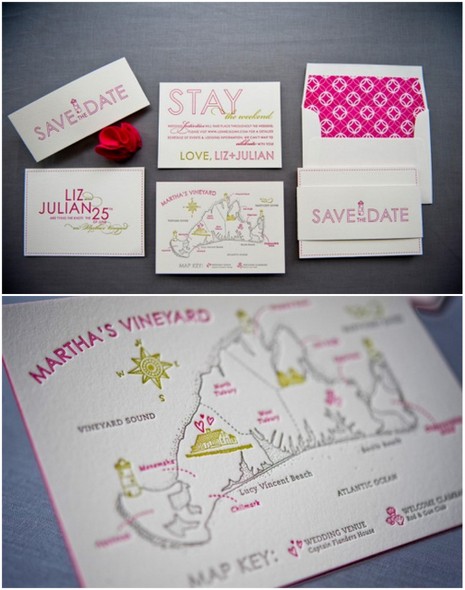
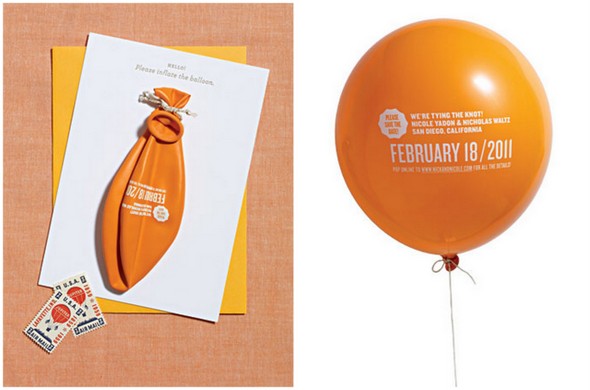
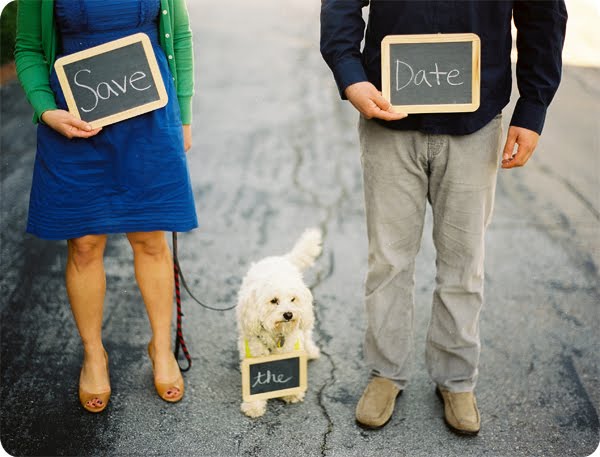
Here are some I like:

Source

Source

Source

If only we could get our cat to sit still for a minute...

Source

Did you or didn't you use Save-the-Dates? Are you using a wedding website that also offers 'virtual' Save-the-Dates? What do you think about renting a house/houses for the bride, groom and wedding party to stay at over the weekend?

DIY Rustic Cupcake Stand

My Mr. and I decided that instead of spending $100-$150 dollars on a cupcake stand for our wedding that we he was going to build one. We are going to have a totally awesome dessert buffet for our wedding including cupcakes and mini pies so this stand will be the perfect accessory to our table. Here are the details.

Project Difficulty: Medium

Estimated Time: 4 hours (including paint)

Estimated Cost: $60

The first step in this DIY project is to pick a design and stand height that you like. A good place to start is Etsy, where (depending on size), you can easily spend upwards of $200. I decided to go with a 3-tier design which I can add small rustic boxes or mason jars to give the cupcakes varying height. My first stop was the local hardware store for materials. For each tier I chose precut 24", 16" and 8" wood round table tops. The hardware store also carries stair baulsters that are milled in precut lengths and styles.

 The shopping list included: (1) 24" table top (1) 17" table top (1) 14" table top (1) 9" stair baulster (1) 14" stair baulster (1) can of white primer (1) can of satin white paint (1) container of gorilla wood glue

 The next step was to get home and have the Mr. work with me on putting my plan together! The tools you will need are:

(1) Drill; drill bits (1) Square (or anything with a straight 90 degree corner) (1) Pencil

Each baulster comes with one end with a "bolt" coming out of the bottom for a screw-in installation. The other end is flat and needs to be glued to the bottom side of the tabletop. However, before we can drill the tabletop for the baulster, we need to locate the exact center of the circle. I don't know about some of you, but I don't remember my geometry homework! Luckily, the Mr. knew and explains it like this:
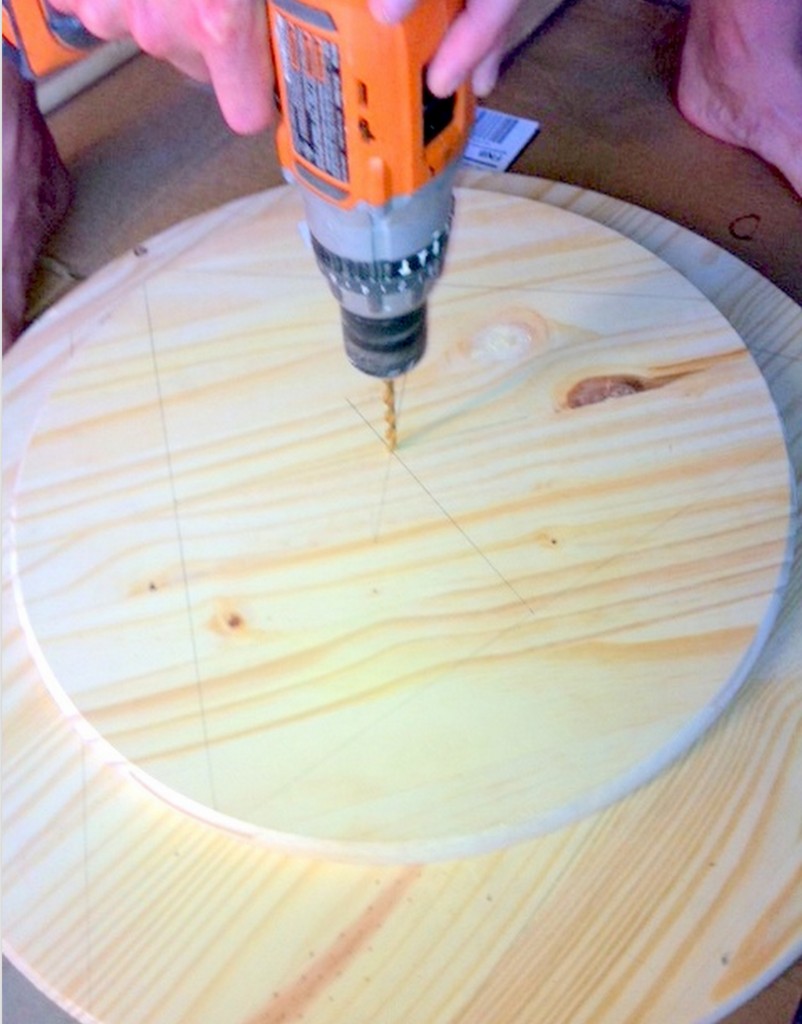
To find the center, you first need to draw 3 "chords" on the outside of the circle the same length (pick an easy number, like 12 inches). Once you draw all 3 lines, divide them in half and mark the center of the chord. From the center, use your square or 90 degree angle and draw a line across the tier. Do this for each chord and the exact center is the intersection of all three lines. He is so smart!

 When you have the centers laid out, its to drill a hole slightly smaller than the "bolt" coming out of the bottom of the baulster. Drill this hole only HALFWAY into to the tabletop, and make sure it is drilled straight. Once this hole is drilled, drill a much smaller hole through the larger hole to mark the center of the citcle on the other side.
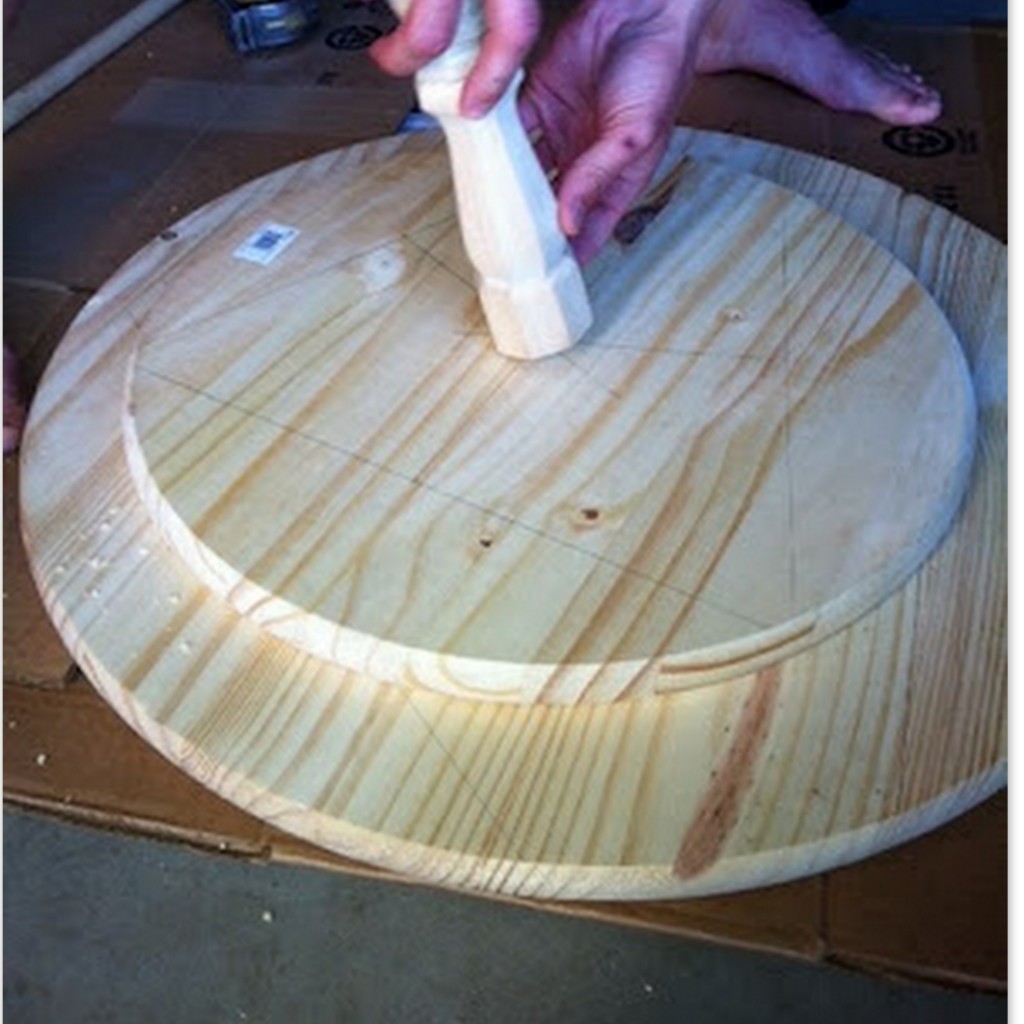
 

 Now that the holes are drilled, we now want to glue the baulster to the bottom side of the table top. To be exact, find the center (process above) of each baulster and measure the distance from the center to the edge of the baulster. Measure this distance on the tabletop and mark the edges of the baulster. This is an important step, or else the tiers will look staggered from each other. Now, apply the gorilla glue to the baulster, press firmy agianst the table top, and hold together for about a minute. Repeat this process for the other baulster, and let dry overnight.
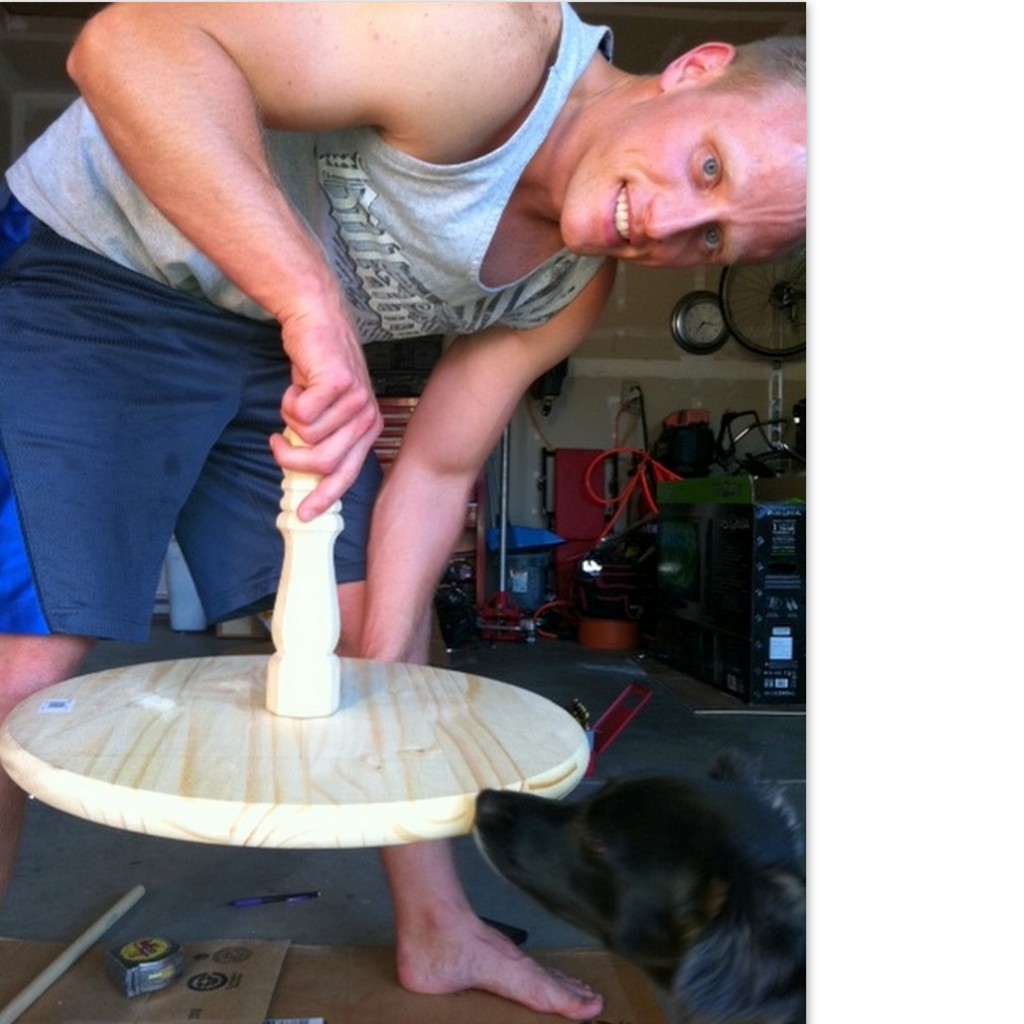
 

The next day is paint day!

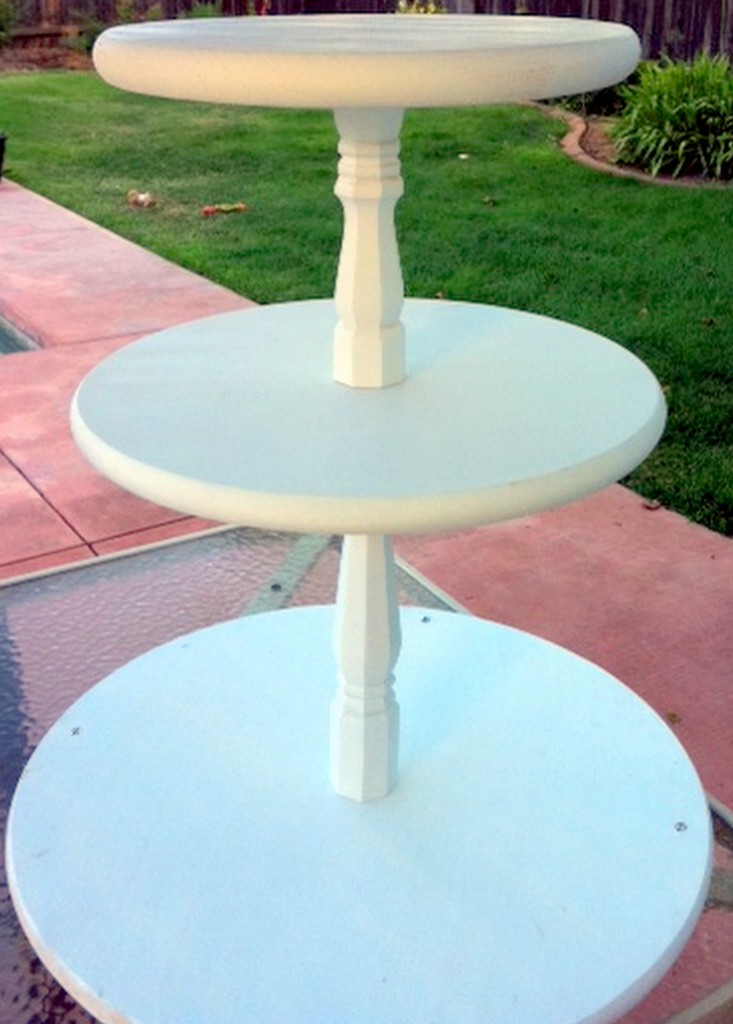
At this point, you should have three pieces that have been glued together and resemble this (largest round not shown):
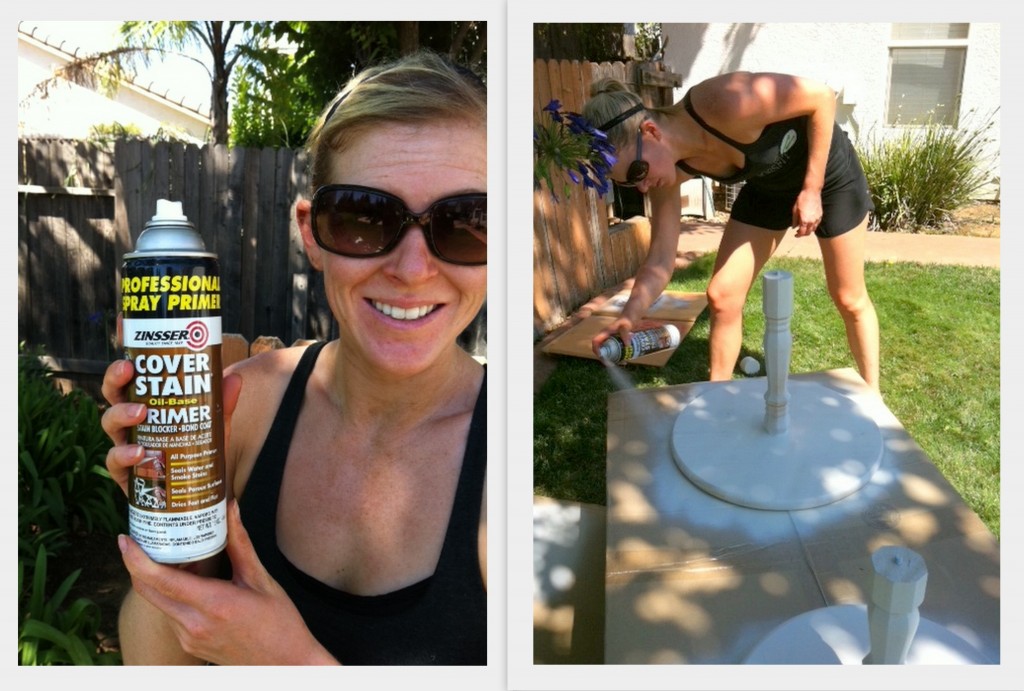
 

Apply your primer first, and be sure to cover all parts of the bare wood. Once the primer has dried, paint two coats of white paint to really cover it well and hide any paint streaks. Once your paint is complete, you should be able to take the three pieces and assemble them by screwing them together (since you have already drilled your hole). Voila, your finished product should resemble something like this! 
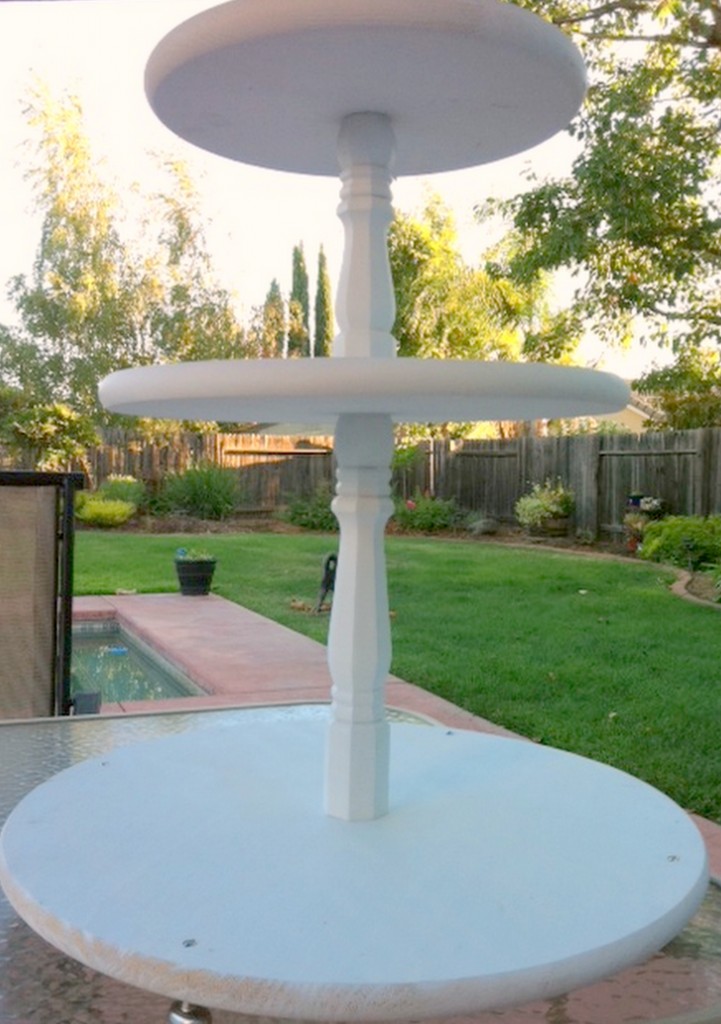
 

We used cabinet hardware to make feet for the bottom of our cupcake stand. We just chose something with a flat surface that would sit level on a table. The best part about rustic decor is that perfection is not necessary. I think I might sand the sides down a little to give it a little more of a rustic look.

So what do you think??

Find more about what I am up to here.

Heather
style, comfort &/or color {bridal shoes}

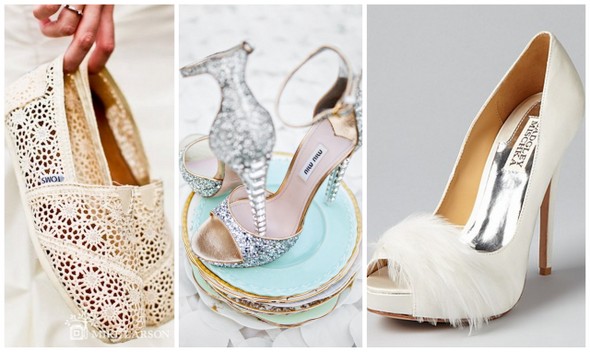
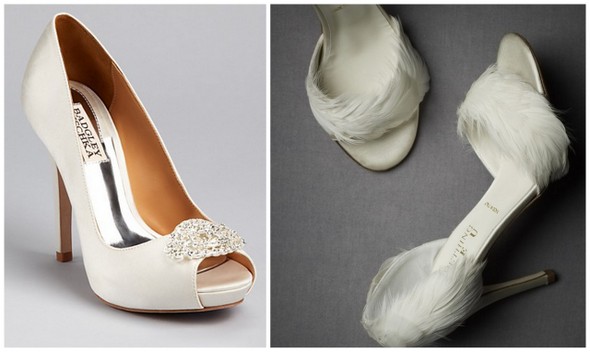
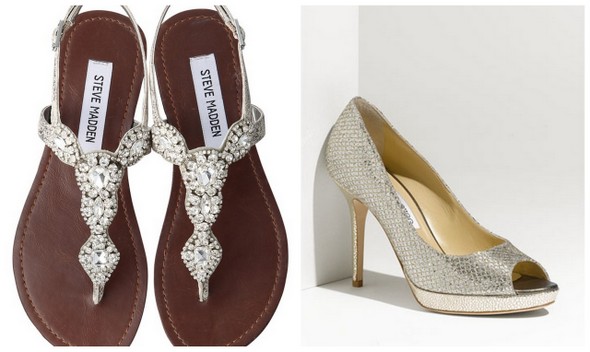
In exactly 2 months from today I will be married... OMG! The next 60 days or so will be filled with bridal showers, last minute vendor meetings, and finalizing the details. One of those details is picking out what shoes I'm going to wear. Lately the trend has been to wear a pop of color. I once thought that I would go that route, but now I'm leaning toward something more traditional and elegant. Oh and here's something we rarely think about ladies.... COMFORT! Yes we want to look gorgeous from head to toe on our wedding day, but at what cost? I don't know about you, but I think I'm going to wear something feminine and elegant for the ceremony and photos, then opt for something more comfortable and stylish for the reception. Here's some of my inspiration:

TOMS, Miu Miu, Badgley Mischka Kate Spade & Stewart Wietzman

Badgley Mischka & BHLDN Steve Madden &  Jimmy Choo

What about you? Can you swing the 5 inch heels all night, or are you going to have a second pair of fancy flats to hit the dance floor with?

8 weeks!

So I am just short of eight weeks out from my wedding and I am flipping it out! How is it so close? I am SO excited to be married and I can not wait to call Niall my husband! But I still feel like I have so much to do! It kind of snuck up on me. I k

eep getting those checklist emails from all of the wedding websites and I can not help but realize that there are still a lot of items to check off. Realistically, I know if we were to be married tomorrow, it would be great. But the perfectionist inside me can't help but to see those glaring items still yet to do.

Any married ladies out there who can offer advice? What did you do in the final weeks leading up to your wedding to alleviate the stress?

Credits: Image

Venue Love

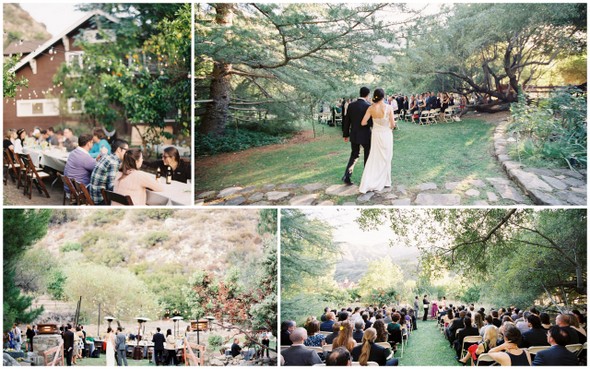
Have I told you that I absolutely love our (hopeful) wedding venue? Finding it was probably one of the easiest parts of the planning process so far. Locking in our reservation has been another story. Last February when we decided that we wanted to get married locally, an internet search for Ojai wedding photos yielded many of the breathtaking photos below.

Source: Jessica Loren Organic Photography

Our favorites were taken at The Dent House, a private estate located in the heart of Matilija Canyon. Now, almost eight months later, we are excited and relieved to be finalizing our venue.  Yesterday, the four page rental agreement arrived in my inbox! Luckily my fiance is a lawyer, so I am hoping that the whole daunting contract process will be more of a breeze.  As we read through the agreement, I am realizing more than ever all of the little details we will need to work out to make sure our special day goes off without a hitch.

Sources: Kurt Boomer Photo, Jessica Loren Organic Photography

With this venue we will need to bring in everything from tables and chairs, to bathrooms and a generator. We know this will be more work than a traditional wedding venue, but it will also allow for endless creative possibilities for all aspects of the wedding.

Sources: Kurt Boomer Photography

With gorgeous natural scenery, another huge perk is that we will be able to take all of our wedding photos on-site.

Sources: Braedon Photography, Kurt Boomer Photo

Do you have any pointers for finalizing a venue rental? What do you think are the most important things to look out for?

Engagement Photos Revealed (and Featured!)

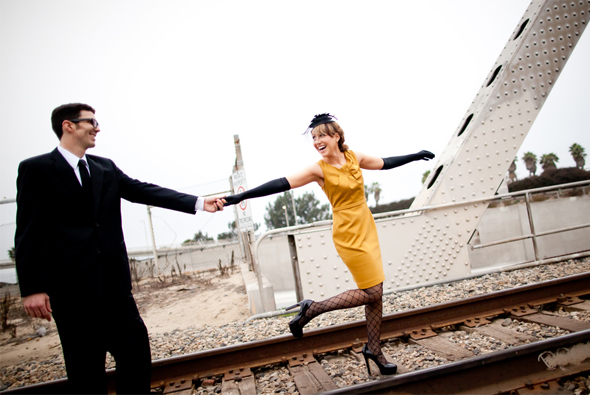
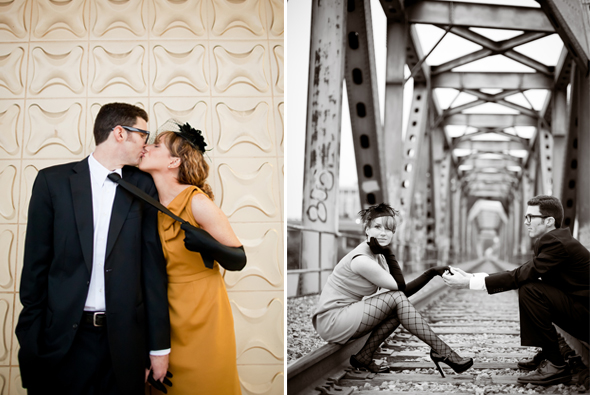
I have been DYING to share our engagement photos with you since we first got them from our photographer, as I am just absolutely smitten with them. And when I found out that Exquisite Weddings Magazine was going to feature them, I jumped out of my chair with excitement!!

Now that the post is live, I can finally gush over how amazing our photographer is. Fawn Christiansen of Sequins and Candy is a camera genius. I can't even tell you, I was genuinely shocked at how these photos came out. She was incredible at making us feel at ease, especially my camera-shy fiancé. Of all the photos we've taken over the last 6 years, I think I have a total of 5 photos of Kyle where he is not making some ridiculous face. Fawn literally quadrupled the number of nice photos I have of Kyle within the 2 hours she spent with us.

I must admit, though, that it's so funny to me to look at these photos because we felt SO awkward during the shoot. Kyle was giggling the whole time, which in turn made me giggley. This is the complete opposite of what I had always thought of engagement sessions. I always thought that you would just magically have the most romantic moment of your life and there was just a photographer there to capture it. Now I know that it's not quite that scenario, but looking at our photos, you'd have no idea. Or at least I've completely forgotten about any awkwardness and shyness we had!

Oh, and I absolutely have to thank Sasha Gold for my awesome hair and makeup (why can't I look like that every day?!). I was going to try to do it myself, but I am beauty challenged. I am SO GLAD that I trusted Sasha to fix me up. If you're taking your engagement photos somewhere other than where you're getting married, meaning you won't get to do your wedding hair and makeup trial on the day of your engagement photos, I highly recommend finding someone to take care of that task for you. Instead of having to rush out the door looking like normal, humdrum Kalista, I had a couple of hours to relax and chat with Sasha and her sweet rescue pup, Chica. It was just what I needed.

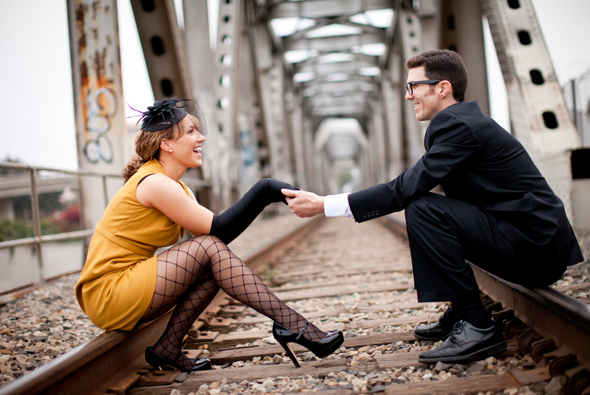
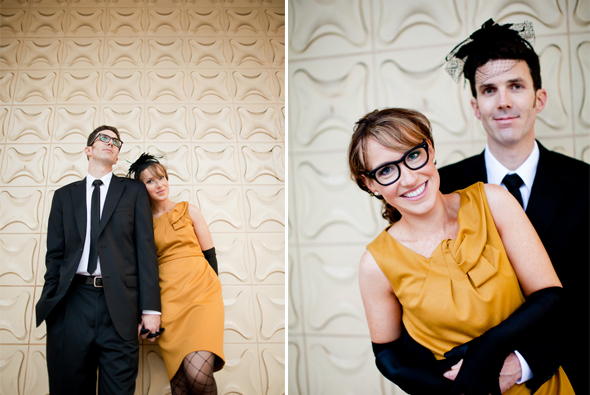
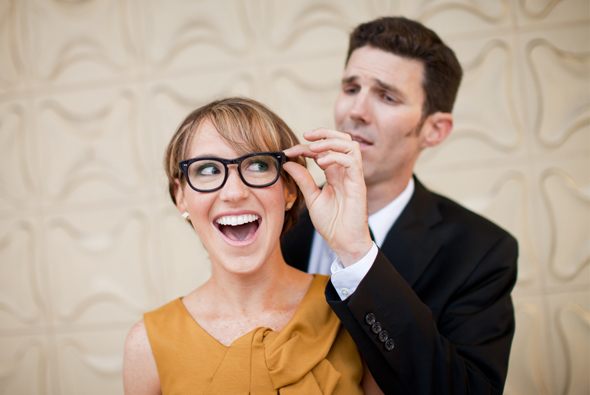
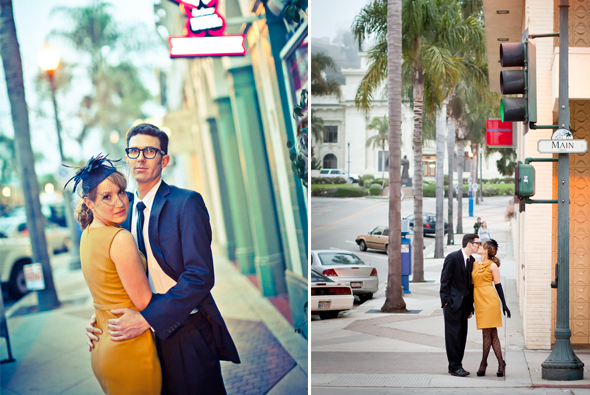
There's a number of photos that I love in the Exquisite Weddings Magazine feature, but here are a few of my favorites anyway! :)


I have no idea when Kyle turned into a J. Crew model, but my does he look fine! I'm a lucky girl.

It's so special to have these keepsake photos for the rest of our lives. Every time I look at them, I can't help but think about how much I love that man. I can't believe I get to marry him in just two and a half months!

All Signs Point to I Do

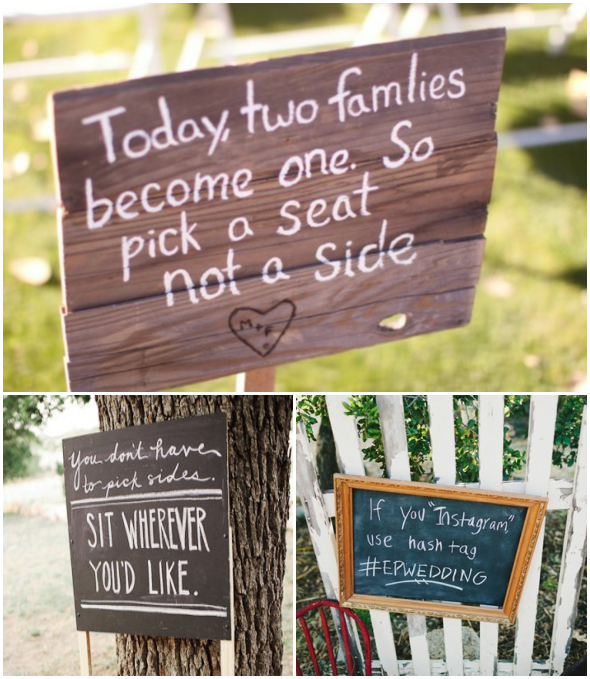
Wedding DIY's are not something you can't wait to complete until the last minute so I've been narrowing down exactly what I want to do.  Wedding signs are a great way to add a personal touch and these are my favorite!

I'd really love to have a cute sign that sets the tone for the day like one of these that tells your guests to sit anywhere they'd like during the ceremony! And since we'll have a good amount of tech savvy guests, the bottom right sign for Instagram would be great to replicate for our big day.

Source: The Sweetest Occasion, Style Me Pretty, Green Wedding Shoes

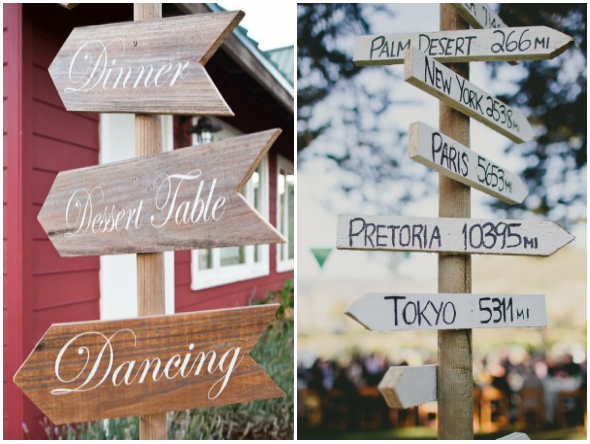
I also love the thought of having old fashion signs to direct people to different places within the venue, or even tell them how far they are from major destinations!

Source: Style Me Pretty, The Sweetest Occasion

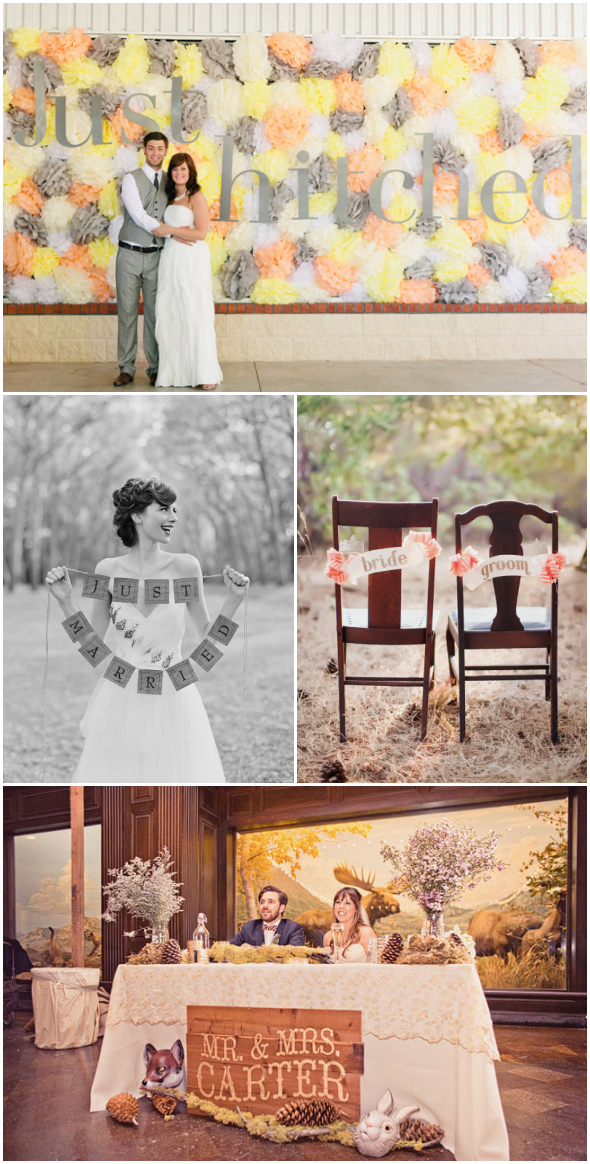
And you can't forget a cute sign for photos and even for your sweetheart table.

Source: Wedding Chicks, Kiss The Groom, Style Me Pretty, Green Wedding Shoes

Also, if light DIY is more your thing you can always check out the free printables page here on Wedding Chicks and print out a pretty wedding sign with minimal supplies!

Did you or are you including a handmade sign for your big day? What do you think about the personalized hash tag for guests Instagramming and tweeting about your wedding?

Connect with me elsewhere! Twitter | Pinterest | Blog

It's in the Mail....

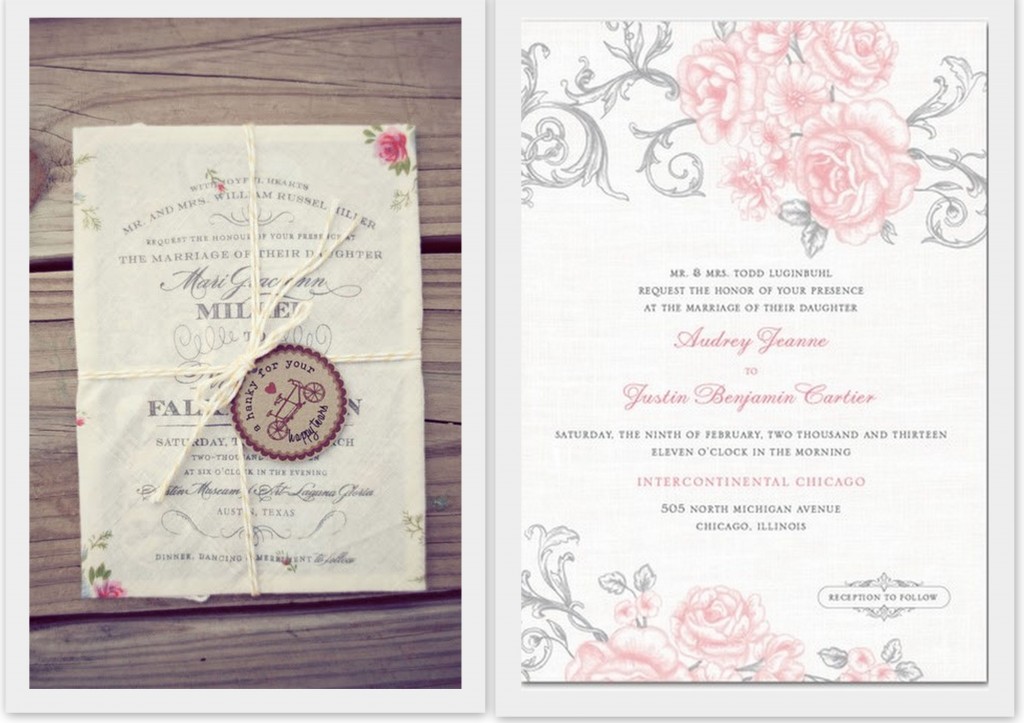
Invites that is!! I am so happy to say that I finally accomplished getting all of our invites in the mail. Boy did I under estimate how time consuming this project was going to be. Invites have probably been the hardest thing for me to get inspired about. Their are so many options out there and it started to get overwhelming trying to pick a style, the wording, and the packaging. I really wanted our invites to be a reflection of us; a little creative, charming and all around unique. These were some of my inspirations when choosing our final design.


Source: 1 & 2

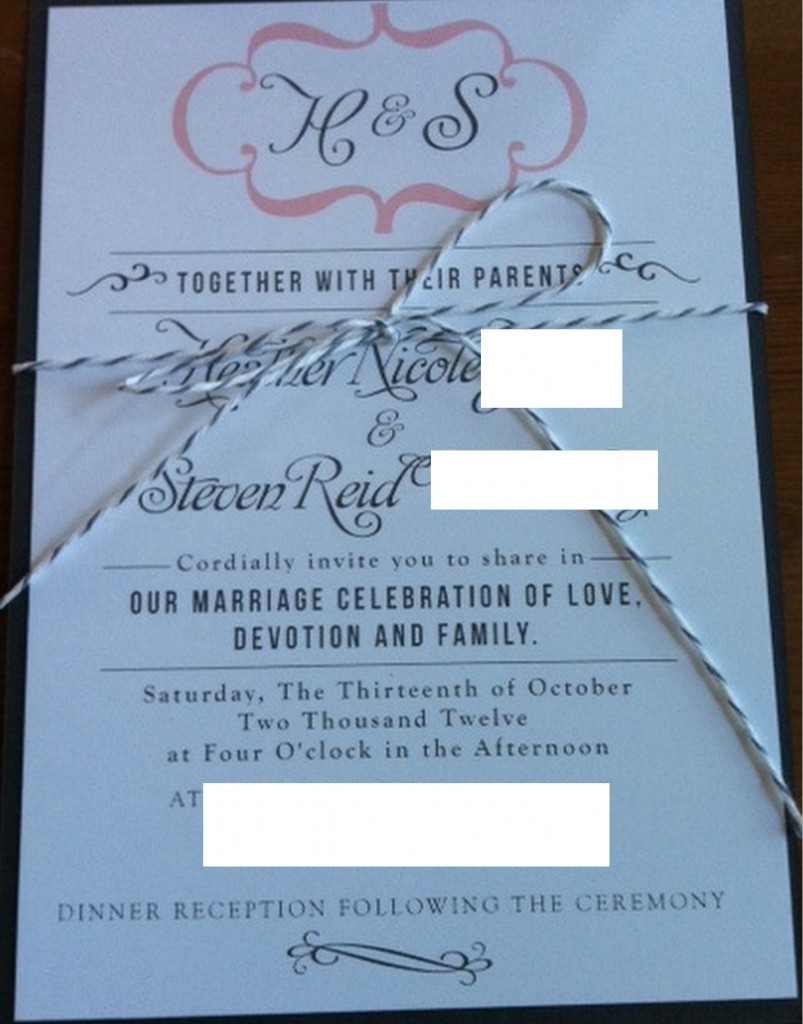
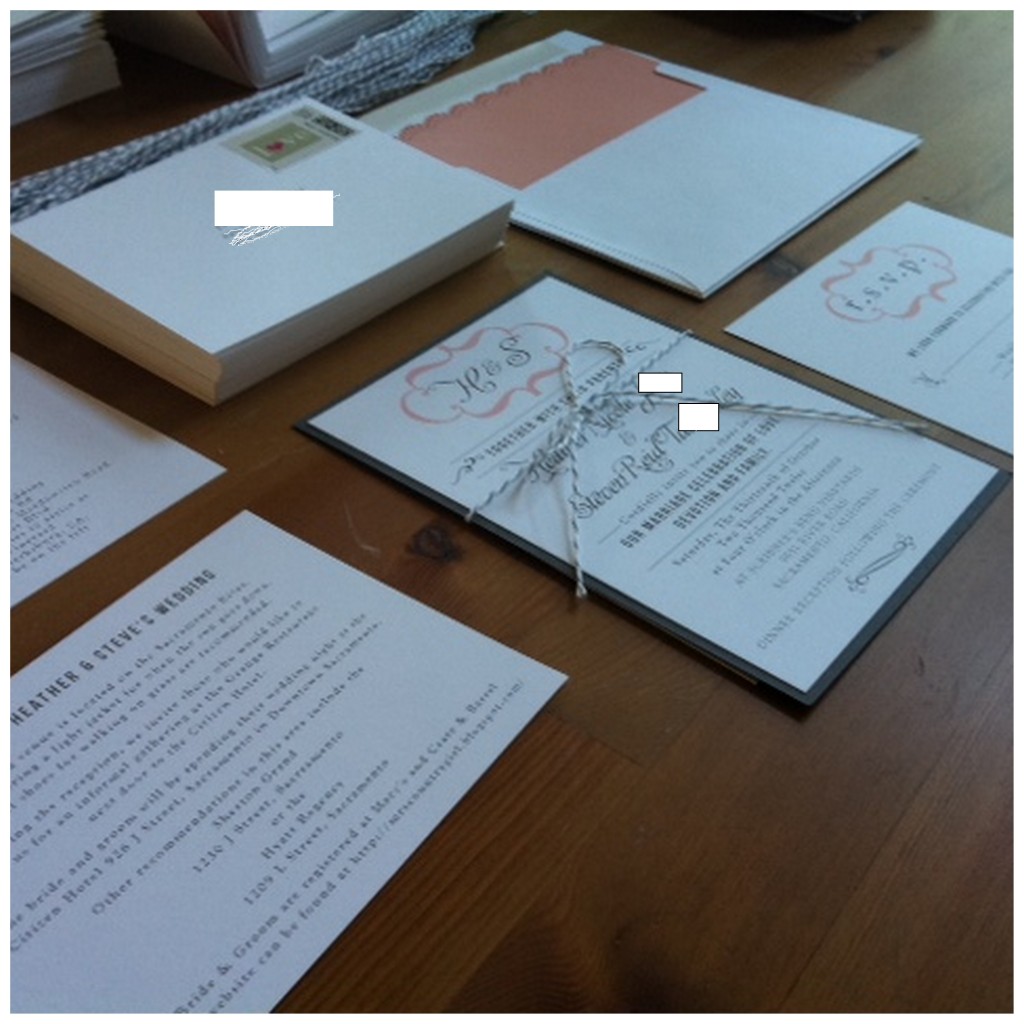
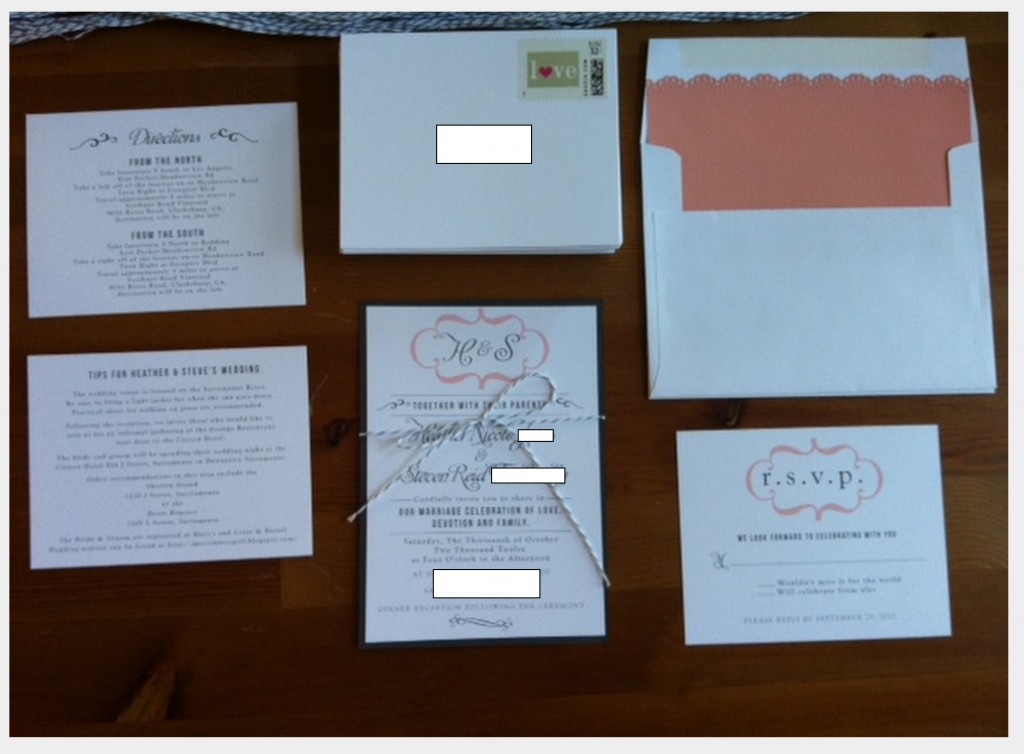
Here is the final product. I used Anna Malie Designs to create our invites, rsvp cards and direction cards. We decided to create a tips for our wedding on the back of the direction card. We included details like recommendations of where to stay in the area, where we are registered, and our wedding website. I also included tips that I know I would have love to have as a wedding guest, such as a suggestion to bring a sweater as the venue is next to the Sacramento River and wearing shoes that are suitable for walking in grass. So far everyone has loved these suggstions and said that they appriciated the "tips".  

We created our own envelope liners using some tips from this tutorial and packaged the invites along using bakers twine to tie them together.   My biggest recommendation when it comes to invites is to not be afraid to do something different. Allow yourself plenty of time to create, edit and print your invites. Invites should go in the mail at 8-6 weeks before your wedding. We got our in just under the 6 week maker which was cutting it a little close.  So what do you guys think?? Do you like the idea of a "tips" card to give your guest a few extra details?

Heather

To check out more of my wedding ideas check out my blog.